


The Art of Apple Pie, and a Pie Crust Recipe to Use Anywhere
In our community growing up, my mum Ella Ingraham made the best pie crust, and the best apple pie. This proclamation is based on my love for my mother and my own taste – but I’m not alone! Every year when I was little, our church held an Apple Festival. My mum would be on the team making tons of pies to sell for fundraising. All the bakers in the church pitched in time and pies. I got to try a lot of apple pie there. And when it came to the sale, my mum’s pies always sold out. The word was on the street.
I’d say I’ve informed my pie palate even more since that time, and I still circle back to what I learned then. Ella’s pie is the best!
There are two factors in the perfection. They are an excellent crust, and letting the apples speak for themselves.
I have been wanting to learn this art of pie-making. Over the last few years, we make a yearly date to produce a set of pies together for Thanksgiving. It is so clear, working closely with her in the kitchen, that she has a feel for ingredients and outcome that is much more patterned and detailed than the written recipe she follows. I could never follow that recipe and get the same result.
Last year, I finally took a bunch of photos of the process, to record the detail of what I’m learning, and what I tend to forget from one November to another. I hope this can be useful to you in creating delicious pies with a wonderful flaky crust!
How to Get Local Apples from the Farm:
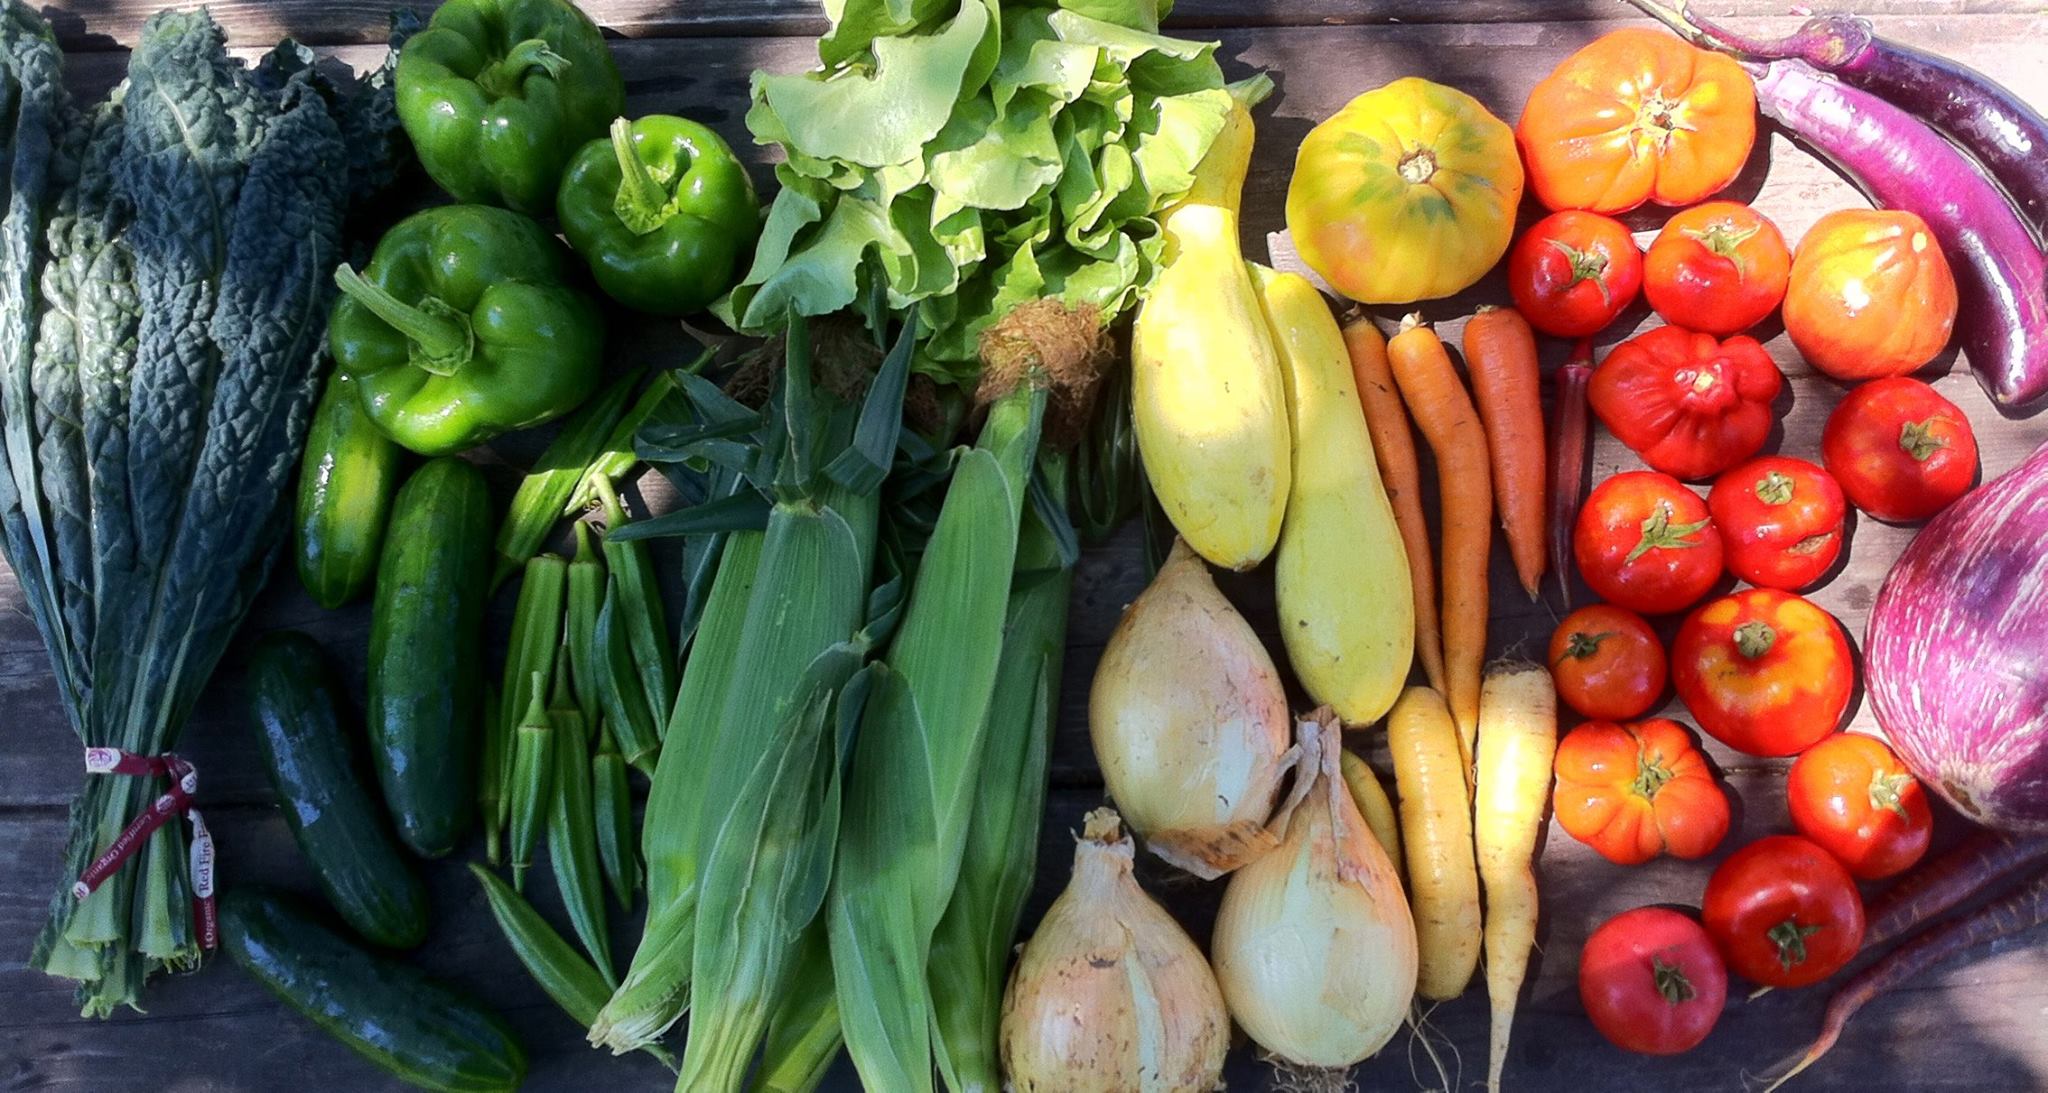
We have local apples for sale at our Granby Farm Store, which has open hours through Thanksgiving, and you can also order at discount prices bushels of local apples for pies, sauces, drying and more through our Bulk Order page. We have all sorts of organic produce from winter squash and onions, to sweet potatoes and spinach for bulk order now, and at our stand and markets.
About the Recipes:
These below are my mother’s favorite recipes to use, from The Joy of Cooking by Irma S. Rombauer. We have adapted and added details and notes from how we make them at home.
Flour Paste Pie Crust
This recipe makes enough for one double-crust (top and bottom) 9 inch pie. You can double or triple as needed. This is a great crust recipe for many types of pies, including Sweet Potato Pie.
Ingredients:
2 cups all purpose flour (sifted) – we often use about half whole wheat pastry flour
1tsp salt (re-sifted with flour)
1/4 cup cold water for the paste
A little more water when gathering dough together, or unflavored vodka which moistens now and then evaporates when cooking
2/3 cup unsalted butter (or shortening) – use cold butter
Some additional flour for rolling out the crust
Cream or milk for brushing on the crust just before baking
- First, sift flour. Add salt, then sift a second time.
- Take 1/3 of your salt and flour mixture and combine with water to form a paste, and set aside.
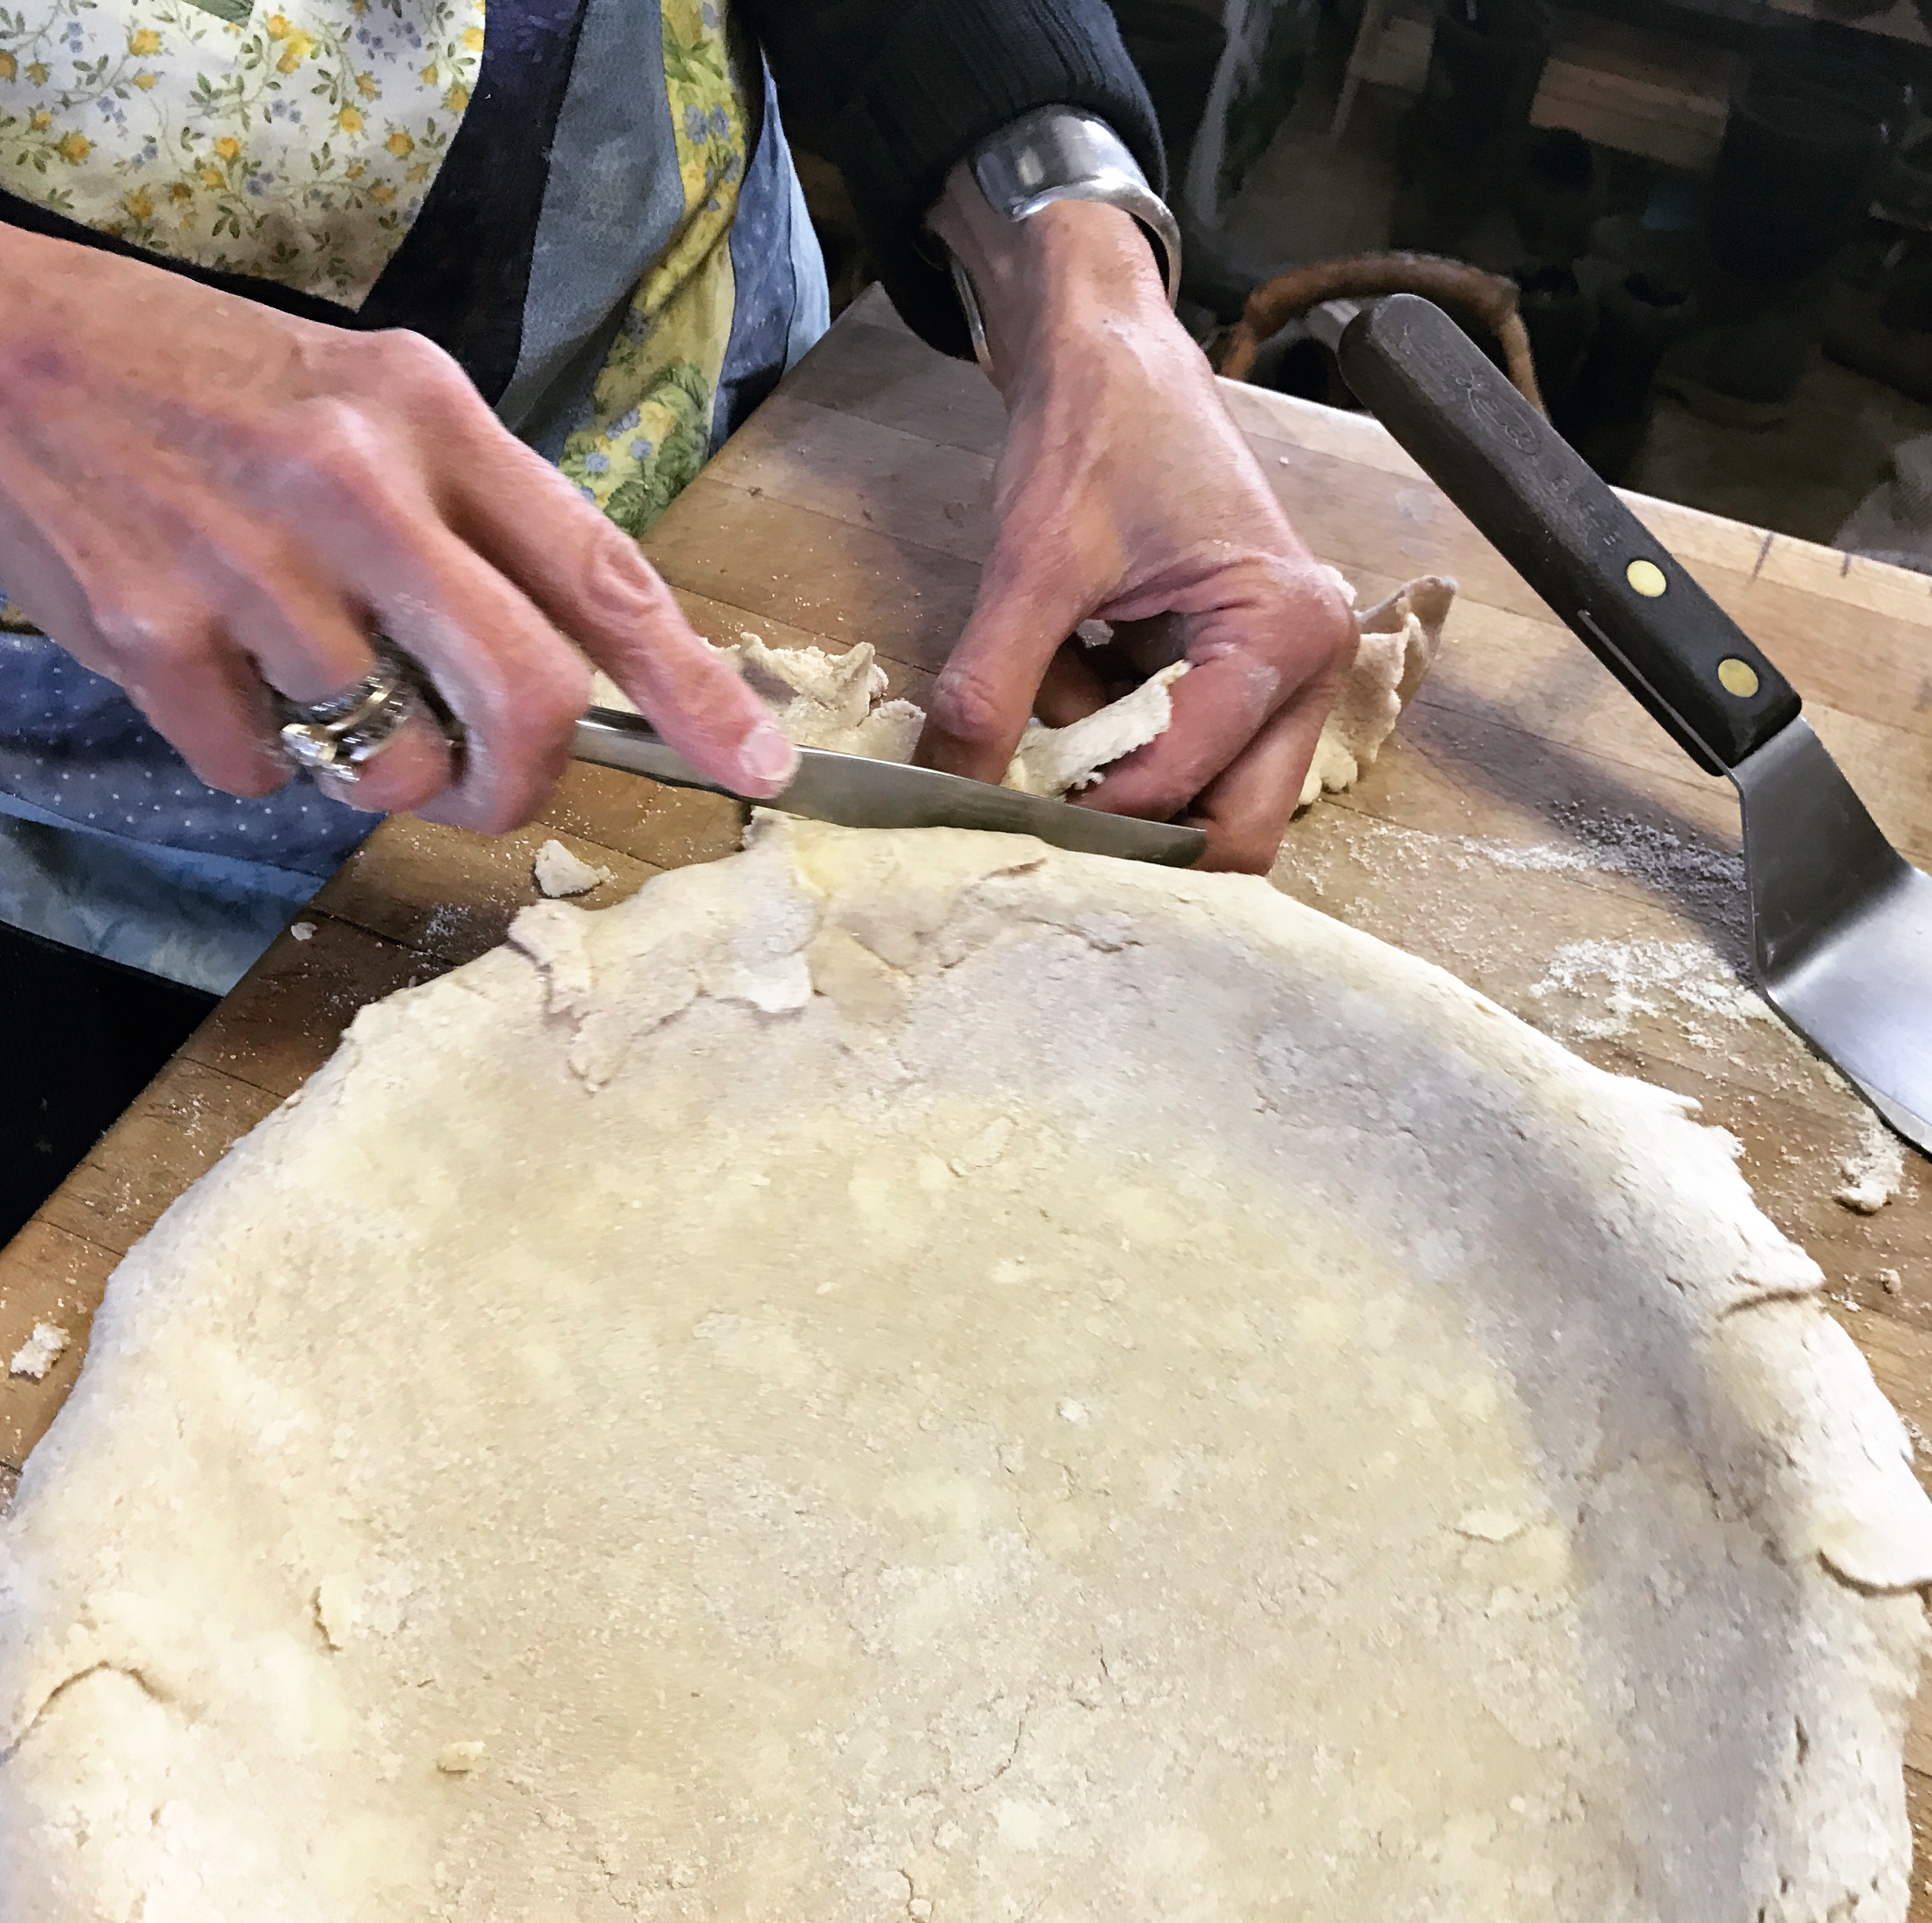
- Next, cut the butter into the remaining flour. You can do this in various ways, from using your fingers to crumble the butter and flour together, to chopping at it with two butter knives, to a multi-bladed pastry blender, to a food processor on pulse. The important thing is that the texture at the end still contain small lumps of butter, as pictured below. It has been described as “coarse granola.”
- Combine both paste and butter-flour mixture, then promptly and gently form into a ball. Add a little more water here if needed, just enough to form it together, see pictures.
- Wrap the dough tightly in plastic wrap, and chill for at least 1/2 hour (or overnight.) You can freeze the dough if making ahead. To defrost, set in fridge for a day, or in room temperature for 2 hours. You can also form the bottom crust and freeze it in a pie plate for making pies later.
While chilling is a good time to make the apple filling…
Apple Pie Filling
5-6 cups apples, sliced thinly * see variety notes below
1/8 tsp salt
1 to 1 1/2 Tbs flour or cornstarch
1/4 tsp cinnamon
1/8 tsp nutmeg (freshly ground if available)
1 Tbs lemon juice
1/2 tsp lemon zest
1 tsp vanilla extract
1 1/2 Tbs butter – for after you’ve put the filling in the pie shell
- Important Note, the original recipe recommends 1/2 cup to 2/3 cup white or brown sugar, but we make it without, and like it better 🙂 I think this is one of the changes from other pie recipes that really lets you taste the apples.
Apple Variety Notes
My mum likes a mix of types, including a crisp tart green type, Cortland, and a few others that have good sweetness and complexity. The mix of apple varieties gives a depth of flavor that is one of the keys to making the best pie. She says, “I always use some Cortlands because they taste quite good and they have a beautiful color. They turn pink!” We leave the skins on, as they soften up nicely while cooking and add flavor and color.
How to make the filling:
- Remove bruises, core the apples, and slice very thinly, leaving skins on.
- Stir to mix the apples with all the filling ingredients, except the butter.
Putting the Pie Together
- Preheat oven to 450 F.
- When ready to make the pies, split chilled dough into 2 equal parts. Roll out one at a time on a floured surface until they make rounds about 1/8 inch thick. Work the dough as little as possible. I’ve watched my mum delicately patch holes formed when rolling, pressing the little piece of dough just enough to connect it to the rest. It is a tender thing to keep a crust flaky.
- Line a 9 inch pie pan with one round of the rolled out pie dough from above, and trim off excess dough that hangs over the edge of the pan.
- Layer the apple filling into the pie, getting them densely packed, and piled high.
- Dot the top of the apple pile with the 1 1/2 Tbs butter from the filling recipe
- Lay over the top the other round of pie dough. Take the two layers of dough at edges by the pie rim and fold from the top under, so the top dough is hugging around and under the bottom dough, and it all fits nicely on the pie plate. Then crimp the edges down with a fork or finger tips to seal and make a pattern all around the rim. This is kind of hard to explain, so see pictures below.
- Poke holes in the upper crust in some kind of design, to allow steam to escape, and to make the pie pretty.
- Brush the surface of the pie crust with a brush dipped in cream or milk to give a nice shine to the crust.
- Put into the oven to bake at 450 for 10 minutes
- Turn down the oven to 350, and bake another 35-45 minutes until pie is done.
How to tell when the pie is done:
You want the filling to boil, so you should hear bubbling or see places where juices have bubbled up. You can poke with a small knife to see if the apples are tender. Consider making a couple larger holes in your crust design to allow knife poking :). Also the crust should be nicely golden brown.
You can use tin foil over the crust to reduce more browning, if it is getting too brown but the inside isn’t bubbling yet. Foil over the whole top, or just in a circle around the outer crust rim will cut back on browning, allowing more baking time.
Serving the Pie
You can serve them hot, or room temperature. If allowed to cool, the pie’s juices will set up better to stay in place when cut. I am quite fond of having excesses of whipped cream around at Thanksgiving to dollop on apple and pumpkin and other pies at serving time. A bit of ice cream is quite nice too.
Now, How to Make Apple Pie, in Photos!
Scroll down for some more detailed tips on parts of the process.
Here’s what the flour paste looks like:
Cut the butter into the flour until it looks like the mixture below – with some reasonable little chunks of butter in there. These butter nubs are key for achieving flakiness in the crust.
Mixing the flour paste with the butter-flour mixture needs to be a gentle and quick process to reduce the formation of gluten (which makes crusts more chewy than flaky). You can add a little more water if needed, a teeny bit at a time, to get the whole thing to gather into a ball:
When the dough is together it should not be wet, it should just be together enough, as shown below. Setting the dough to cool allows the flour to absorb moisture and chilling it before another handling will reduce the formation of gluten. Cover it to protect the moisture:
Roll out the dough on a lightly floured surface. Again, handle it as little as possible. It does tend to stick, so you could use a parchment paper underneath your flour to help lift it. My mum uses the rolling pin to help carry the dough to the pie plate:
Trim the edges of the dough and patch holes with the trimmings. Leave some overhang to help make a nice thick edge crust when paired with the upper crust:
Mix apples and spices for the filling in a big bowl so you can get all the apples well coated:
Fill up the bottom pie crust, trying to get the apples as densely packed as possible. If you have enough upper crust dough, you can make the pile nice and high, as the apples will settle and condense while cooking, and you’ll get more apple in there:
Put the butter up on the top of the apple pile:
Now you can lay the top layer of crust dough, and you want the top layer to be big enough to fold over and under the bottom crust lip. You put both crusts together, and then fold the double layer under to create a sealed container of dough:
Here is how you get that fold:
Below you can see how the top crust fold happens, and once you have the fold, you can crimp the edges down with your fingers to bind it. This type of fold helps keep the pie juices in the pie!
Make some good holes in the crust to let steam escape, and you might as well make a design! You can do these with a fork, or cut designs with a knife. You can also lay on extra dough cut into shapes for more styling.
Ready to set the pies in the oven!
Here’s a pie, all golden and done, where we used a fork around the edges to crimp and make a pattern.
Here’s another kind of top you can make, by cutting shapes in dough and laying them in a pattern on top of the apples:
Everyone’s excited when it is time to cut into the pies! Here below we made a streusel topping.
Thank you all for reading! Thanks to my dear mum for sharing her art! I hope everyone has a wonderful season, filled with pie!
Cheers,
Sarah, Ella and the Red Fire Farm crew.
Sugar Pumpkin Cheescake
Smaller sugar pie pumpkins have been bred for flavor in cooking! They are wonderful in pies, and also this special cheesecake recipe.
A rather stunning cheesecake for fall and winter holidays. Thank you to Wilhelmina Ryan for sharing with us!
1 cup sugar pie pumpkin puree, baked ahead
20-25 small ginger snap cookies, crushed
1/2 cup finely chopped pecans
1/4 cup butter, melted
4 (8 oz) packages cream cheese (total 32 oz), softened
1 cup sugar or other dry sweetener, divided
1 teaspoon vanilla extract
4 eggs
1 teaspoon ground cinnamon
1/4 teaspoon ground nutmeg
1/8 tsp ground cloves
Halve a sugar pie pumpkin and bake cut-sides-down at 350 for about 45 minutes until a fork goes through the flesh easily. Scoop the cooked pumpkin flesh out and puree in a blender or food processor. Excess pumpkin puree can be saved for adding to soup or other dishes. Turn oven to 325 after cooking the pumpkin.
Mix chopped pecans, ginger snap crumbs, and melted butter; press firmly onto bottom of a 9-inch springform pan to form the crust.
Beat cream cheese, 3/4 cup of the sugar and the vanilla extract with a mixer until mixed. Add eggs, one at a time, mixing on low speed after each addition just until blended.
Regular Batter:
Remove 1-1/2 cups of the batter; place aside in small bowl. This will be your light colored batter.
Pumpkin Batter:
Stir remaining 1/4 cup sugar, the pumpkin puree and spices into remaining batter. Pumpkin puree must not be so hot as to cook eggs at this stage.
Spoon half of the pumpkin batter onto crust in the pan; top with separated spoonfuls of half of the reserved regular batter. Repeat layers until you’ve used up the batters. Swirl through batters with a butter knife to marble the colors.
Bake 55 minutes at 325 or until center is almost set. Check doneness by gently shaking the pan – when it is done only a small bit in the center will jiggle and the rest will be set solid.
Cool completely. Refrigerate 4 hours or overnight. Store leftover cheesecake in refrigerator.
Green Tomato Relish
A traditional family recipe that certainly holds up today! –Courtesy of the farm’s own Willi Ryan.
Serving Size:
4 quarts
Ingredients:
3 cups vinegar
4 cups sugar
4 quarts sliced green tomatoes
2 quarts sliced onions
1 cup diced green pepper
Spices:
1 tsp Tumeric
2 tbsp Mustard Seed
1 tsp Celery Seed
Directions:
The night before, sprinkle 4 tablespoons of kosher salt over tomatoes.
- Drain well
- Bring to boil
- Add onion, and boil for 1 minute.
- Add tomatoes and peppers, continue until Just Cooked.
- Store with traditional canning method. (For more info on canning, click here.)
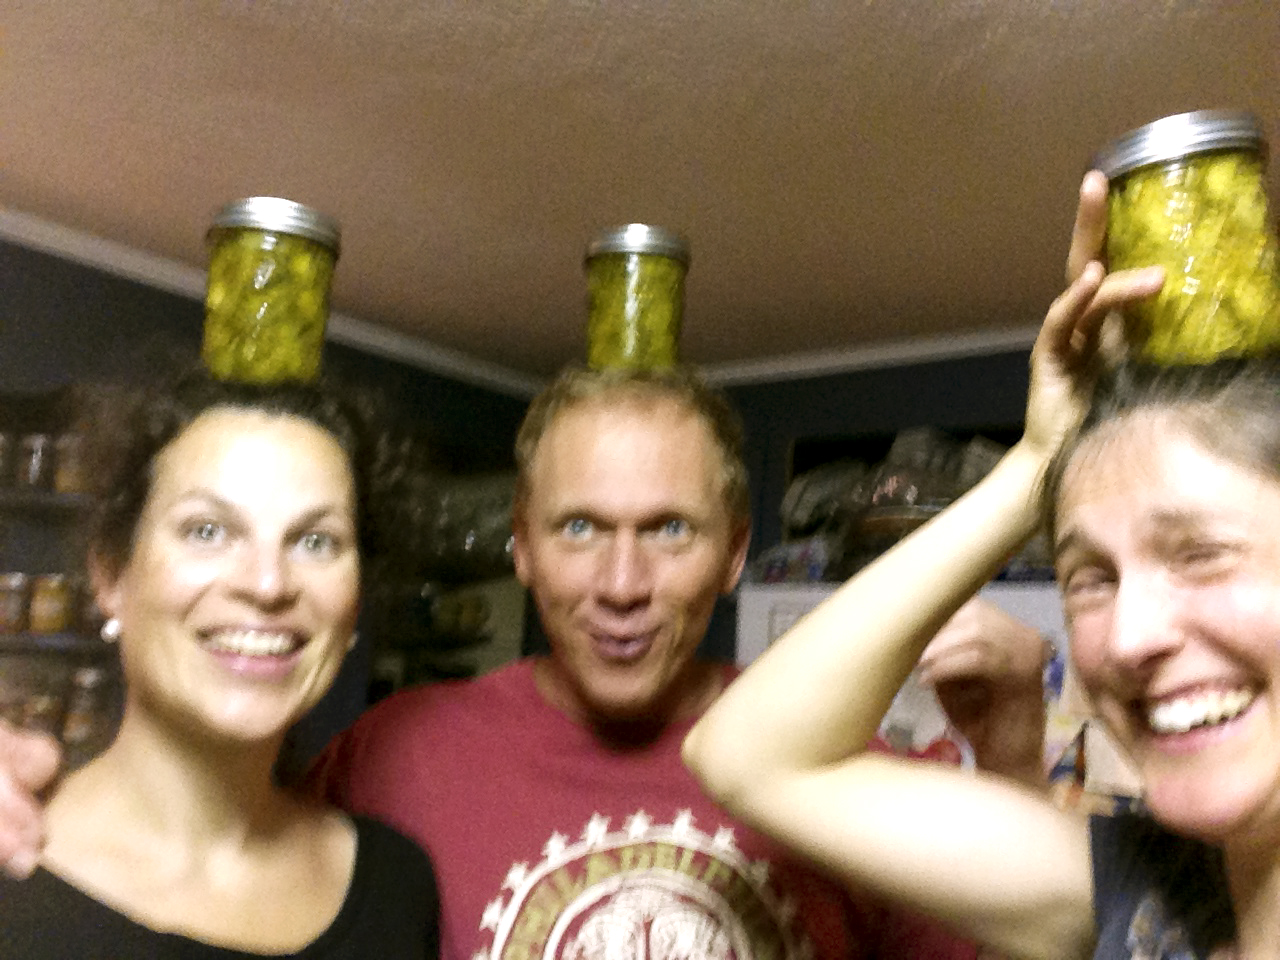
3 Ways to Get in a Pickle, and More Pickling Tips
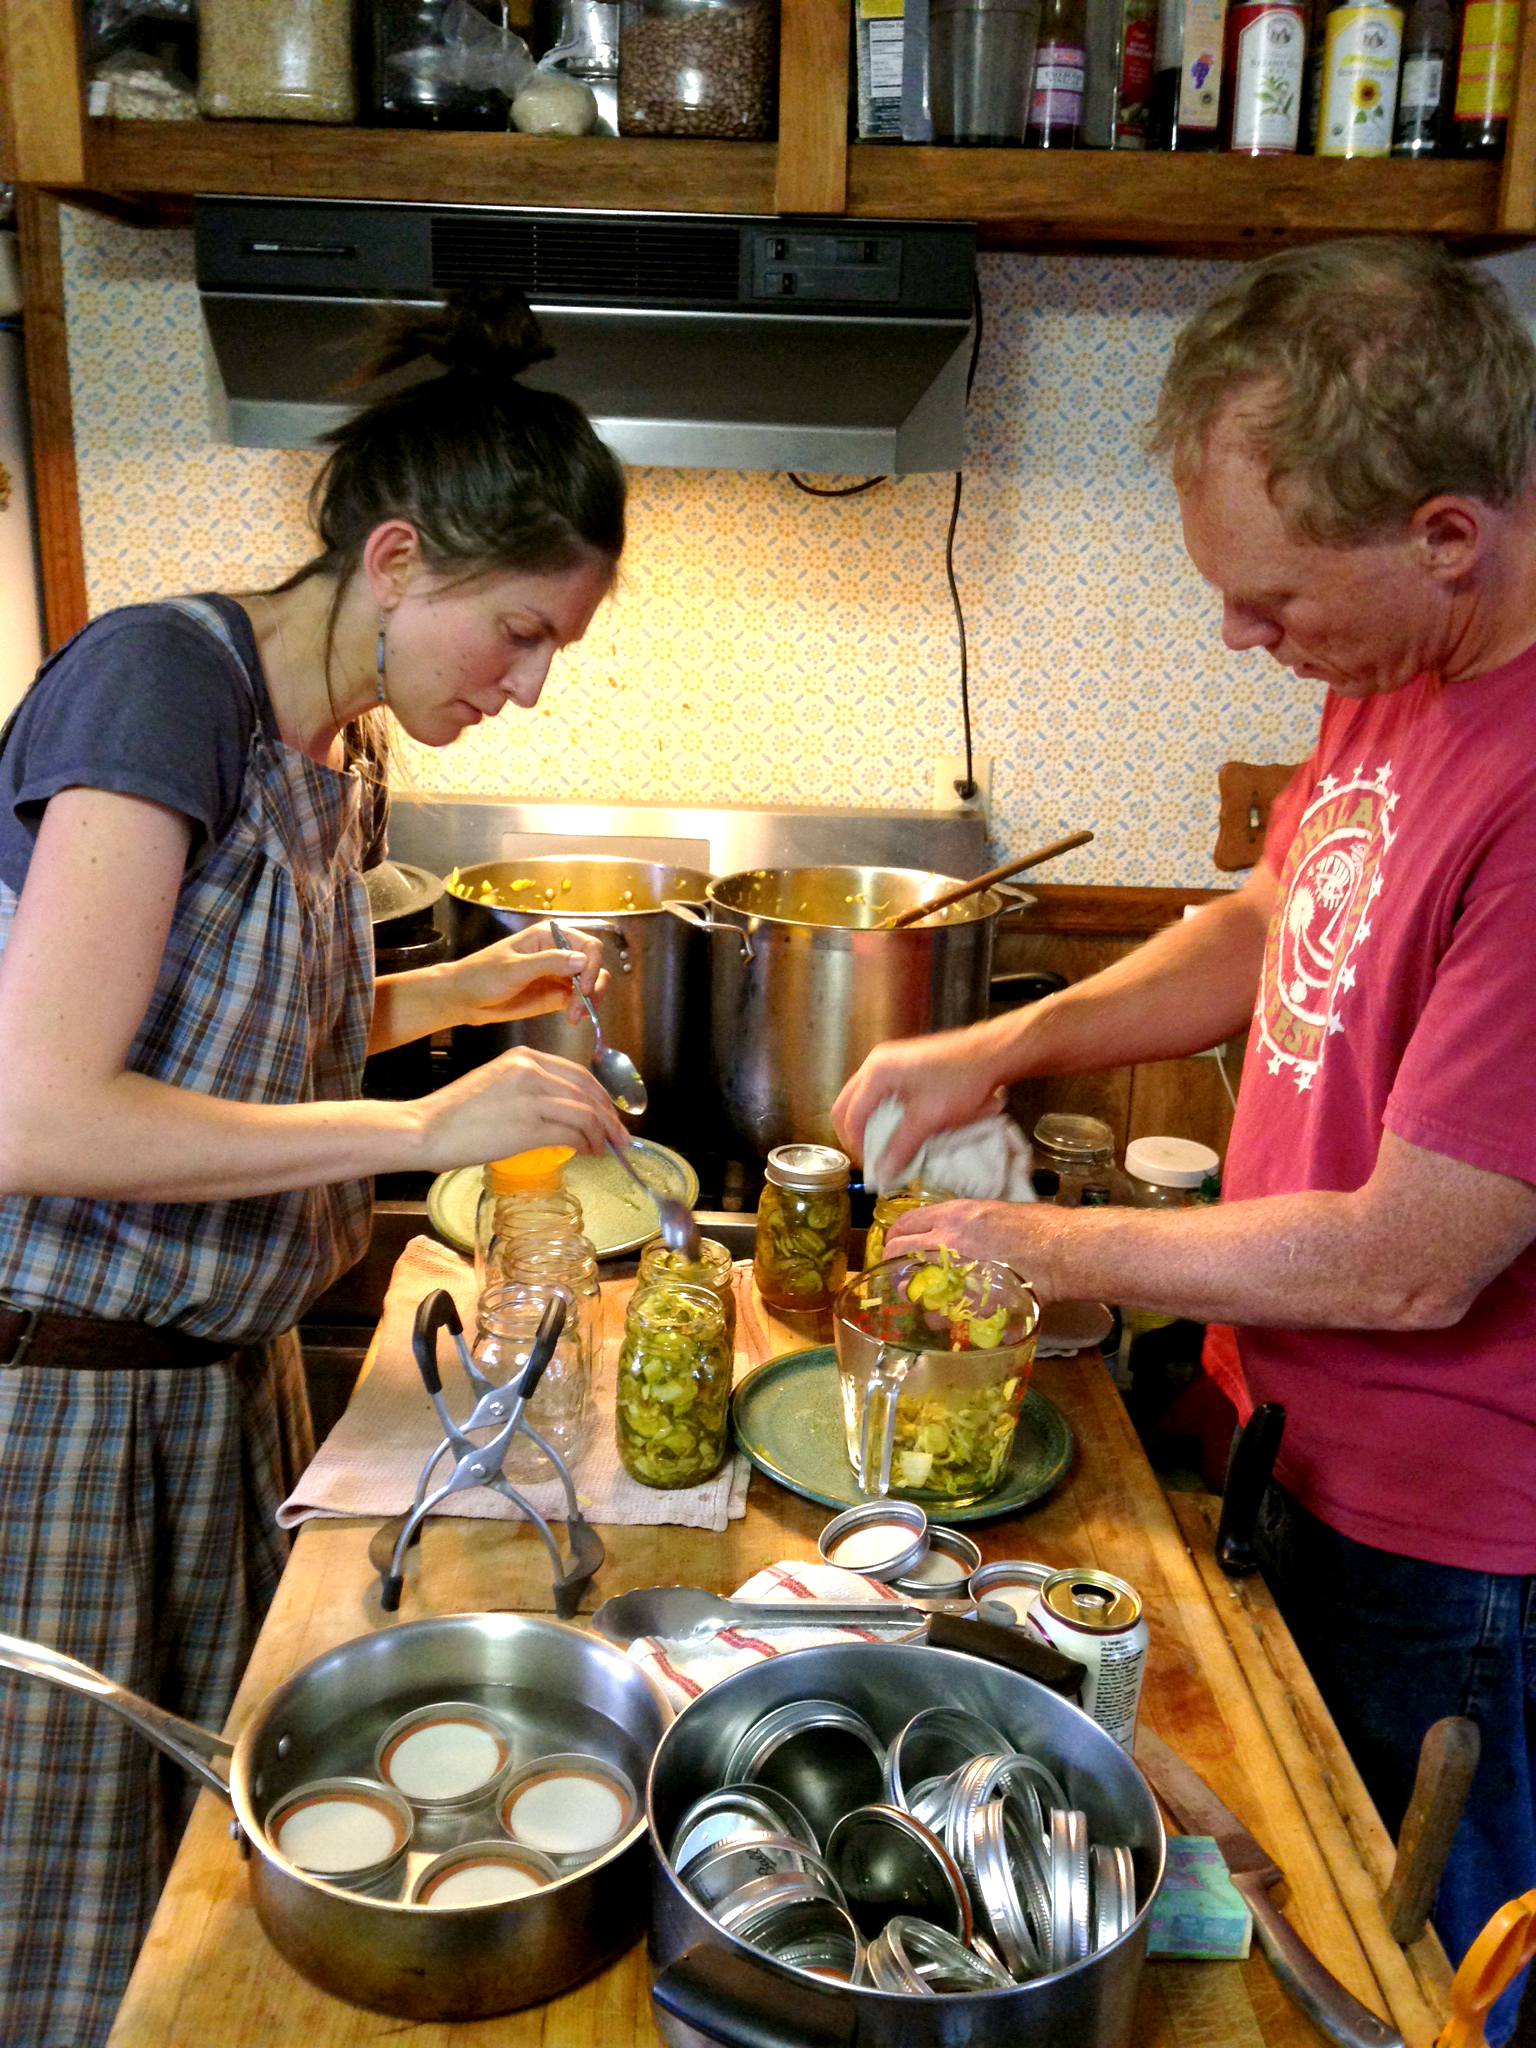
Sarah Voiland and Steve Munn canning pickles. Having a pickling party can make time fly by! Be sure to swap recipes, too.
Welcome to the wonderful world of pickling! Whether you’re a vinegary veteran or just learning about pickling, we hope this page has some new and interesting information for you. We include a couple basic pickling tips, a breakdown of 3 different types of pickling – from canned pickles to refrigerator quickles to lactofermented foods – plus a few recipes, and resources.
Order in Bulk for Preserving
If you’re planning on pickling in large batches, you can place a Bulk Order with the farm. Please place your order by 12 pm two days before your preferred pickup date. Check our bulk order page for new kinds of produce available as the season progresses!
Basics of Pickling
–Always use the freshest quality produce possible.
–Do not use any produce that is discolored or rotting. Pare down to the good parts only.
–Sanitize your equipment and jars as required by each recipe, and maintain a clean workspace.
–Recipes and ratios are important. Never alter the vinegar/salt/water/produce ratio of a pickling recipe for canning. This is what keeps the pickle preserved, and a weaker brine could result in harmful bacteria growth. Only use canning recipes for canning, as Quickles recipes will likely not be strong enough. Salt to vegetable ratio is key for ferments, so make sure you attend to your salt when lacto-fermenting.
–Pickle new things! Bet you never thought about pickling snap peas, rhubarb, peaches, mustard greens, or garlic scapes, did you? Don’t forget about foraged wild foods too– ramps and fiddleheads in spring make popular pickles as well.
Here’s a rundown on some basic pickling facts and a few recipes from Colorado State University.
A Couple Good Tips:
Trim the Ends
The blossom end of a cucumber contains enzymes that will make your pickles less crunchy, so cut 1/8 inch off that end. It usually has a teeny brown spot, and the other end has the stem. If you don’t know which end it is, do both ends 🙂 True for all three types of pickles!
Save the Brine
You can save the brine from favorite vinegar pickles (yours or store bought), boil it, and pour it hot over more vegetables to make quickles with very similar flavors. Store in the fridge. This can make one feel like a kitchen wizard.
Use the Picklers
A word on types of cucumbers. While you can pickle any type of cuke, pickling cucumbers (aka kirby) are built for it. They have thinner skin that is more permeable to flavor and smaller fruit size for fitting into jars. They also strike me as a little less juicy, which is good for retaining structure. Slicing or salad cucumbers are okay for pickling, but better for salads and such. Also of note, some grocery store cucumbers may be sealed in a little wax, so it is better to get yours at a farmers market or to ask and make sure you are not getting waxed fruit at the grocers.
What to Pickle
Cucumbers, carrots, beets, green beans, garlic scapes, radishes, sweet or hot peppers, snap or snow peas, summer squash, zucchini, asparagus, cabbage, parsnips, turnips, green tomatoes, mustard greens, shallots, daikon, melon, onion, okra, apples, peaches, rhubarb, basil, and more!
Pickling flavor combinations:
While you can’t alter the ratios of vinegar/salt/water/produce in canned pickles, you can alter the spicing of pickles to be what you like!
For dill flavor on any produce, cukes, green beans or other: Dill, white vinegar (for vinegar recipes), salt, garlic, peppercorns. Add celery seed and mustard seed for more flavors. Dill seed can be used in the winter season when fresh dill is unavailable.
For spiced sweet pickles: Cider vinegar (for vinegar recipes), sugar, salt, mustard seed, celery seed, turmeric. Add ground cloves, peppercorns, cayenne for more flavors.
Add kick to any pickles with crushed red peppers, cayenne powder, or a whole fresh hot pepper or so in the jar. Whole peppers make your jars good-looking too.
More spice ideas to play with: cinnamon sticks, bay leaves, coriander, fennel seeds, whole cloves, allspice, anise, curry powder, caraway seeds, cumin seeds, ginger, fresh oregano, thyme, savory, tarragon, basil. You get the notion 🙂
3 Ways to Pickle….
1. Quickles or Refrigerator Pickles
Quick pickles don’t need to be canned– you just mix them up and put them in the refrigerator. They are good in the fridge for a week or a few months, depending on the recipe. These are a great way to start making pickles. While some people say to wait x long in their recipes, you can always start tasting them right away and know that the flavors will keep developing.
Upsides to quickles:
- They are very quick and easy.
- You don’t need to be as concerned with your brine recipe–while you should always be careful in preparing your recipes and using the correct amounts of salt and vinegar to preserve the product, refrigeration will help keep quickles preserved.
- Because you can make them in small batches, quickles can be a good way to test out different flavor combinations before undertaking a larger canning project.
Downsides to quickles:
- They take up valuable fridge space.
- They won’t last nearly as long as a well-canned pickle.
Try some of these Recipes:
Dill Quickles from Red Fire Farm
Pickled Sugar Snap Peas from Smitten Kitchen
Easy Japanese Pickled Cucumbers from The Kitchn
You can also use any canned pickle recipe you find for quickle making, and just put it in the fridge instead of canning it.
2. Canning Pickles
At least one summer day spent over a hot, humid stove is a small sacrifice to make for a stocked pantry of homemade preserves and pickles. Be on the lookout for recipes that only make small batches or single jars, of which there are many in The Pickled Pantry book listed below. This way, it will be a lot easier to whip up a patch of pickles when you don’t have much time, want to try a new recipe, or are working with a limited amount of produce.
On the other hand, I like to plan big days of pickling to get things dirty once and come out with a lot of pickles for eating and presents. If you are doing this method, here are some steps to plan your day:
- Set a date in the season of the produce you want to preserve, invite friends if you like
- Choose your recipes and figure out where you will get your ingredients ahead of time, aiming to get your produce as fresh as possible
- Inventory your equipment and jars a week beforehand so you can get more of anything
- Set up your kitchen the night before, imagine where you will put things, and plan for an easy lunch the next day
- Start early on your designated day, because I can’t count the numbers of times I took longer than I thought 🙂
If you are new to canning, I recommend finding a friend who has done it before, or a local group, to can with, as the process has many little steps, and it will just be more fun to learn in person than by reading a book. That said this Complete Guide to Home Canning by the USDA is a pretty good resource for learning, as are the books in the section below.
Make sure you use a recipe designed for canning, as getting the right vinegar/salt/produce/water ratio is key for safe preservation. Also make sure to use vinegar that has a measured acidity of 5% labeled on the bottle, as that is the acidity expected for canning recipes.
Recipes to Try:
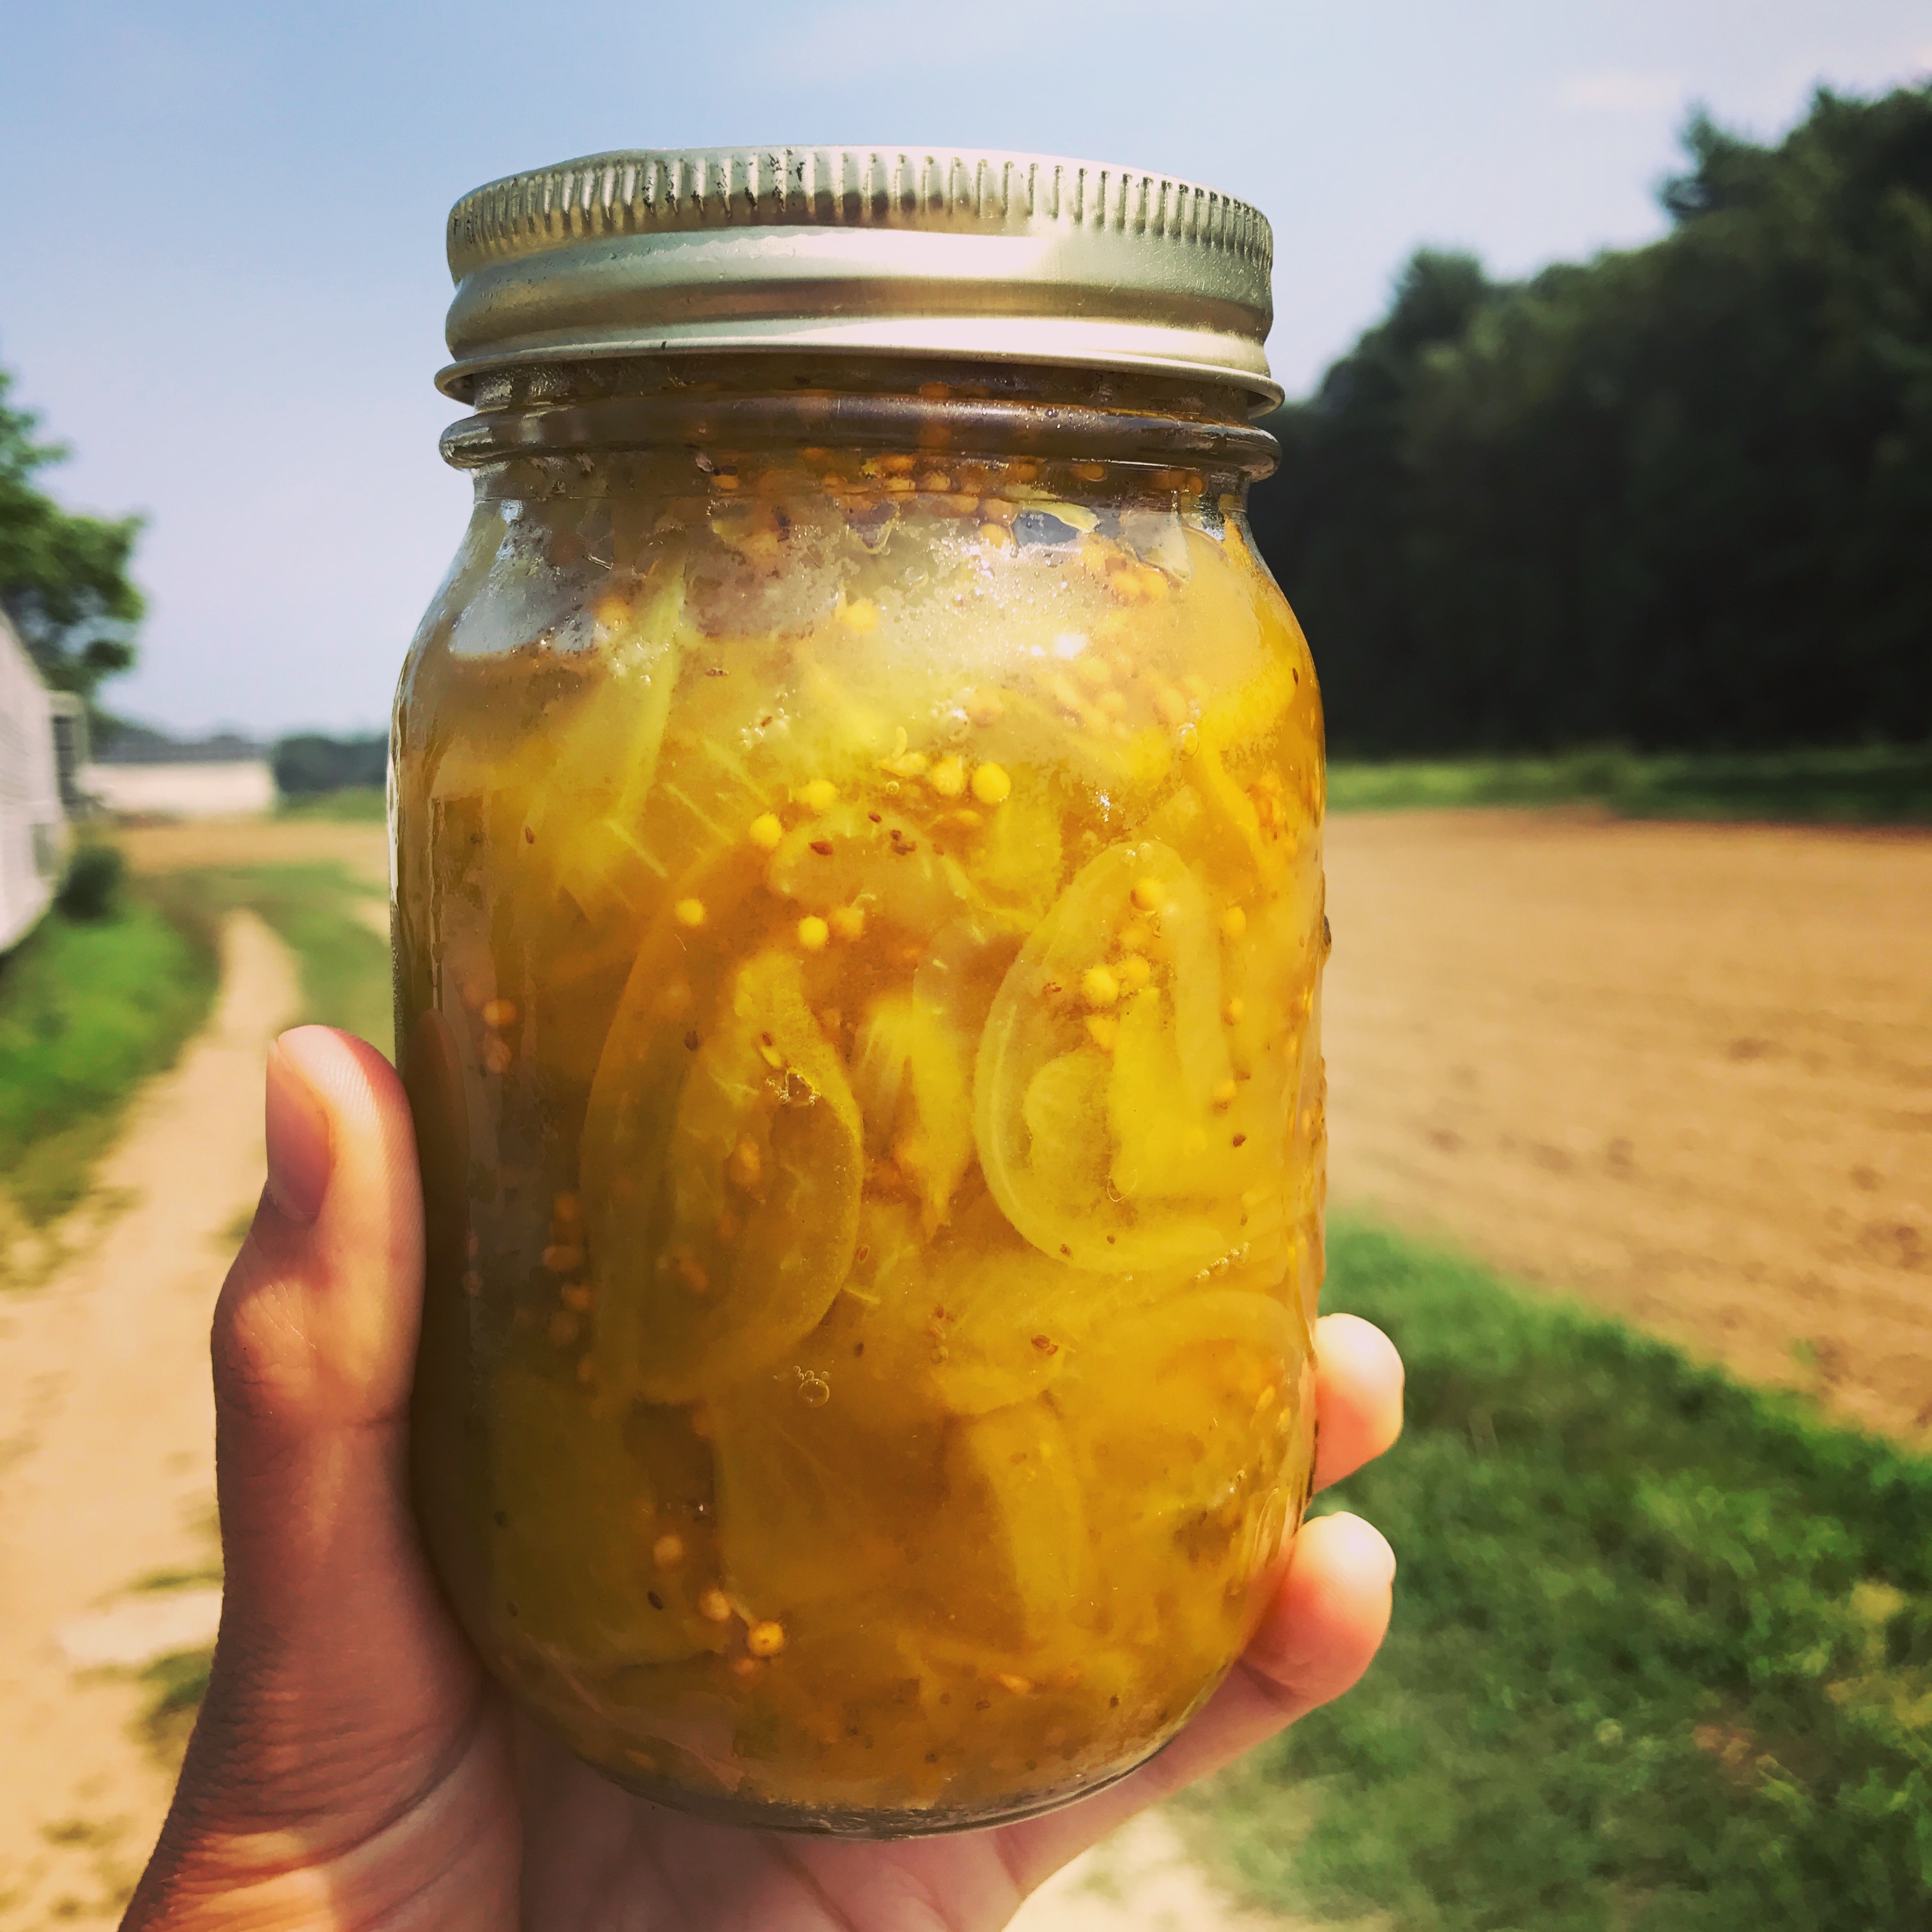
Classic bread and butter sweet pickles from Red Fire Farm
Fiddlehead Pickles from the University of Maine
Basic Pickled Jalapeno Peppers from Food in Jars
Here’s another great resource for canning recipes and methods: The National Center for Home Food Preservation.
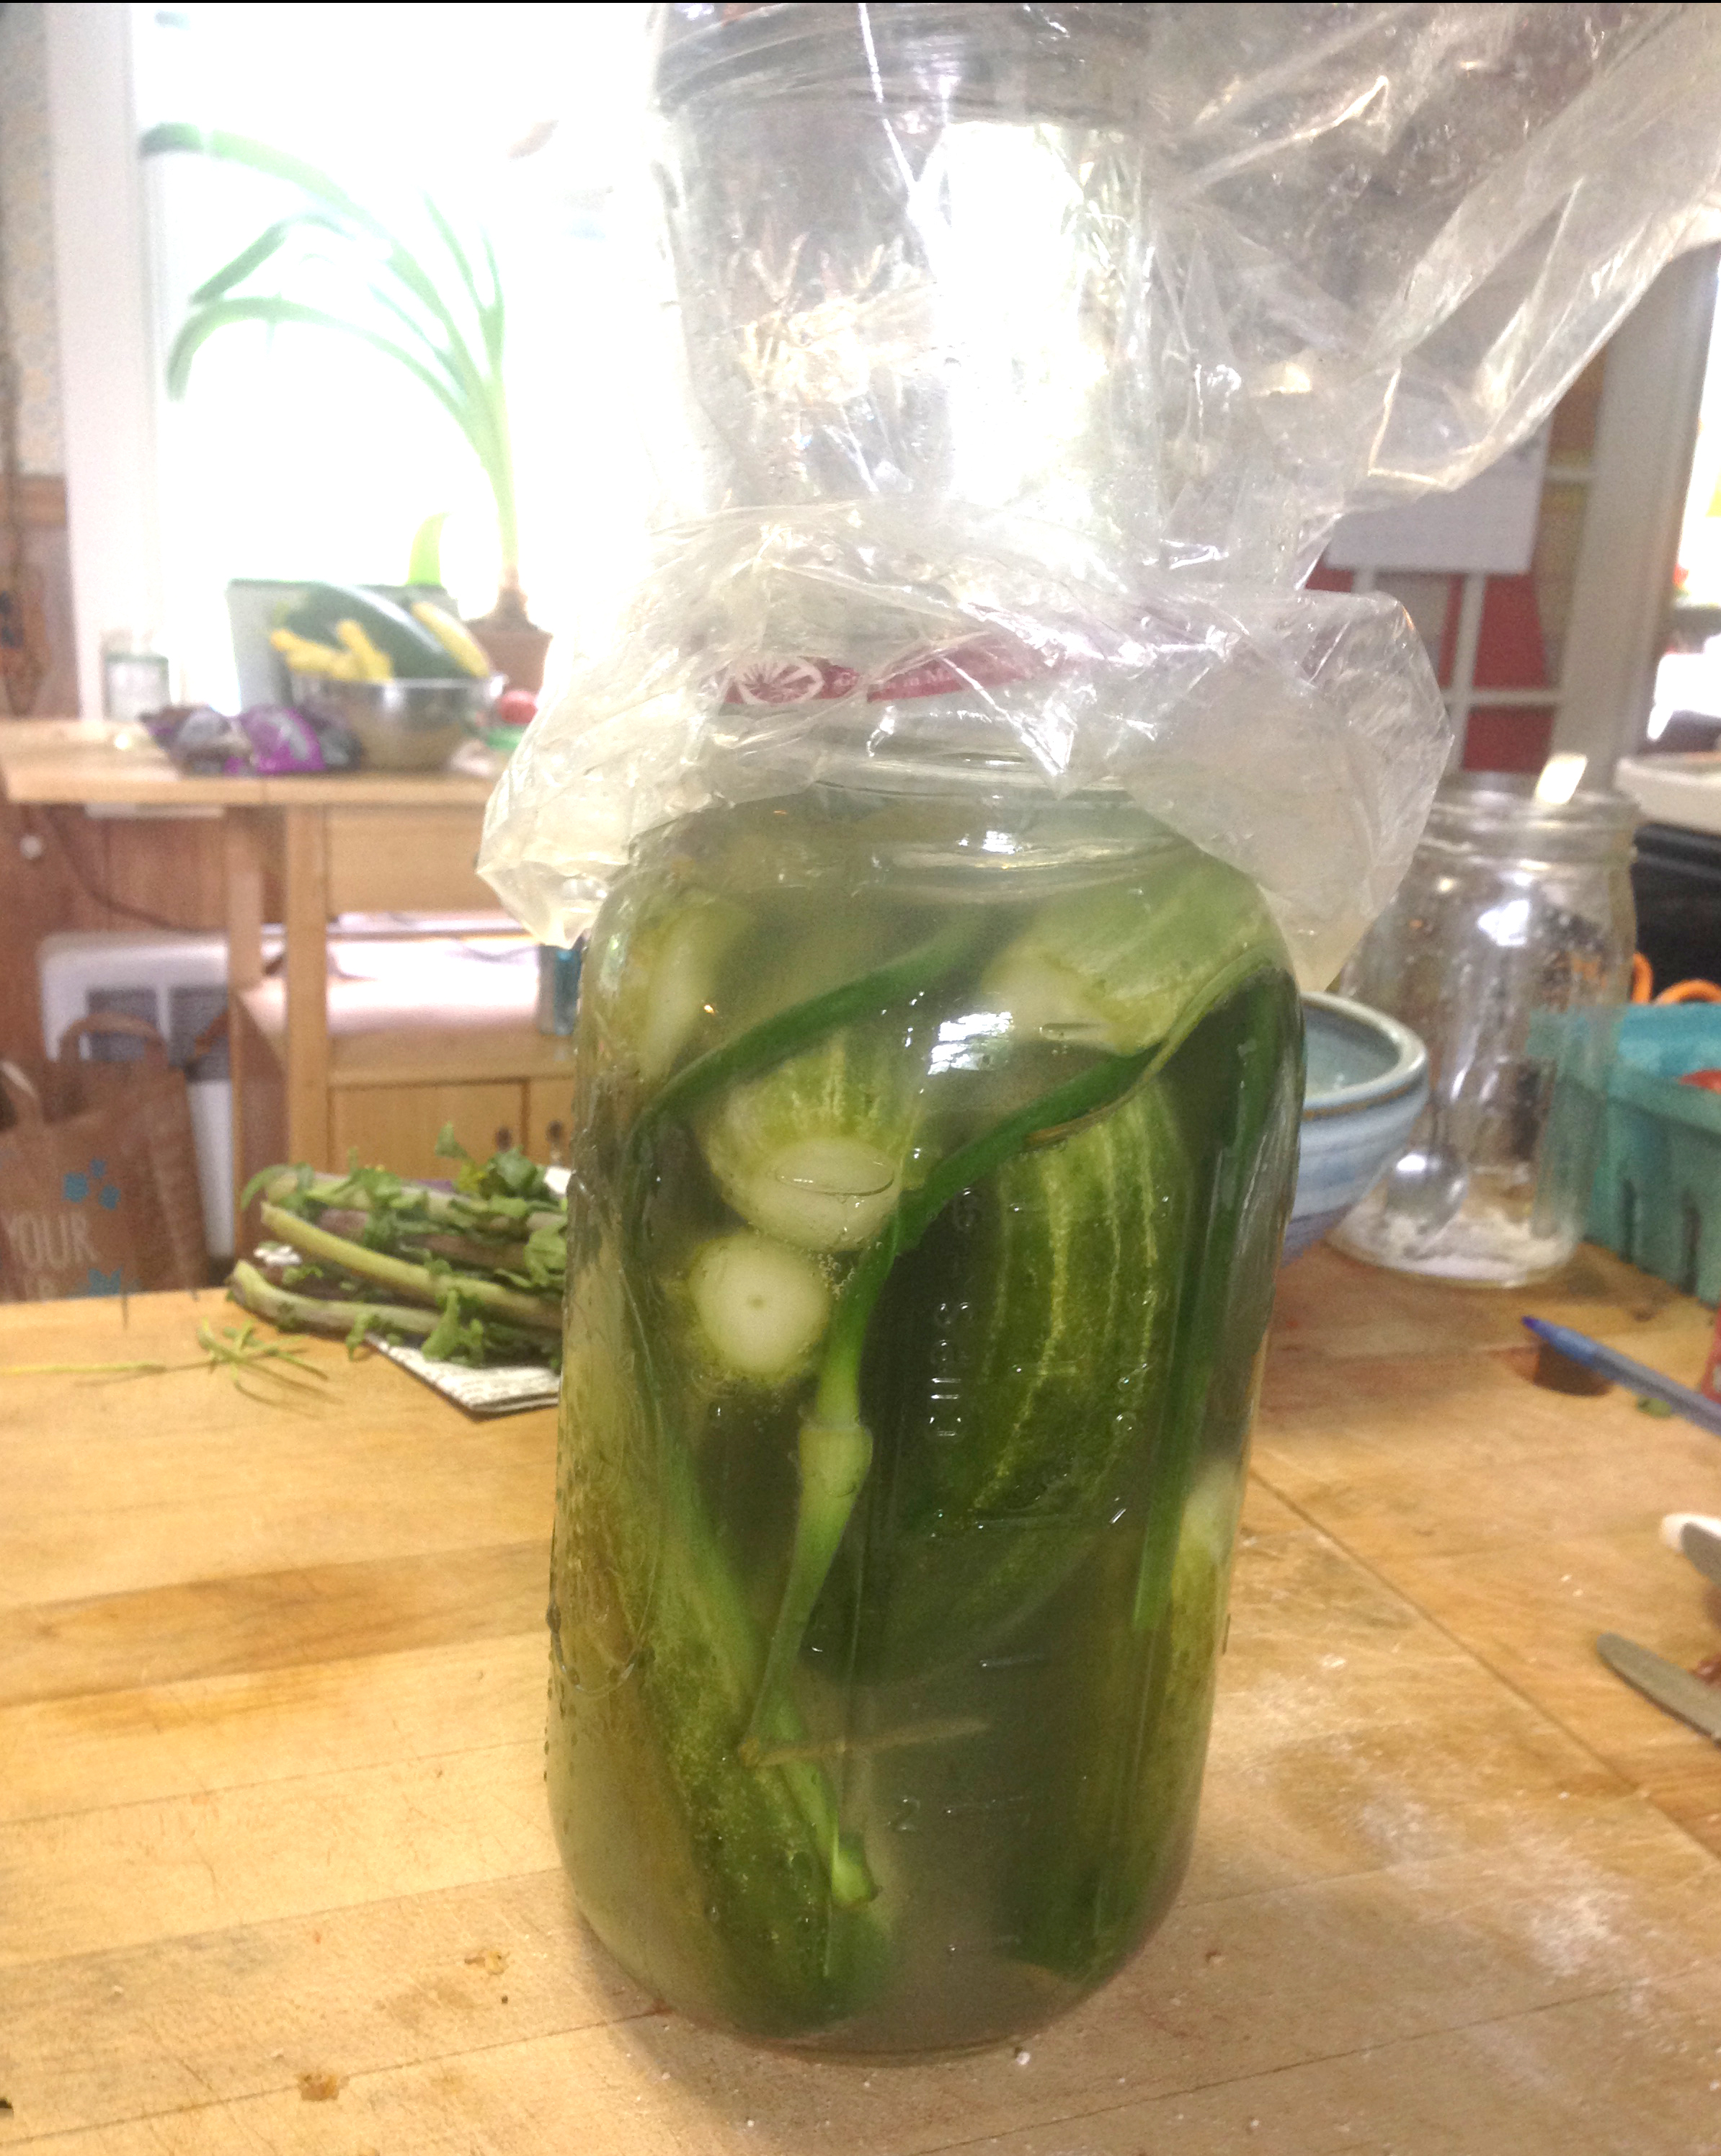
3. Lacto-fermented Pickles
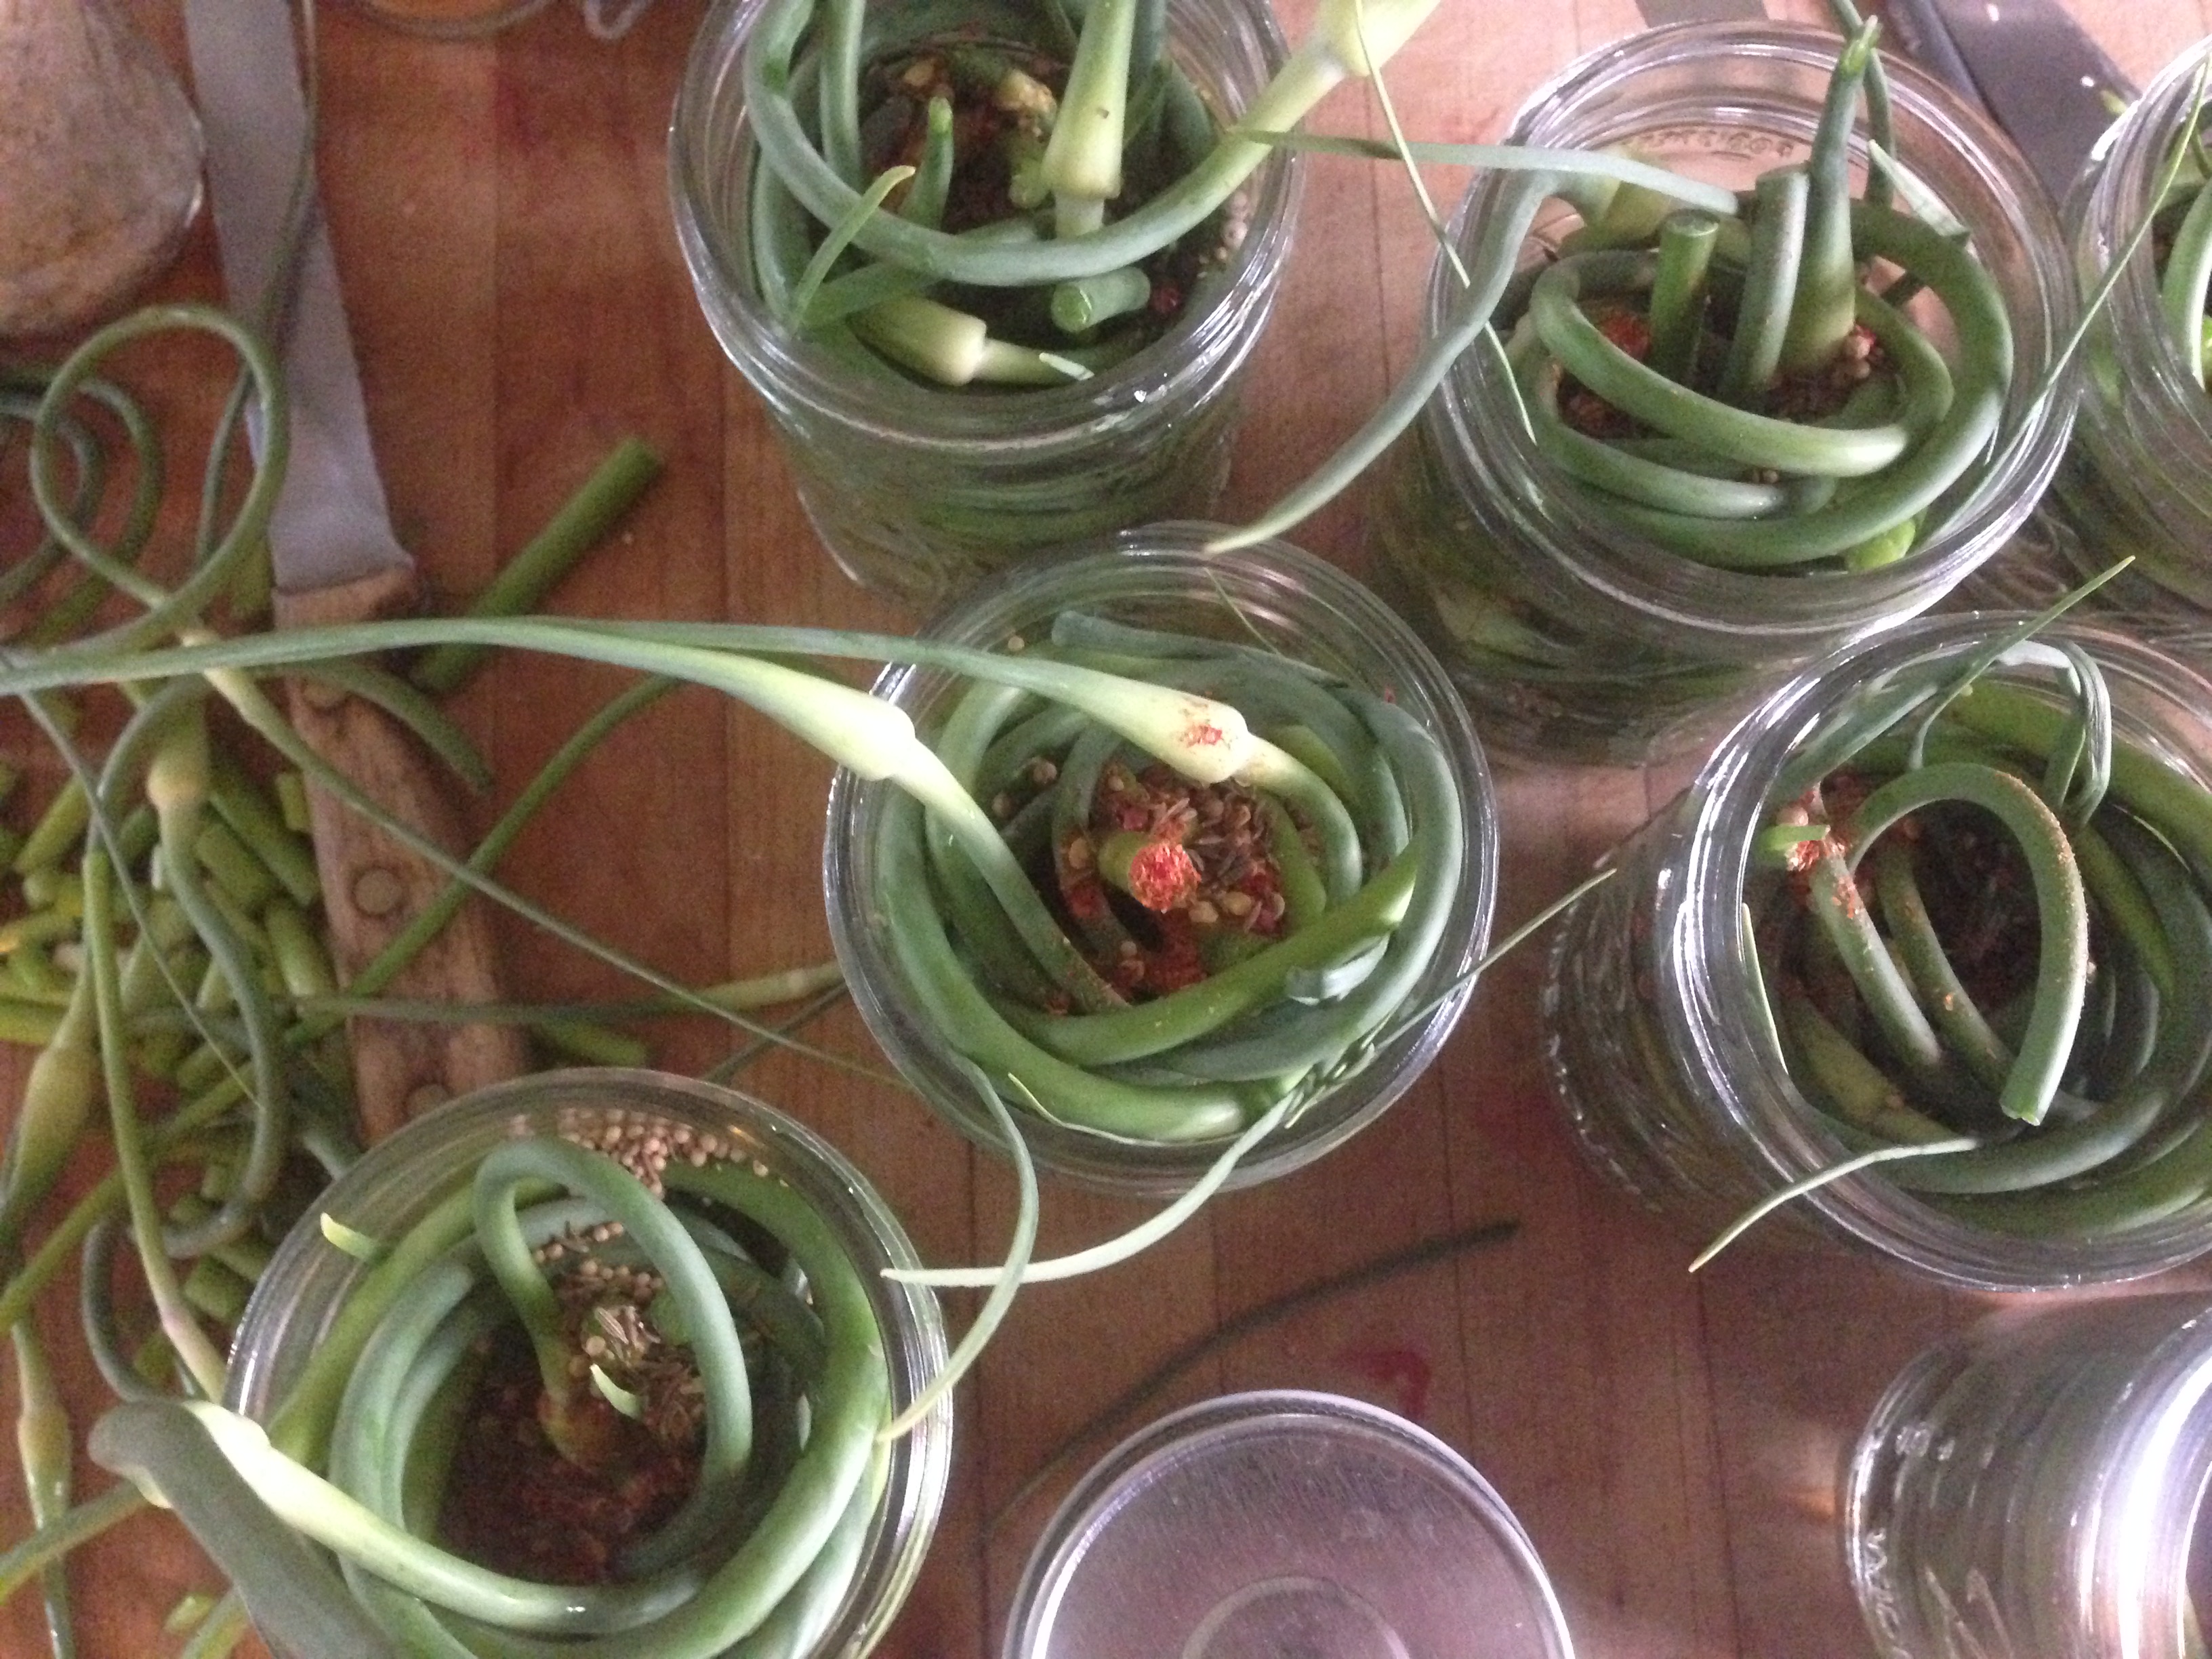
Lacto-fermenting cucumbers with garlic scapes and a couple wild harvested grape leaves to help keep them crunchy. You can see my methods here for keeping the cukes under the brine :)… Another canning jar full of water on top and a plastic bag twist-tied over all to limit air flow.
These are easy and really good for you. Fermentation preserves foods without cooking out the beneficial enzymes and probiotics. When you boil your jars in canning, that’s just a simple way of pasteurizing the contents. However, as you boil away potentially harmful bacteria, you also lose some of the really helpful microbes that your body needs to function and digest.
You can create a context for those beneficial bacteria to thrive, one that is also safe to eat. Thats how lactofermentation works. By submerging vegetables in a salty brine, you create anaerobic conditions that make wonderful, flavorful foods!
For more information on the health benefits of fermented foods, check out this page from Greenfield’s own Real Pickles. And there is new news that fermented foods may help reduce anxiety, which is lovely.
How to make them:
Wash and prep your vegetables to whatever size you like for eating. Weigh them out, and then weigh out salt at 2.5% of your vegetable weight. So for 1 lb of vegetables you would weigh out .025 lb of salt. Massage the vegetables with salt and pack into a very clean non-metal food-safe container, like a quart glass ball jar. Mash down with a weight of some kind, cover to prevent flies or dirt getting in (the less airflow the better), and let sit a few hours to bring out juices. If juices do not submerge the vegetables, add a little water until vegetables are fully submerged. This liquid is called brine. Let sit covered and weighted in a cool spot out of the sun for 3 weeks or so checking every couple days to skim mold off the top of the brine. You can taste them as they go and stop the ferment at any time you like it by putting it in the fridge. Read more details in the recipes and books below.
I have also had good success making a brine of about 2-3 Tbs salt per quart of water, mixing the 2 Tbs into some water and pouring that over cut vegetables in a quart jar, filling to cover the vegetables. This method is less exact. Half-gallon ball jars are pretty great containers for doing a batch for my family of four. In summer, lean towards more salt in the brine, especially for cucumber pickles.
Basic Tips:
- Use only sea salts or kosher salts that do not contain iodine or caking agents that could mess with your bacteria.
- Use non-chlorinated water.
- Keep vegetables submerged in brine at all times.
- You can ferment pretty much all produce and combining is fun, as is adding various spices and herbs.
- Add a few grape leaves, oak leaves, or horseradish leaves to your cucumber ferments to provide some tannins to help keep them crunchy.
Fun with your Brine:
Use your leftover brine, after eating your ferments, in mixed drinks and other food. Probiotic dirty martinis anybody 😉 Also great for adding to salad dressings, and anywhere else you can think of.
Fermenting Recipes:
Daikon Ginger Pickle from Red Fire Farm
Homemade Sauerkraut from Nourishing Kitchen
Fermented Sour Pickles from Wild Fermentation
Fermented Nettle Kimchi from The Fermentista’s Kitchen
Books We Like
Consider supporting your local book store if you purchase these titles! Most allow you to pre-order for pickup.
The Pickled Pantry: from Apples to Zucchini, 150 Recipes for Pickles, Relishes, Chutneys & More by Andrea Chesman
Asian Pickles: Sweet, Sour, Salty, Cured, and Fermented Preserves by Karen Solomon
Put ‘Em Up! A Comprehensive Home Preserving Guide for the Creative Cook by Sherri Brooks Vinton
Wild Fermentation: the Flavor, Nutrition, and Craft of Live Culture Foods by Sandor Ellix Katz
Fermented Vegetables: Creative Recipes for Fermenting 64 Vegetables & Herbs in Krauts, Kimchis, Brined Pickles, Chutneys, Relishes, and Pastes by Kirsten and Christopher Shockey
Happy pickling! We’d love to see photos of your final products and swap recipes: send them to recipes@redfirefarm.com, or share on our farm Facebook or Instagram.
You can get ingredients for preserves by ordering in Bulk from the farm. We update our bulk order page frequently to reflect what’s seasonal and available. Or visit our farmers’ markets and produce stands for daily selections of organic produce. Thanks for reading and we hope to see you around the farm!
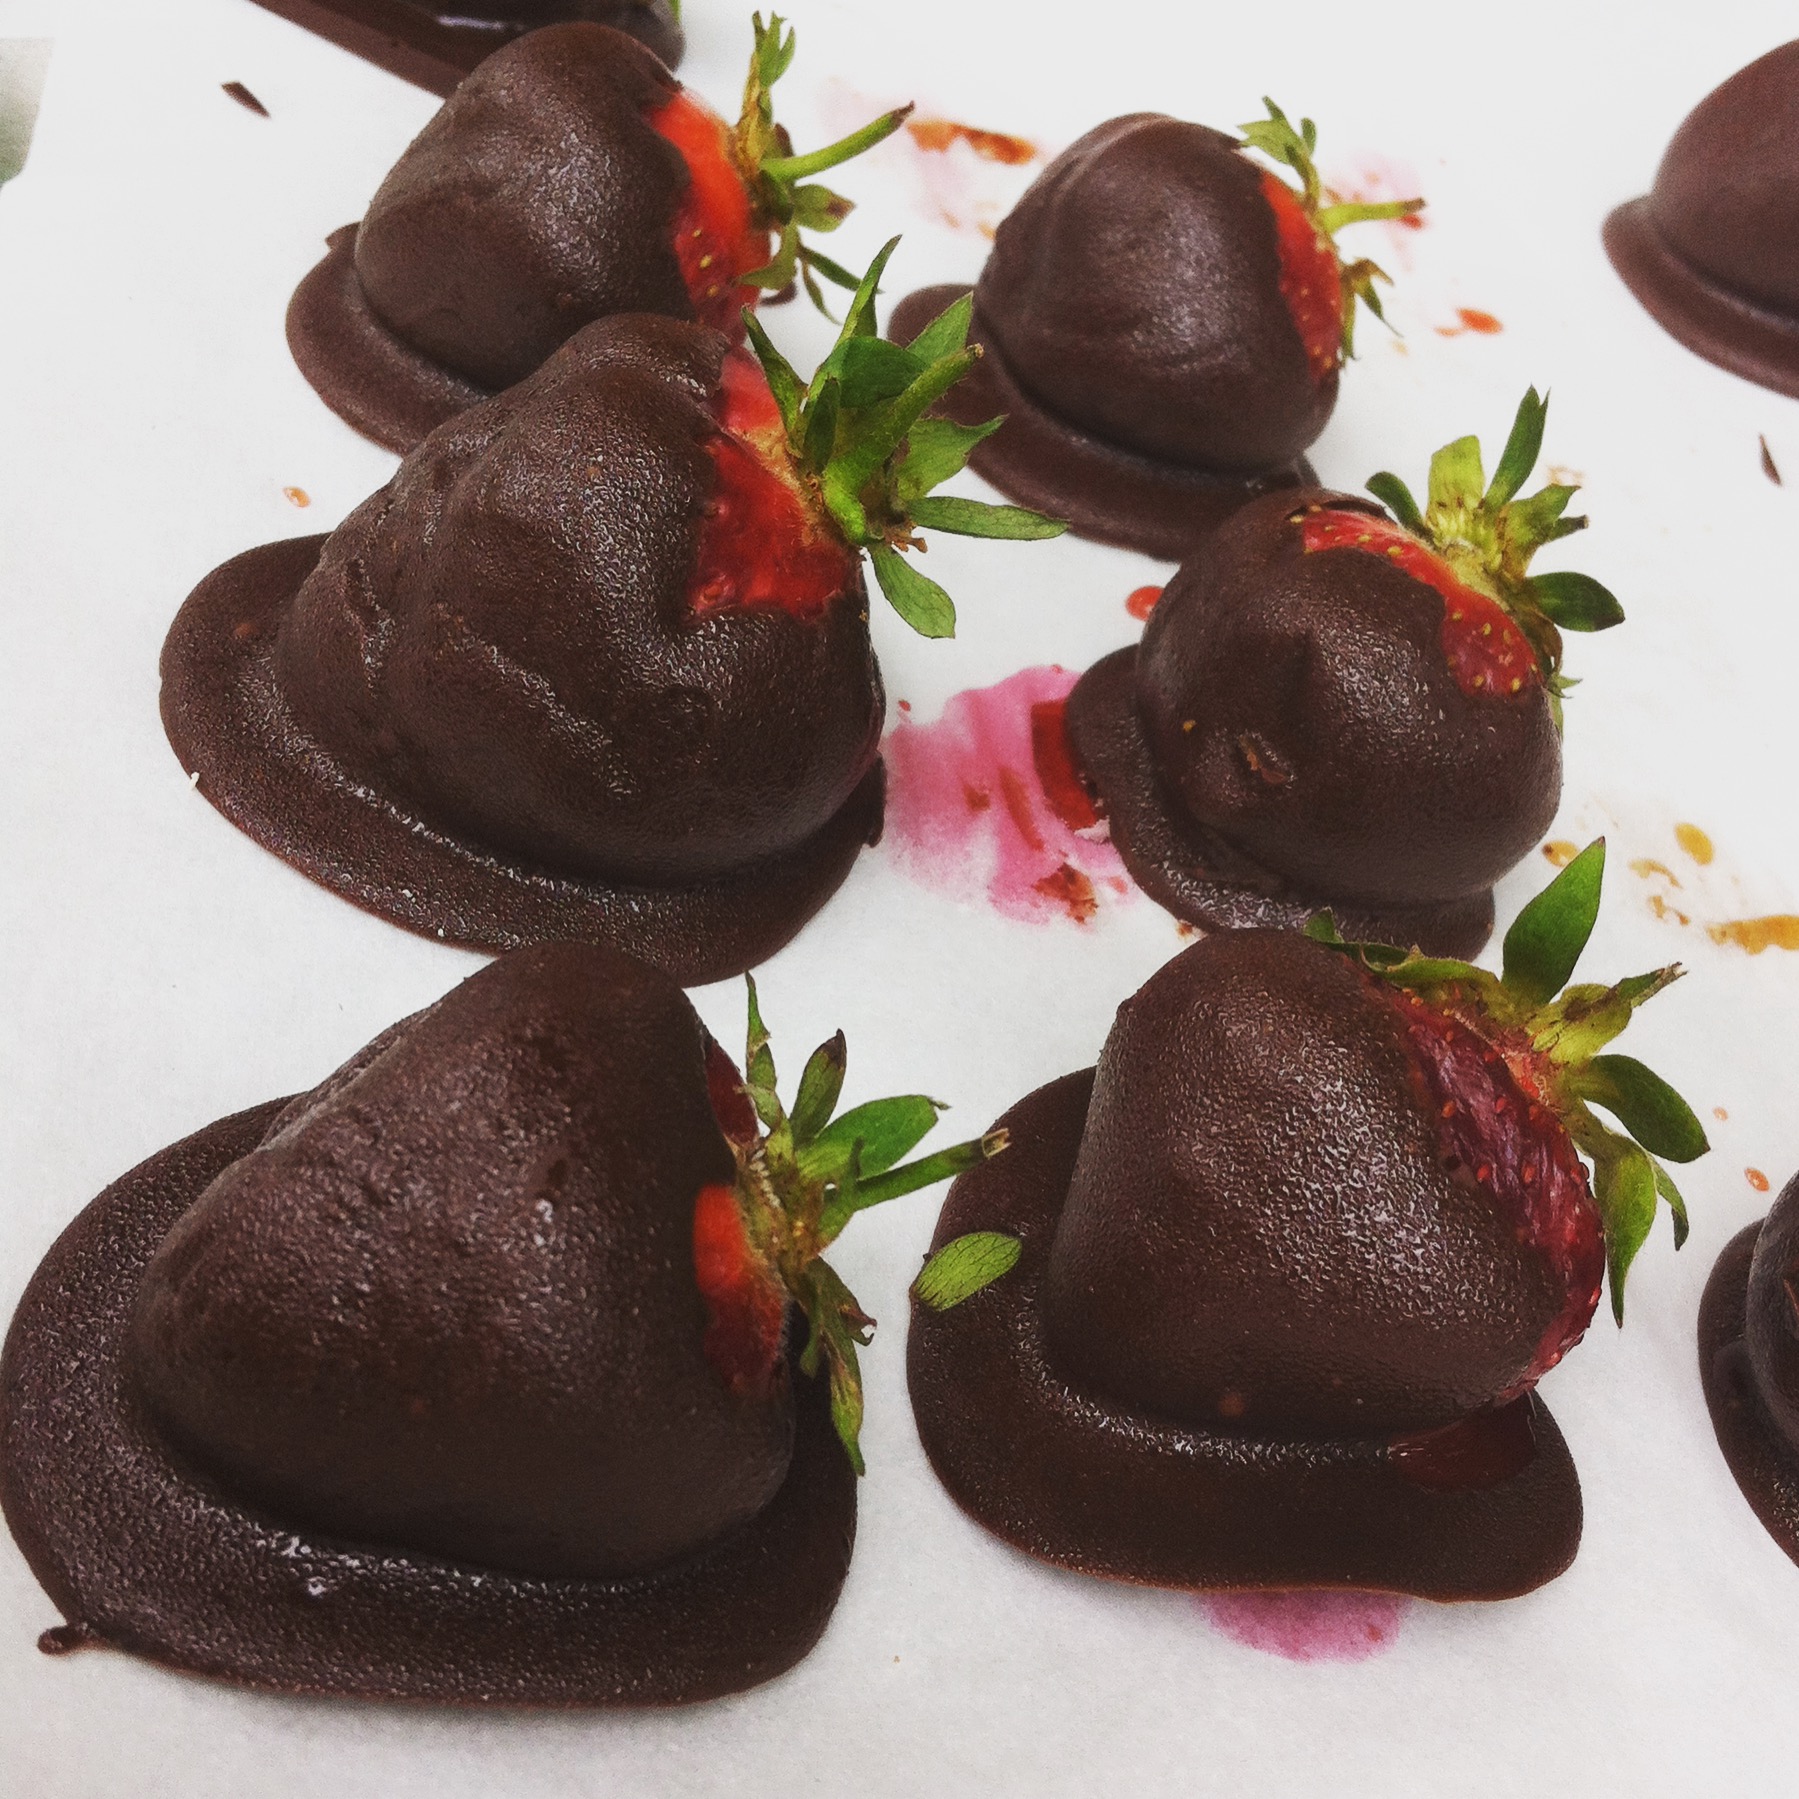
The Art of Chocolate Covered Strawberries
Chocolate + strawberries = heavenly.
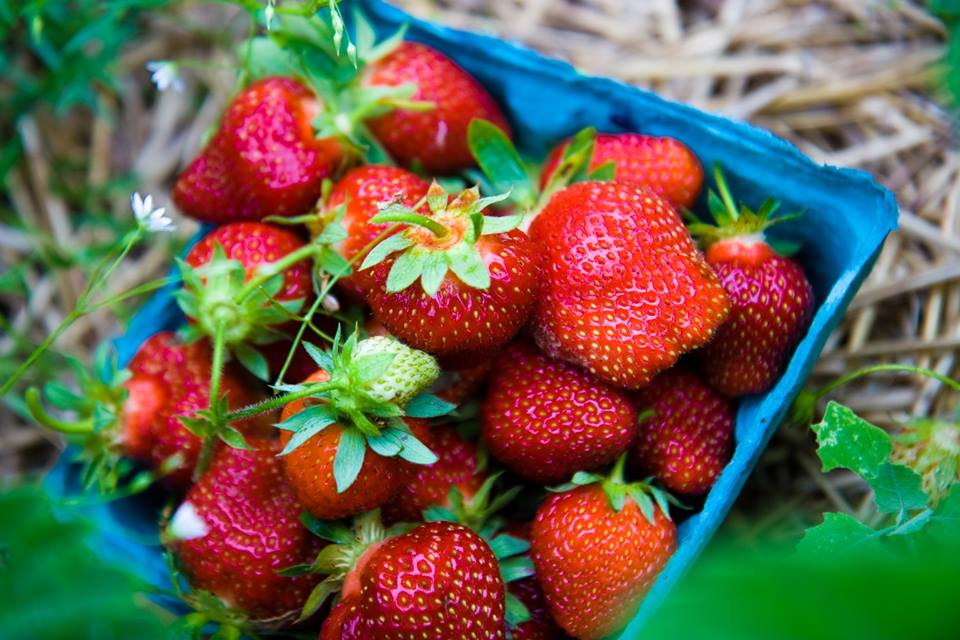
Farm-fresh organic berries and decadent chocolate go together very easily for a wonderful dessert or gift.
We keep our fresh berries stocked at our farm stores in Granby and Montague and at summer markets during the month of June. You can also come and Pick Your Own! Or order in bulk on our website. While this short season lasts, chocolate dipped berries are one of our favorite things to eat.
Six Tips for perfecting the art:
1. Ripe strawberries are key!
You want sweet and flavorful berries. When selecting the berries to dip in chocolate make sure they are ripe and red but not so ripe that they are mushy. Bright green greens of super-fresh berries are prettiest.
2. Keep them at room temperature.
Before covering them in chocolate, refrain from putting them in the fridge-let the berries sit on the counter for a bit, as water will condense on cold berries.
3. Wash AND dry!
When prepping your berries for chocolate make sure they aren’t wet. Damp berries will cause the chocolate to clump and loose its smooth texture.
4. Choose the chocolate you love
– Use dark chocolate or milk chocolate bars or your favorite chocolate chips. Taza Chocolate is made in Somerville, MA, and their dark bars are wonderful for this.
5. Melt chocolate with a double boiler.
Put some water in a sauce pan and with heat-safe bowl on top. The water in the sauce pan should be high enough to surround most of the bowl but not high enough that it gets in the bowl. Keep the water at a low simmer, put the chocolate with some milk in the bowl and stir until it melts!
6. Get creative!
Chocolate is perfect on its own on berries but don’t be afraid to personalize the recipe. Add some white chocolate drizzle, toasted coconut, sprinkles, slivered almonds, or crushed walnuts to your berries!
A Recipe for Making Chocolate Covered Strawberries
This recipe makes enough for a small batch. Double or so for more.
1 cup chocolate chips or broken up chocolate bar
1 1/2 tsp coconut oil (this makes the chocolate smoother, shortening can be used also)
6-12 Strawberries
Melt the chocolate in a double boiler with the coconut oil, mixing well ’til smooth. Prep a plate or baking sheet with parchment or wax paper on top. When the chocolate is smooth, hold the berries by the stem or greens and dip each berry in, twisting to coat each side. Then lay the berry on the parchment paper. They look pretty when you can still see some of the red top of the berry.
Put your full plate of berries into the refrigerator for 15 minutes or so to set the chocolate. Then they are ready to serve!
Additions to sprinkle on top right after dipping in chocolate:
Melted white chocolate, drizzled decoratively using a fork
Coconut flakes (toasted or untoasted)
Finely chopped nuts, like walnuts, pecans, slivered almonds, or cashews
Salt or sugar crystals
Sprinkles
Bacon crumbles (what?! 🙂
Pretzel shards
Enjoy!
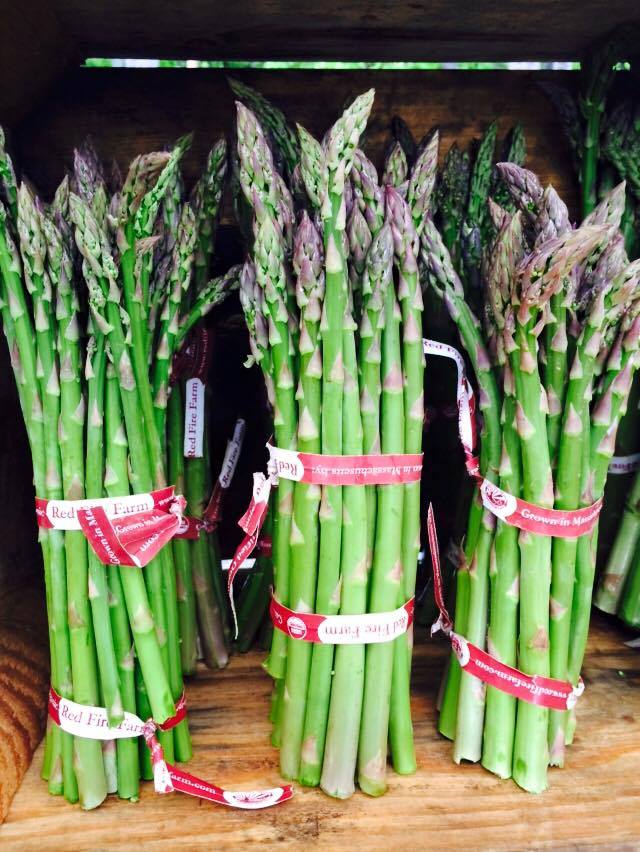
Oven-Roasted Asparagus
|
Take 1-2 bunches of asparagus, wash and trim. Lay on a baking sheet with a sliced red onion or chopped green garlic (optional). Toss with 3-4 tbs olive oil, 1 tbs balsamic vinegar, 2 tbs soy sauce. Bake at 400 until tender, or starting to brown. You can stir them once if you are like me and enjoy them cooked a little longer and browner. Sea salt to taste. Fresh organic asparagus at our stands in Granby and Montague in May and early June! Local asparagus is only around for a couple weeks. Not a bad idea to eat it daily while it’s here… |

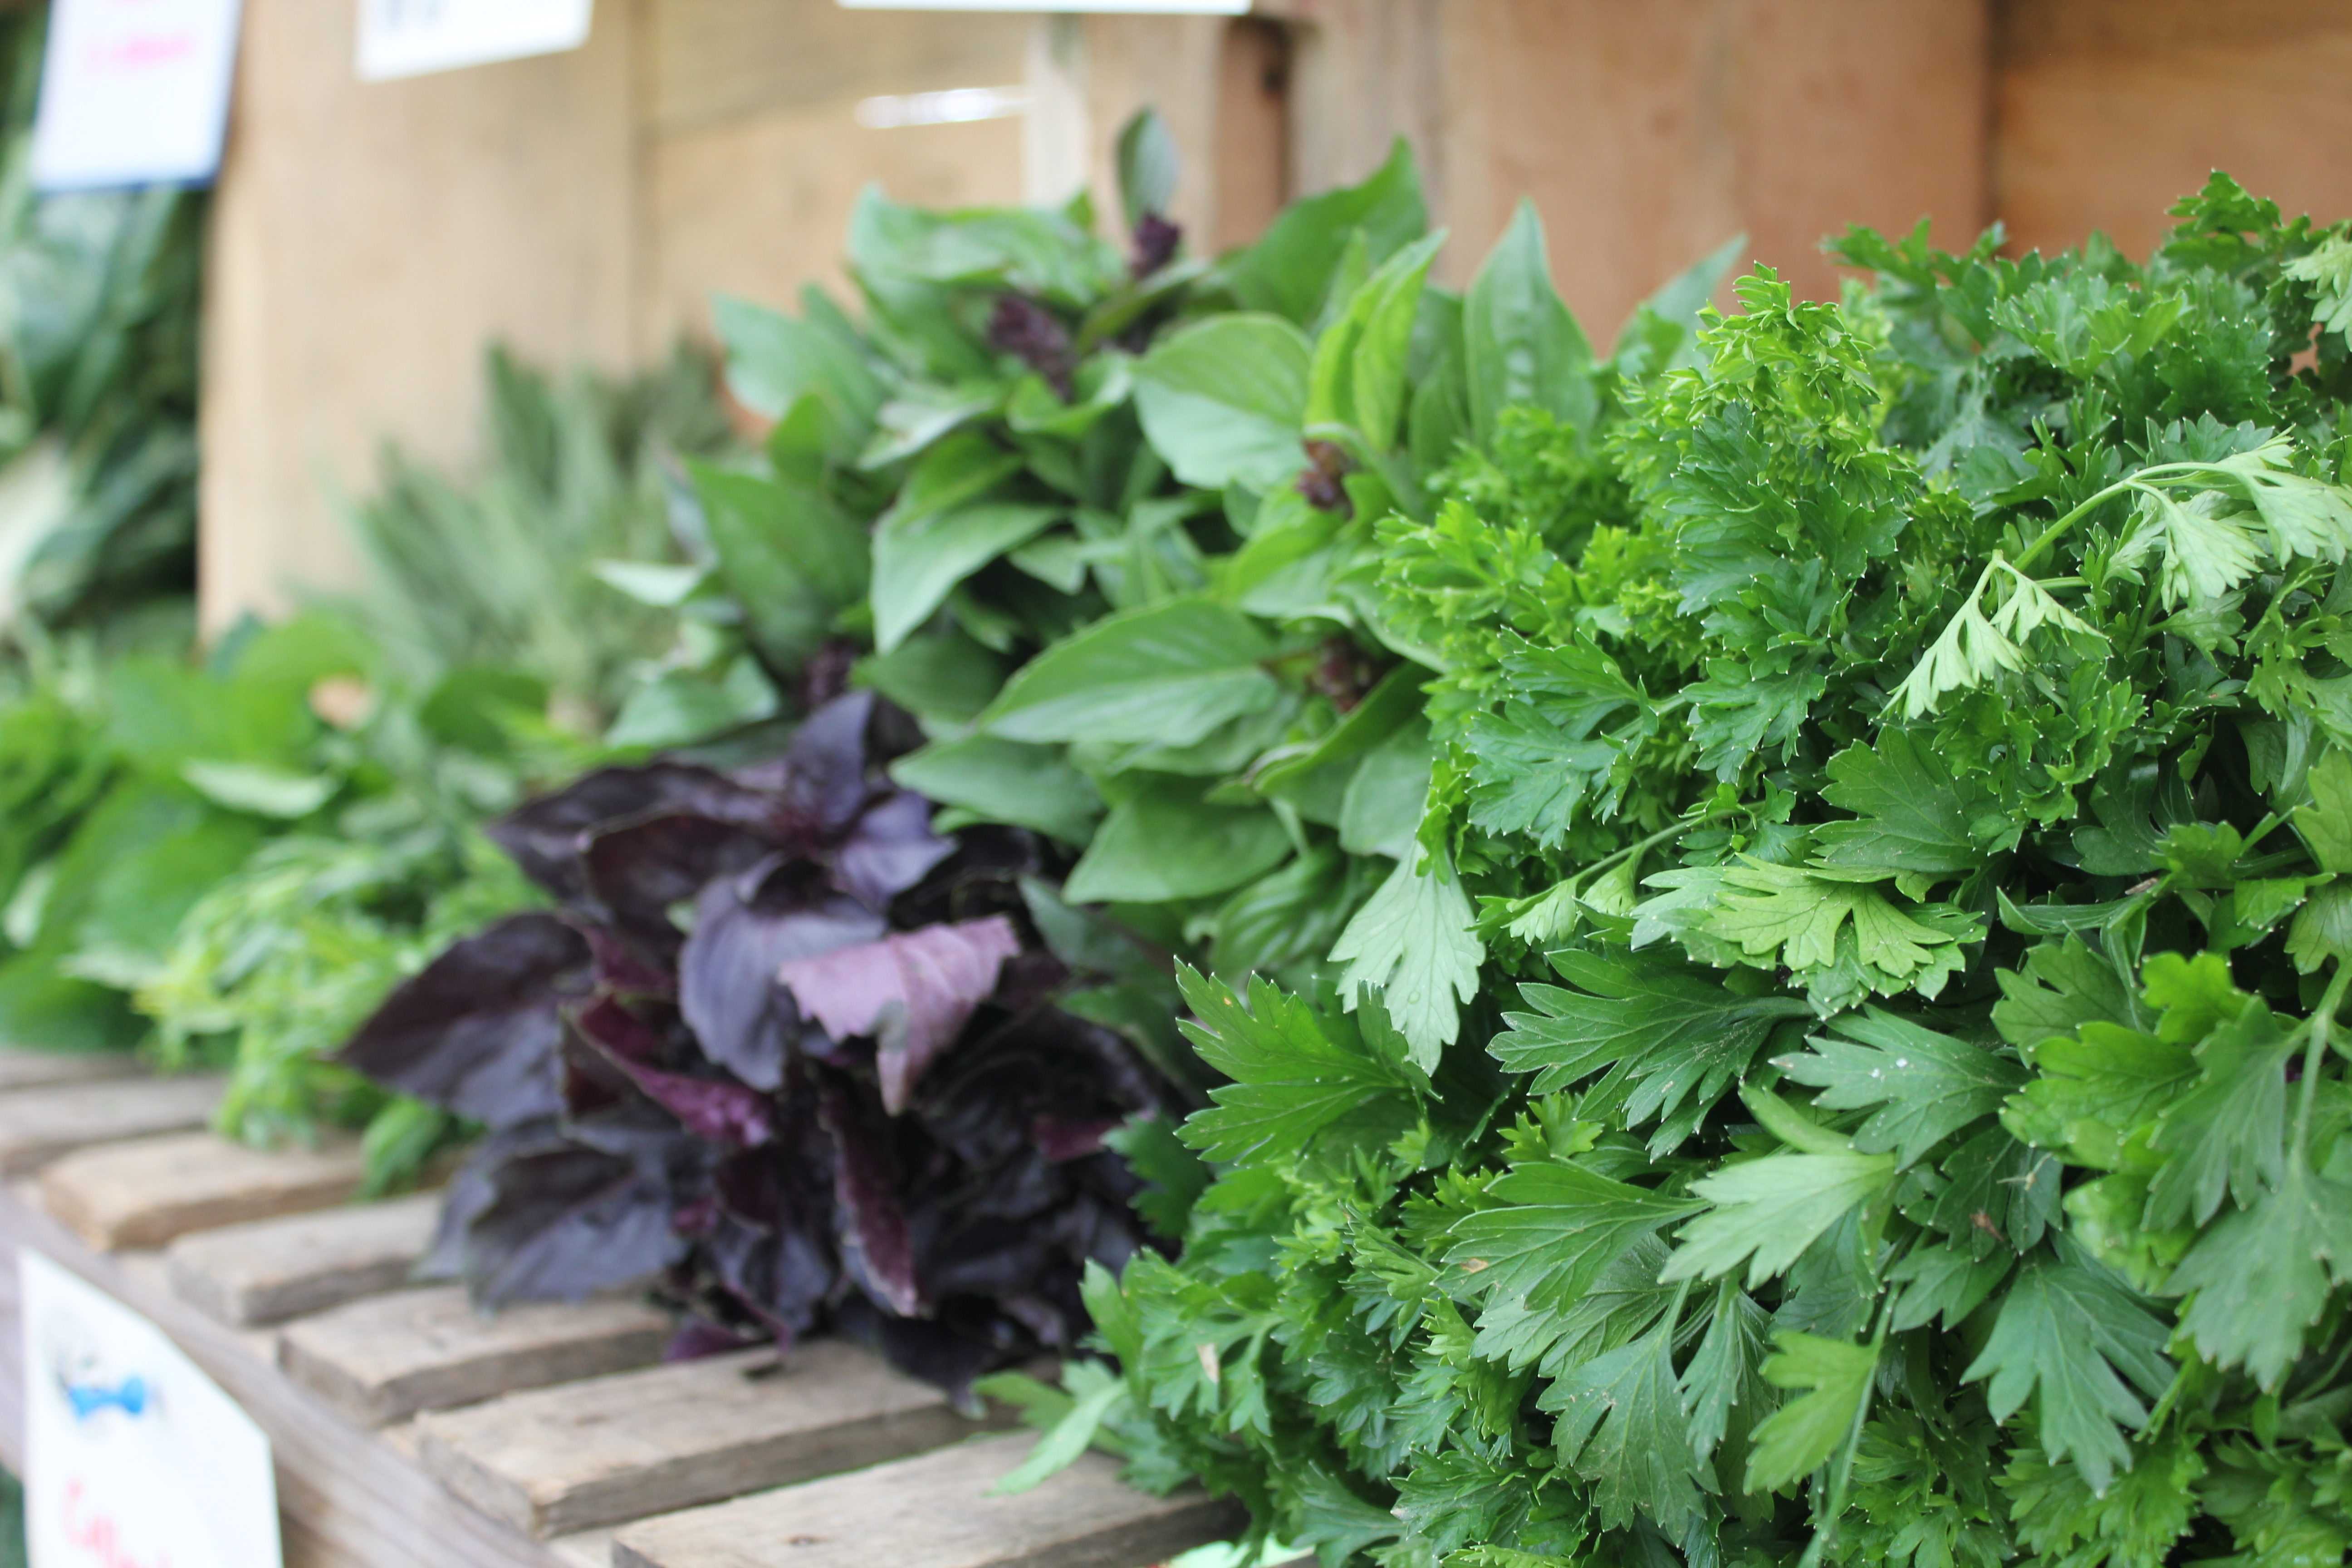
Pesto
Putting up pesto for winter is a great idea when basil is plentiful. Once made, pesto freezes really well in ice cube trays or other portion-sized containers. We have bulk basil available for ordering and also basil and parsley in the PYO patch.
2 cups fresh basil leaves, packed
1 cup parsley sprigs
1/3 cup freshly grated Parmesan-Reggiano or Romano cheese
1/3 cup extra virgin olive oil
1/3 cup pine nuts or walnuts
3 medium sized garlic cloves, minced
Salt and freshly ground black pepper to taste
In a blender or food processor, combine all ingredients and pulse until desired smoothness is reached. Have with fresh diced tomatoes on pasta or a sandwich.

Freezing Summer Produce
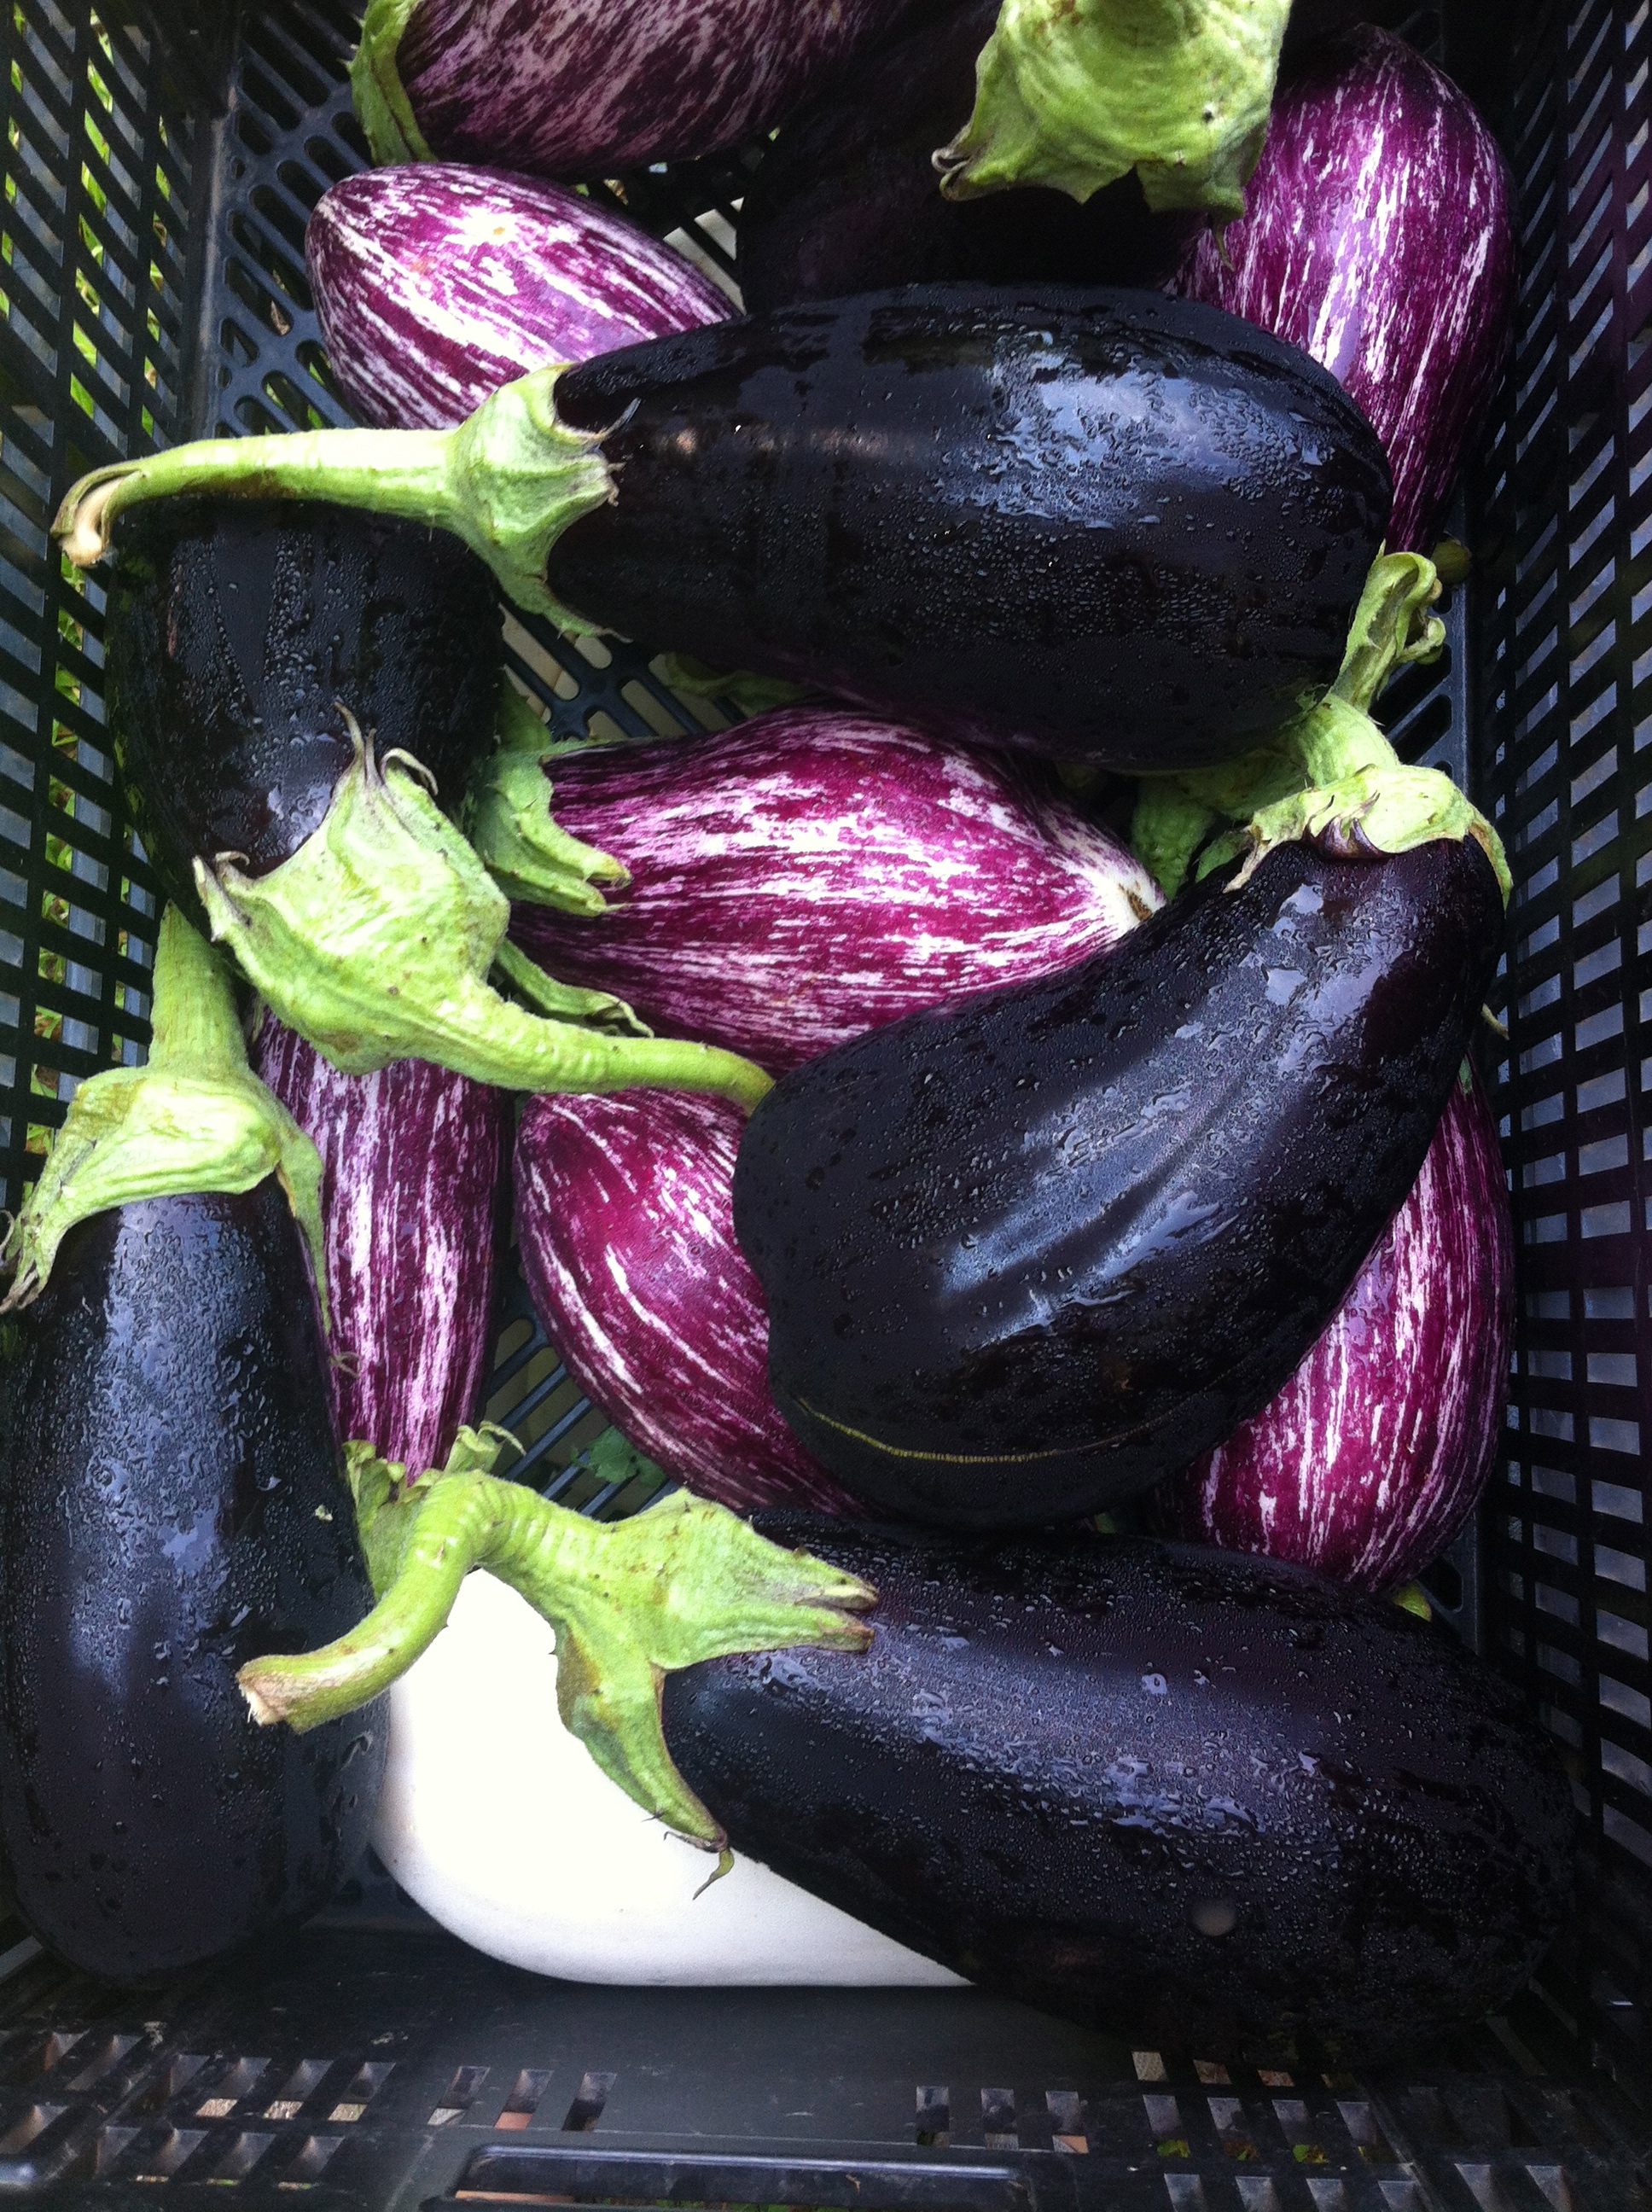
Having frozen peppers, zucchini, and eggplant on hand is perfect for lasagna, stir fry, pizza, pasta sauce, ratatouille, baked goods, and so many other recipes.
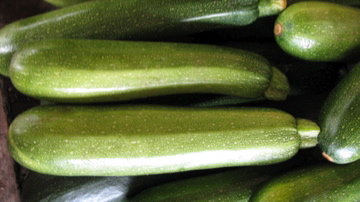
Summer Squash and Zucchini
Grate summer squash or zucchini or cut into slices. (Food processors are great here.) Blanch for 3 minutes. Toss into a strainer and rinse with cold water until cooled. Store in a freezer bag, in the freezer!
Many folks don’t blanch the grated version, and it preserves well. If you have a zucchini bread or other recipe you really like, freeze measured bags in the quantity that recipe requires.
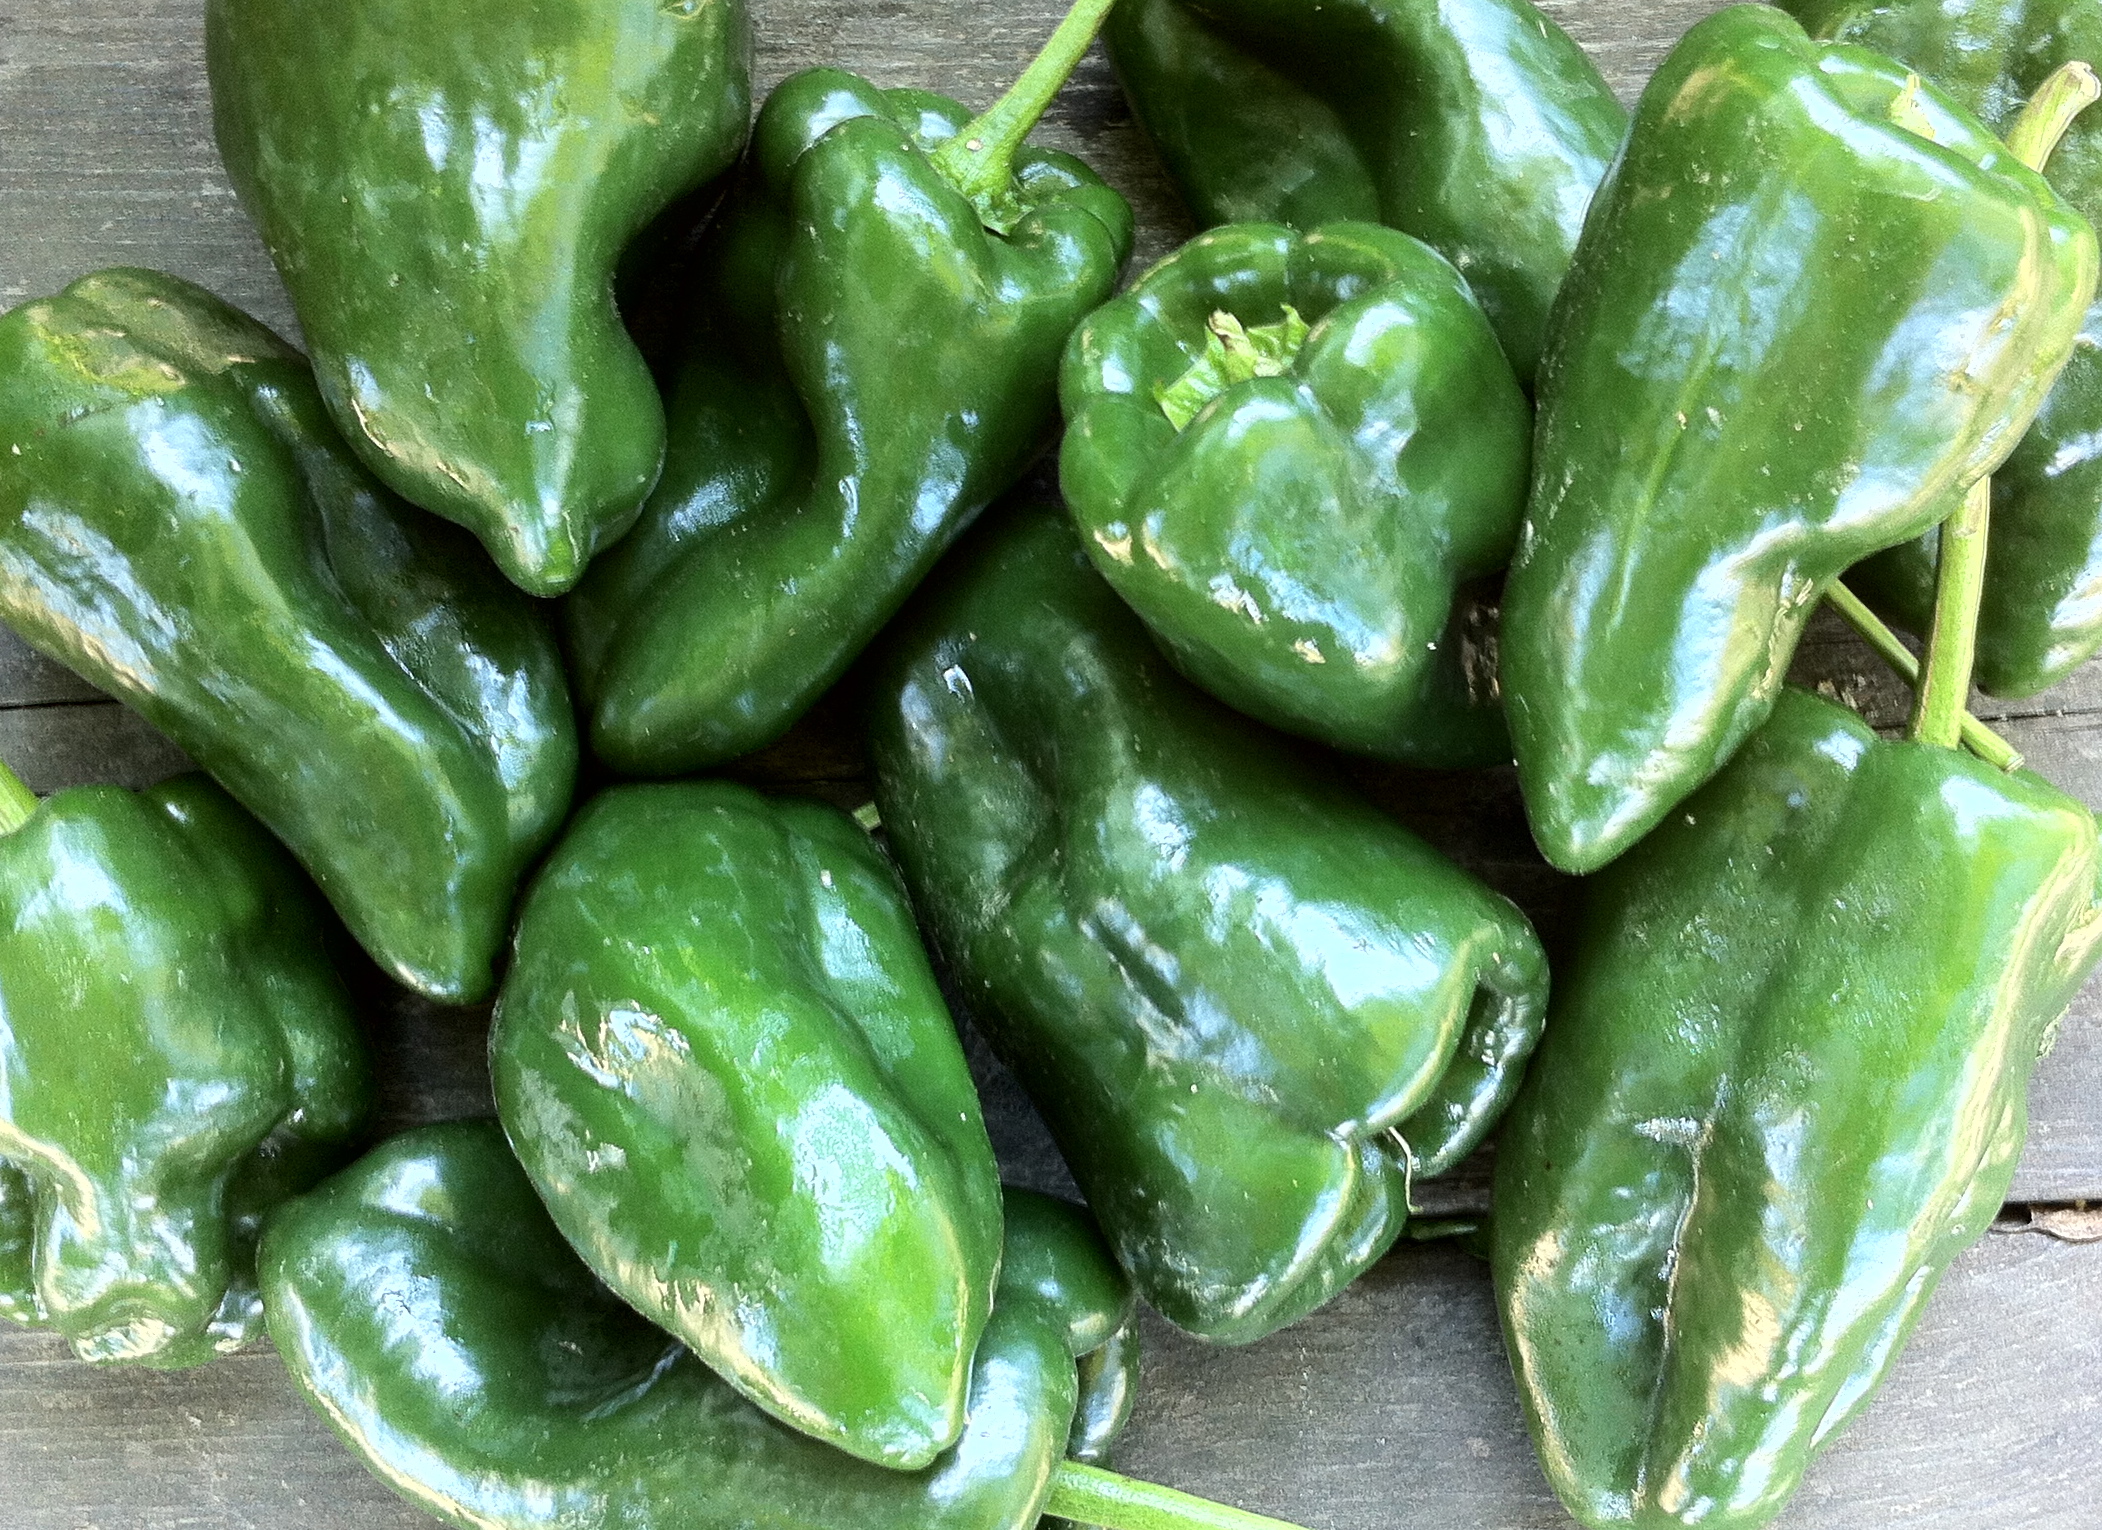
Freezing peppers is the easiest preserving you can do! Just core out the seeds and cut out any bad spots, chop to your desired size, and freeze. No blanching needed. This is true of all types of peppers, green, colorful, hot, whatever you’ve got.
We just quickly chop them into big sections that are flat for fitting more in the freezer, and then cut those up to whatever size when we take them out for use.
And they are really great color and flavor to have later in the winter chopped up into sauces and stirfrys.
Freezing peppers ready for stuffing is really great also because they don’t need all the baking time to soften. Doing Jalapenos like that for filling with cream cheese is quite tasty.
Roasted Peppers
Heat broiler on high. Roast peppers whole on a sheet pan for 10 minutes. Rotate browned peppers and broil another 10 minutes. Throw into a pot and cover. When cool to handle, slip most of the skin off, de-stem and de-seed. Store in olive oil in the fridge or serve immediately.
Set aside a bowl of cold water. Cut the eggplant in half inch slices or strips and submerge in boiling water. This may be difficult since eggplants like to float, but be creative in keeping them underwater. When the water returns to a boil, wait 40 seconds and then remove and dump them in the cold water to stop all cooking. Place eggplant on a cookie tray and place in the freezer until eggplant is frozen. Frozen eggplant can now be bagged up and individual slices can be removed and defrosted for any of your midwinter cooking needs.

Quickles: Refrigerator Pickles
1 lb. pickling cucumbers
1 cup white vinegar
2 cups cold water
1 T sugar
2 T kosher salt
1 t. mustard seed
1 t. whole peppercorns
1⁄2 t. red pepper flakes
1 cup fresh dill
5 cloves garlic, peeled
Evenly divide the garlic, dill and cucumbers among four wide-mouthed pint jars. You can cut up the pickling cukes however you want, from slices to halves, etc. (smaller slices soak up the flavor faster). You can pack as many cukes into the jars as possible, even more than the recipe calls for if there’s space.
In a bowl, mix together vinegar, water, red pepper flakes, salt, mustard seed and dill seed to make a flavored brine. Use a funnel to fill each jar with brining liquid. If the cukes aren’t mostly covered, you can add a little more cold water and shake it up. Cap tightly and refrigerate at least one week before eating (or eat some right away and every day after, to see what they’re like:).

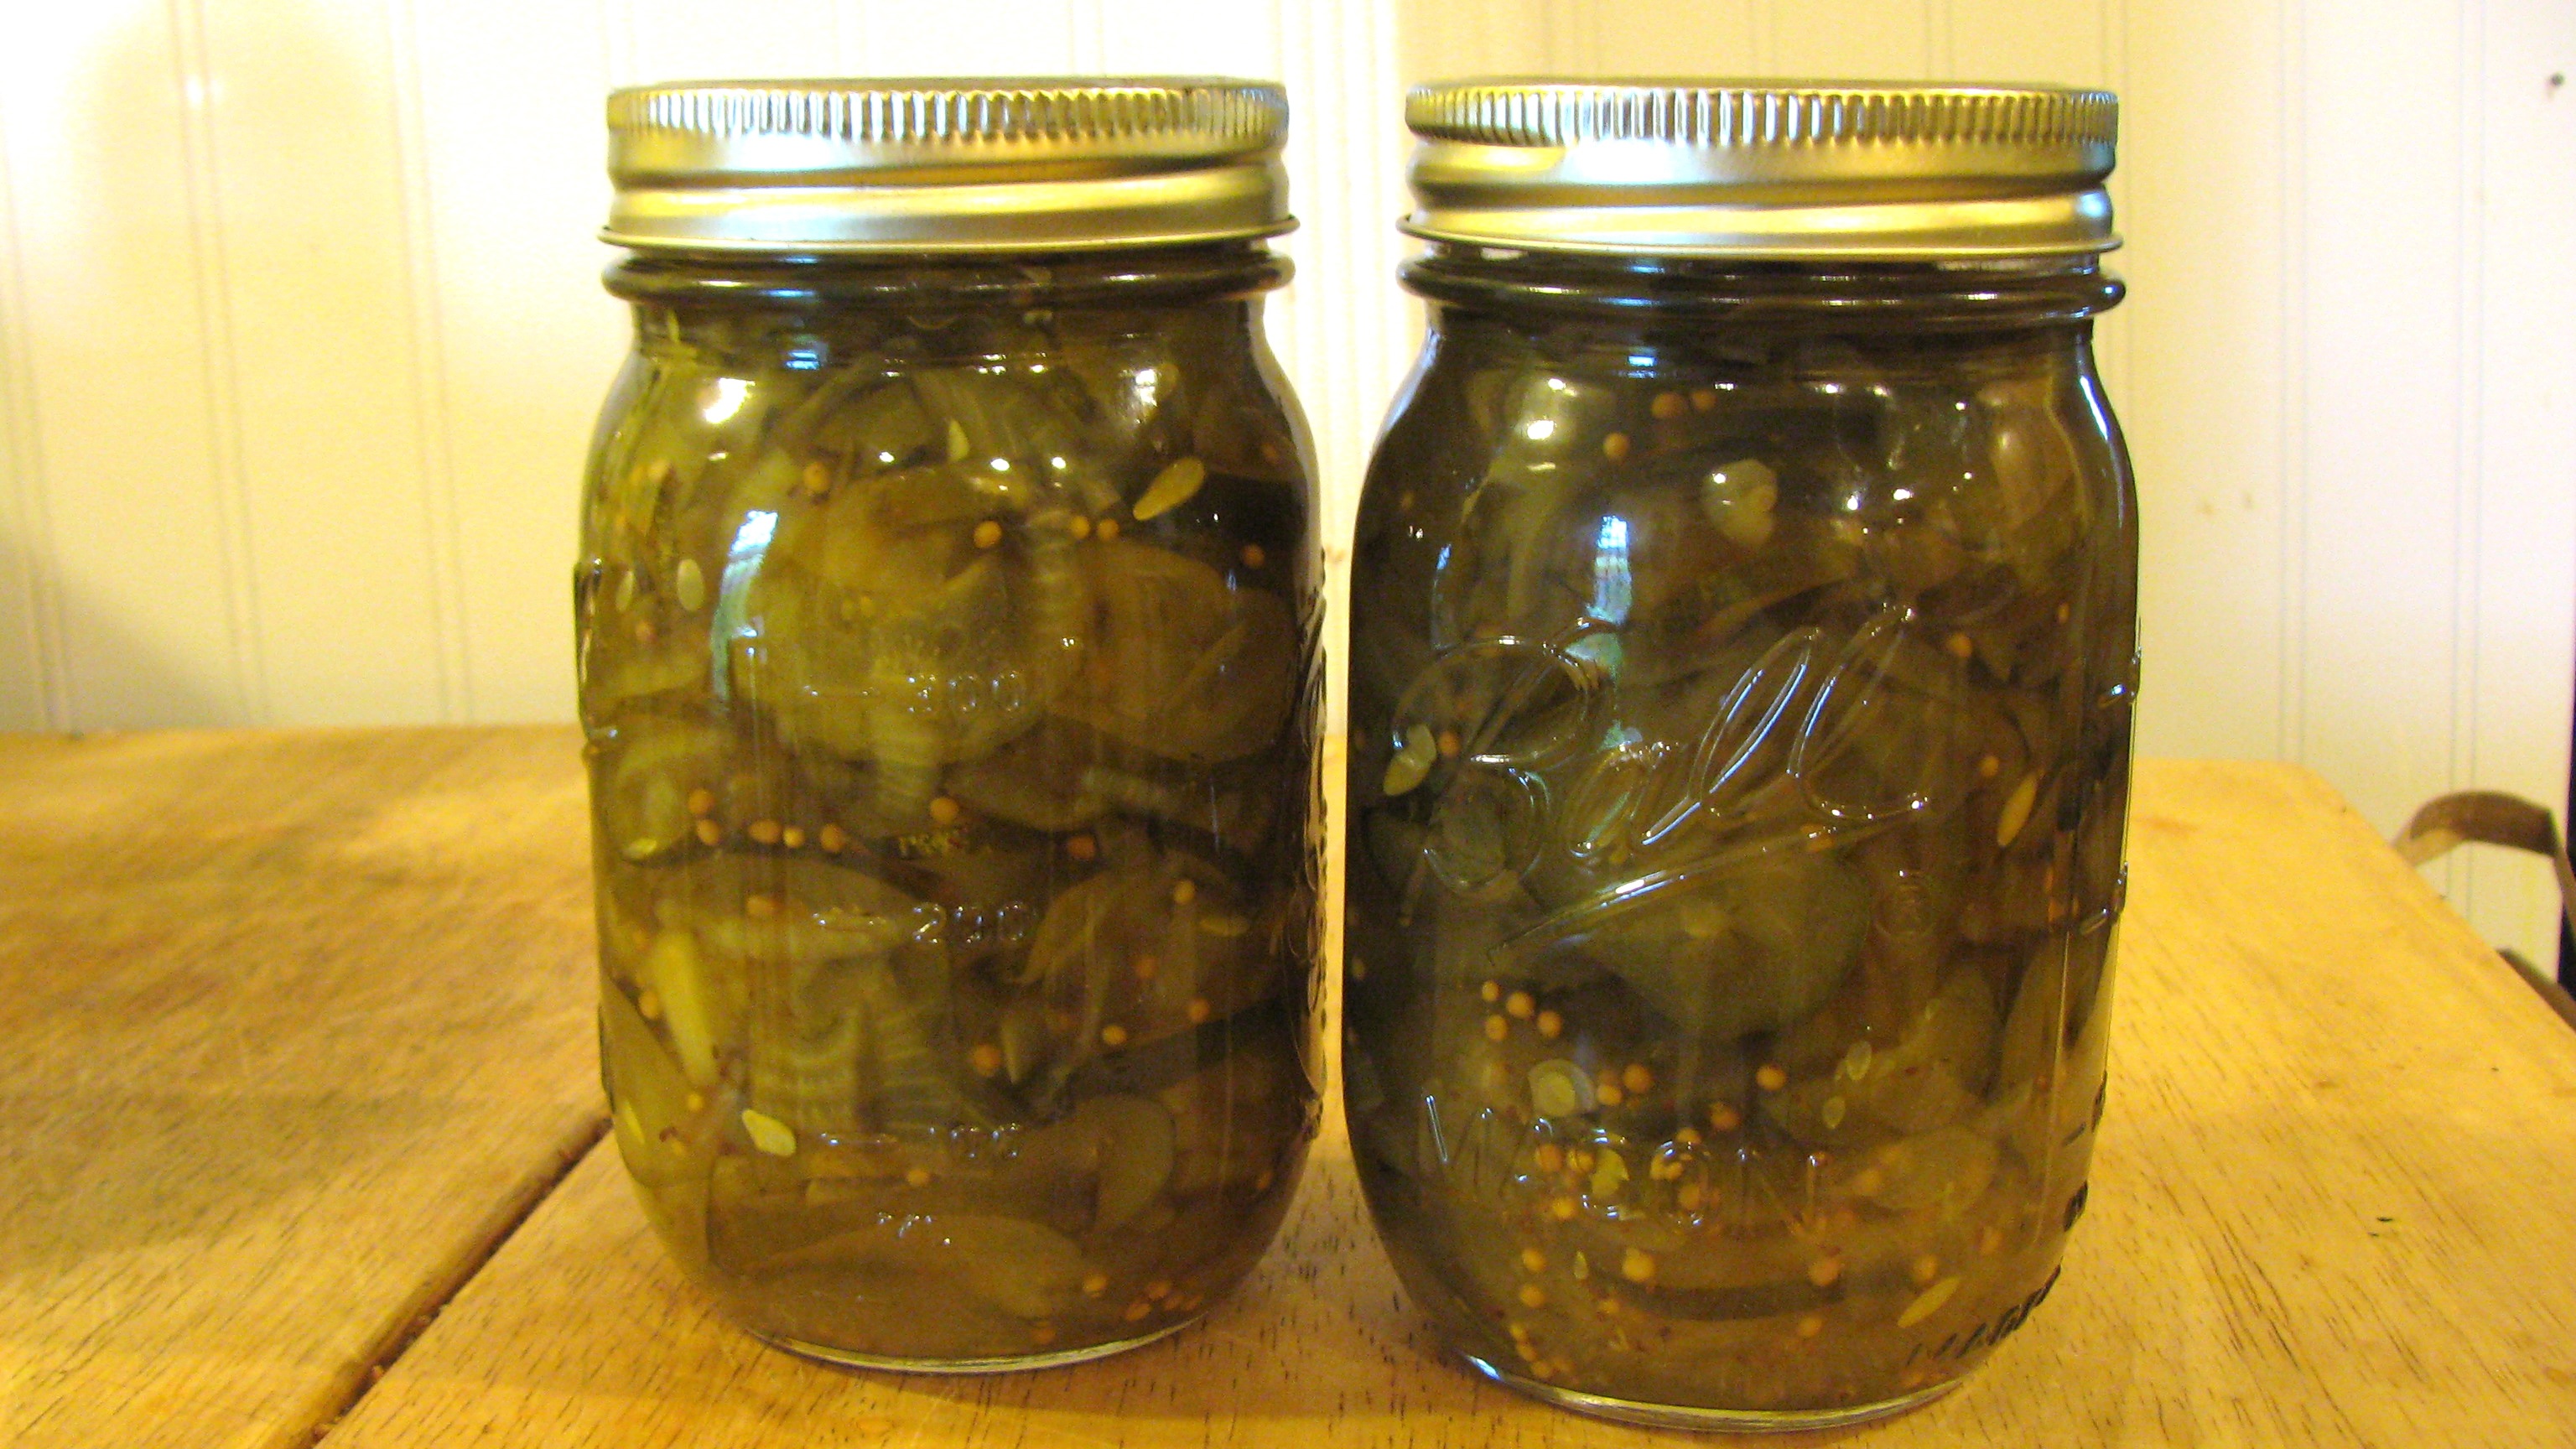
Bread and Butter Pickles
9 medium pickling cucumbers, sliced
2 onions, sliced
2 Tbs. salt
1 and 1/2 cups cider vinegar
1 cup sugar
1/2 tsp celery seed
1 tsp mustard seed
1/8 tsp cayenne (opt)
1/4 tsp turmeric (opt)
1/8 tsp ground cloves (opt)
Use fresh cucumbers; trim 1/8th inch of the blossom ends off, wash and slice. Slice onions. Mix vegetables with salt and let stand 1 hour. Drain, and rinse with 2 cups cold water, draining that water away too. Combine vinegar, sugar, celery and mustard seeds (and any other spices) in a pot and heat to boiling. Cook 3 minutes.
Pack vegetables into jars (2-3 pint wide-mouthed jars), add hot vinegar mixture, leaving 1/2″ headspace. Seal at once and process in boiling water bath for 10 minutes. Cool and store.