Delicious Organic Vegetables Since 2001
Contact Us
Chocolate Beet Cake

Chocolate Beet Cake

Feb 16, 2023 | No Comments

From CSA member Cheryl Munn

Thank you to Cheryl for passing on this great recipe. It makes a delicious moist cake! 

2 cups cooked and pureed with the skin on organic Red Fire Farm beets
1 cup organic granulated sugar
½ cup coconut oil, EVOO or butter
½ cup plain organic yogurt
3 organic eggs
2 teaspoons pure vanilla extract
2½ cups whole wheat pastry flour
½ cup baking cocoa
1½ teaspoons baking soda
½ teaspoon salt
1 cup all natural chocolate chips

Preheat the oven to 350 degrees F. Grease a bundt pan.

In a bowl, combine the sugar, oil, yogurt, eggs, and vanilla. Cream until smooth. Add the beets stirring to blend well.

Mix flour, cocoa, soda and salt together in a separate bowl. Add to the beet mixture, beating until just blended. Pour half the batter into the prepared bundt pan. Sprinkle the chocolate chips on top of the batter in the pan, pour the remaining batter over the top of the chips. You could add walnuts or other nuts with the chocolate chips.

Bake for 50 to 55 minutes, or until a toothpick inserted into the center of the cake comes out clean. Servings: 12 to 16.

Notes from making this cake for Chester’s Birthday in 2023:
For using as a sheet cake, you can put the cake in a 9×13 size pan, and start checking it for doneness earlier at about 30-35 minutes. A doubled recipe did well for us for Chester’s birthday cake in a big lasagna baking pan that had about the footprint of a big baking sheet. We used coconut oil, some date and coconut sugars, and added the zest of one lemon for fun. The cake batter was quite thick and didn’t pour, so we used a metal spatula to even it out in the pan before baking. It baked up nicely.

This cake with the date and coconut sugar we used and whole wheat flour doesn’t spike the blood sugar and is not very sweet, which I like, but you could add more sweetener and change up the flours if you like a sweeter fluffier cake.  And to top, we made a ganache of equal ounces of heavy cream and bittersweet baking chocolate warmed and stirred together in a double boiler- wicked good with a little bit of fresh fruit on top :). Cheers! ~ Sarah Voiland

In Blog

‘Refer A Friend’ Rules & Guidelines

Feb 25, 2020 | No Comments

Here’s a quick rundown of the Rules & Guidelines for our ‘Refer A Friend’ CSA gift package program. If you have questions or comments, please don’t hesitate to reach out to us at thefarmers@redfirefarm.com. Thanks!

1. Only the first, initial person to refer a new member is eligible for the gift. For example: Sue tells Mary about the CSA program and Mary signs up, mentioning that Sue referred her. Sue would receive the gift package. Mary cannot then also get credit for Sue signing up, as Sue was the one that referred Mary. If Mary tells others and they sign up, then Mary will get referral credit for each new signup. Sue would receive more referral credit only if she then went and referred other, different new members to sign up.

2. Valid for people who are new members to the Red Fire Farm CSA ONLY. If they had a share with us in previous years and signed up as referred by you, they would not count toward your referral credit. Only if they haven’t done our CSA before and sign up would you receive the credit toward a gift.

3. In order to receive credit for the referral, the person signing up must provide your name at the time of signup. For example: If Mary signed up but didn’t give Sue’s name, then Sue would not get a referral credit even if Mary told us later that Sue referred her.

4. Only current 2022 CSA members are eligible to receive referral credit, as we have their contact information already from signing up and know how to reach them with their gift later in the season.

5. We will keep track of referrals and contact you via email about how we are sending your gift packages to you (it will occur during the CSA season at your pickup location).

6. We’ve had the “Did a friend refer you?” box on the signup form for a while, so anything received in in signups that were submitted before today will be valid and count toward referral gift credit.

In Blog

2019 CSA Pick-Your-Own (Updated 10/8)

Jun 4, 2019 | No Comments

Note: This PYO list is geared towards our CSA farm share members, but we also offer Pick Your Own to the public when the crops are abundant. Read on below for public picking pricing and CSA member weekly amounts. PAGE UPDATED MONDAY PM or TUESDAY AM WEEKLY.


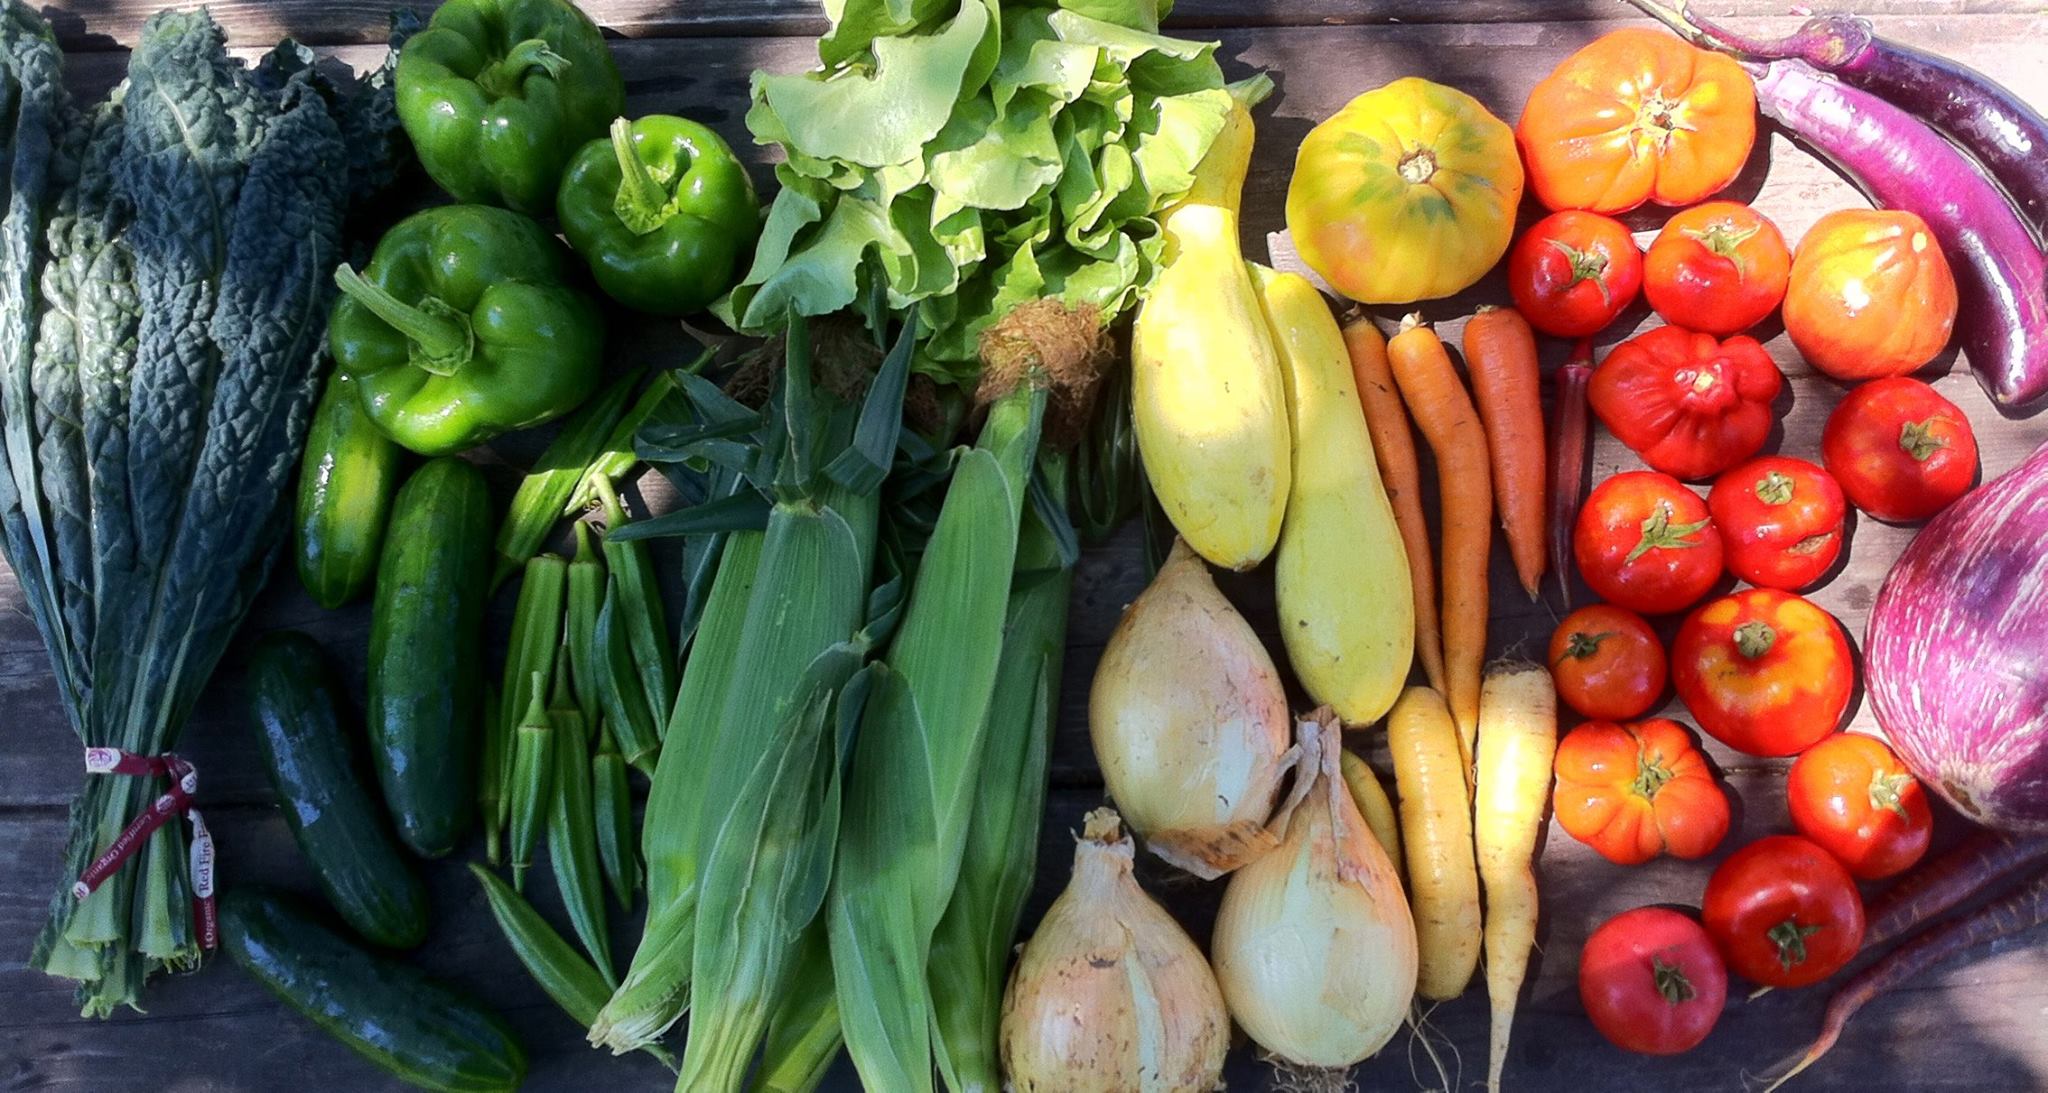
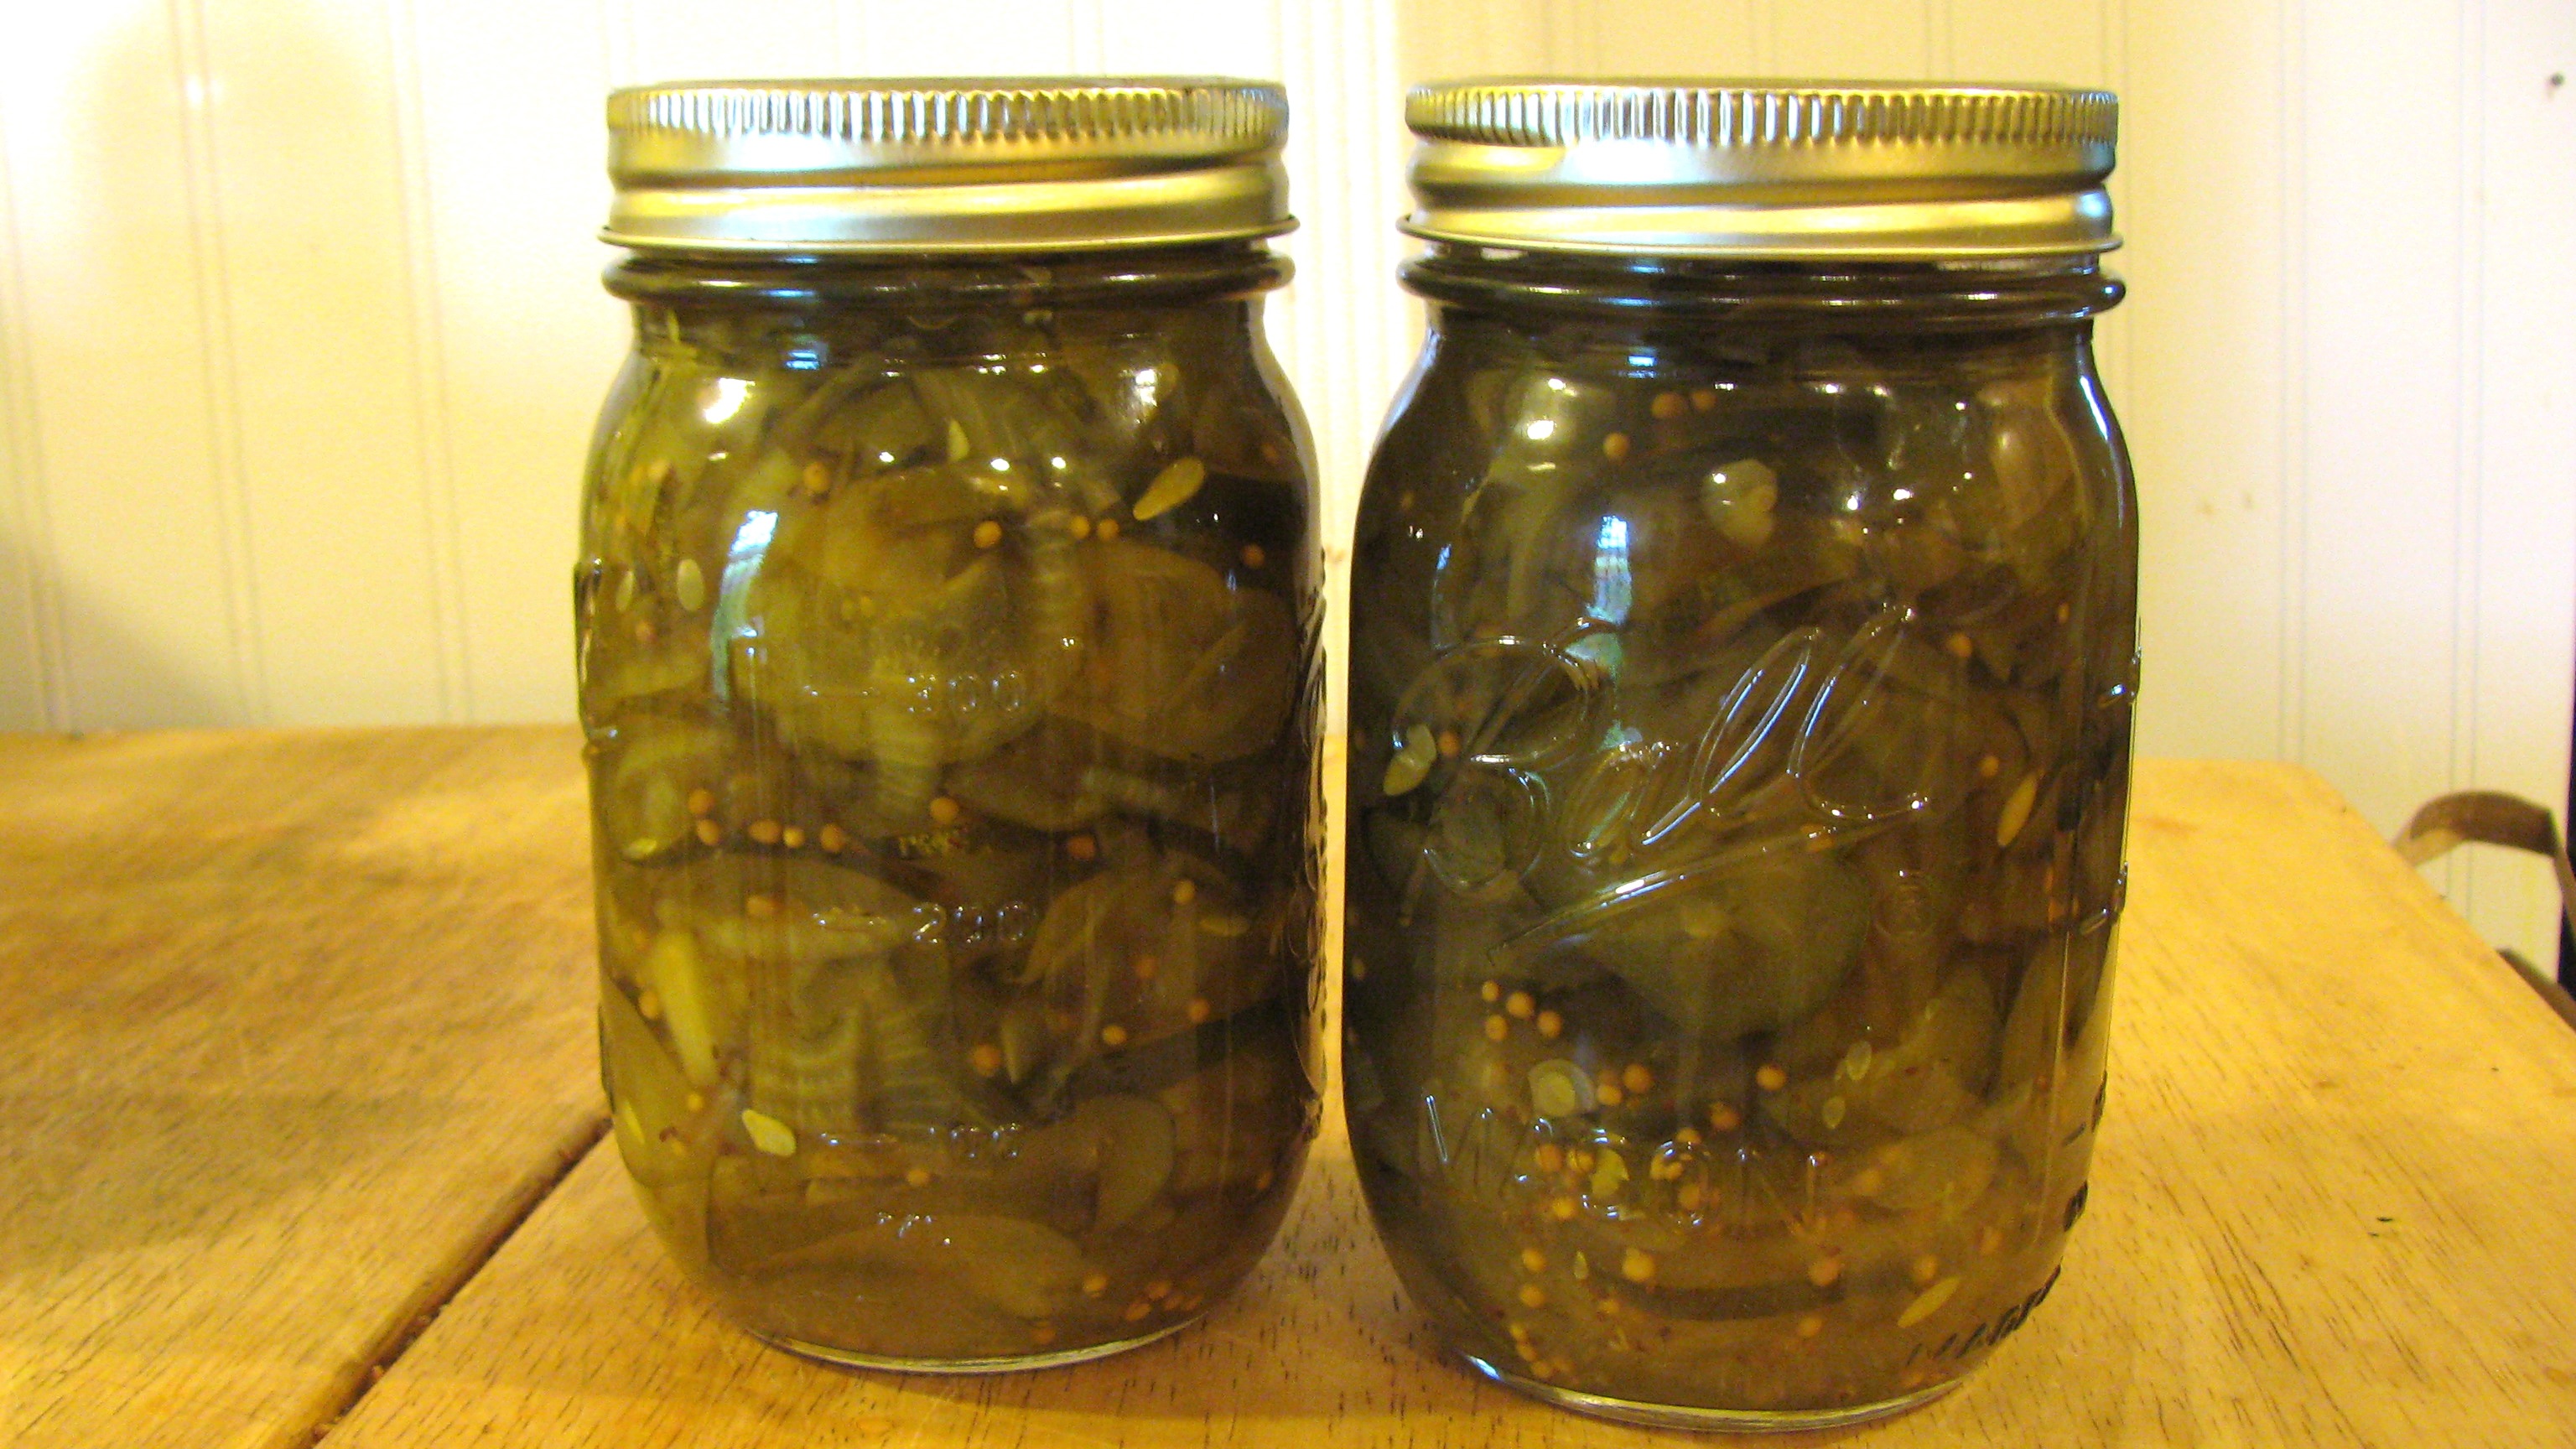
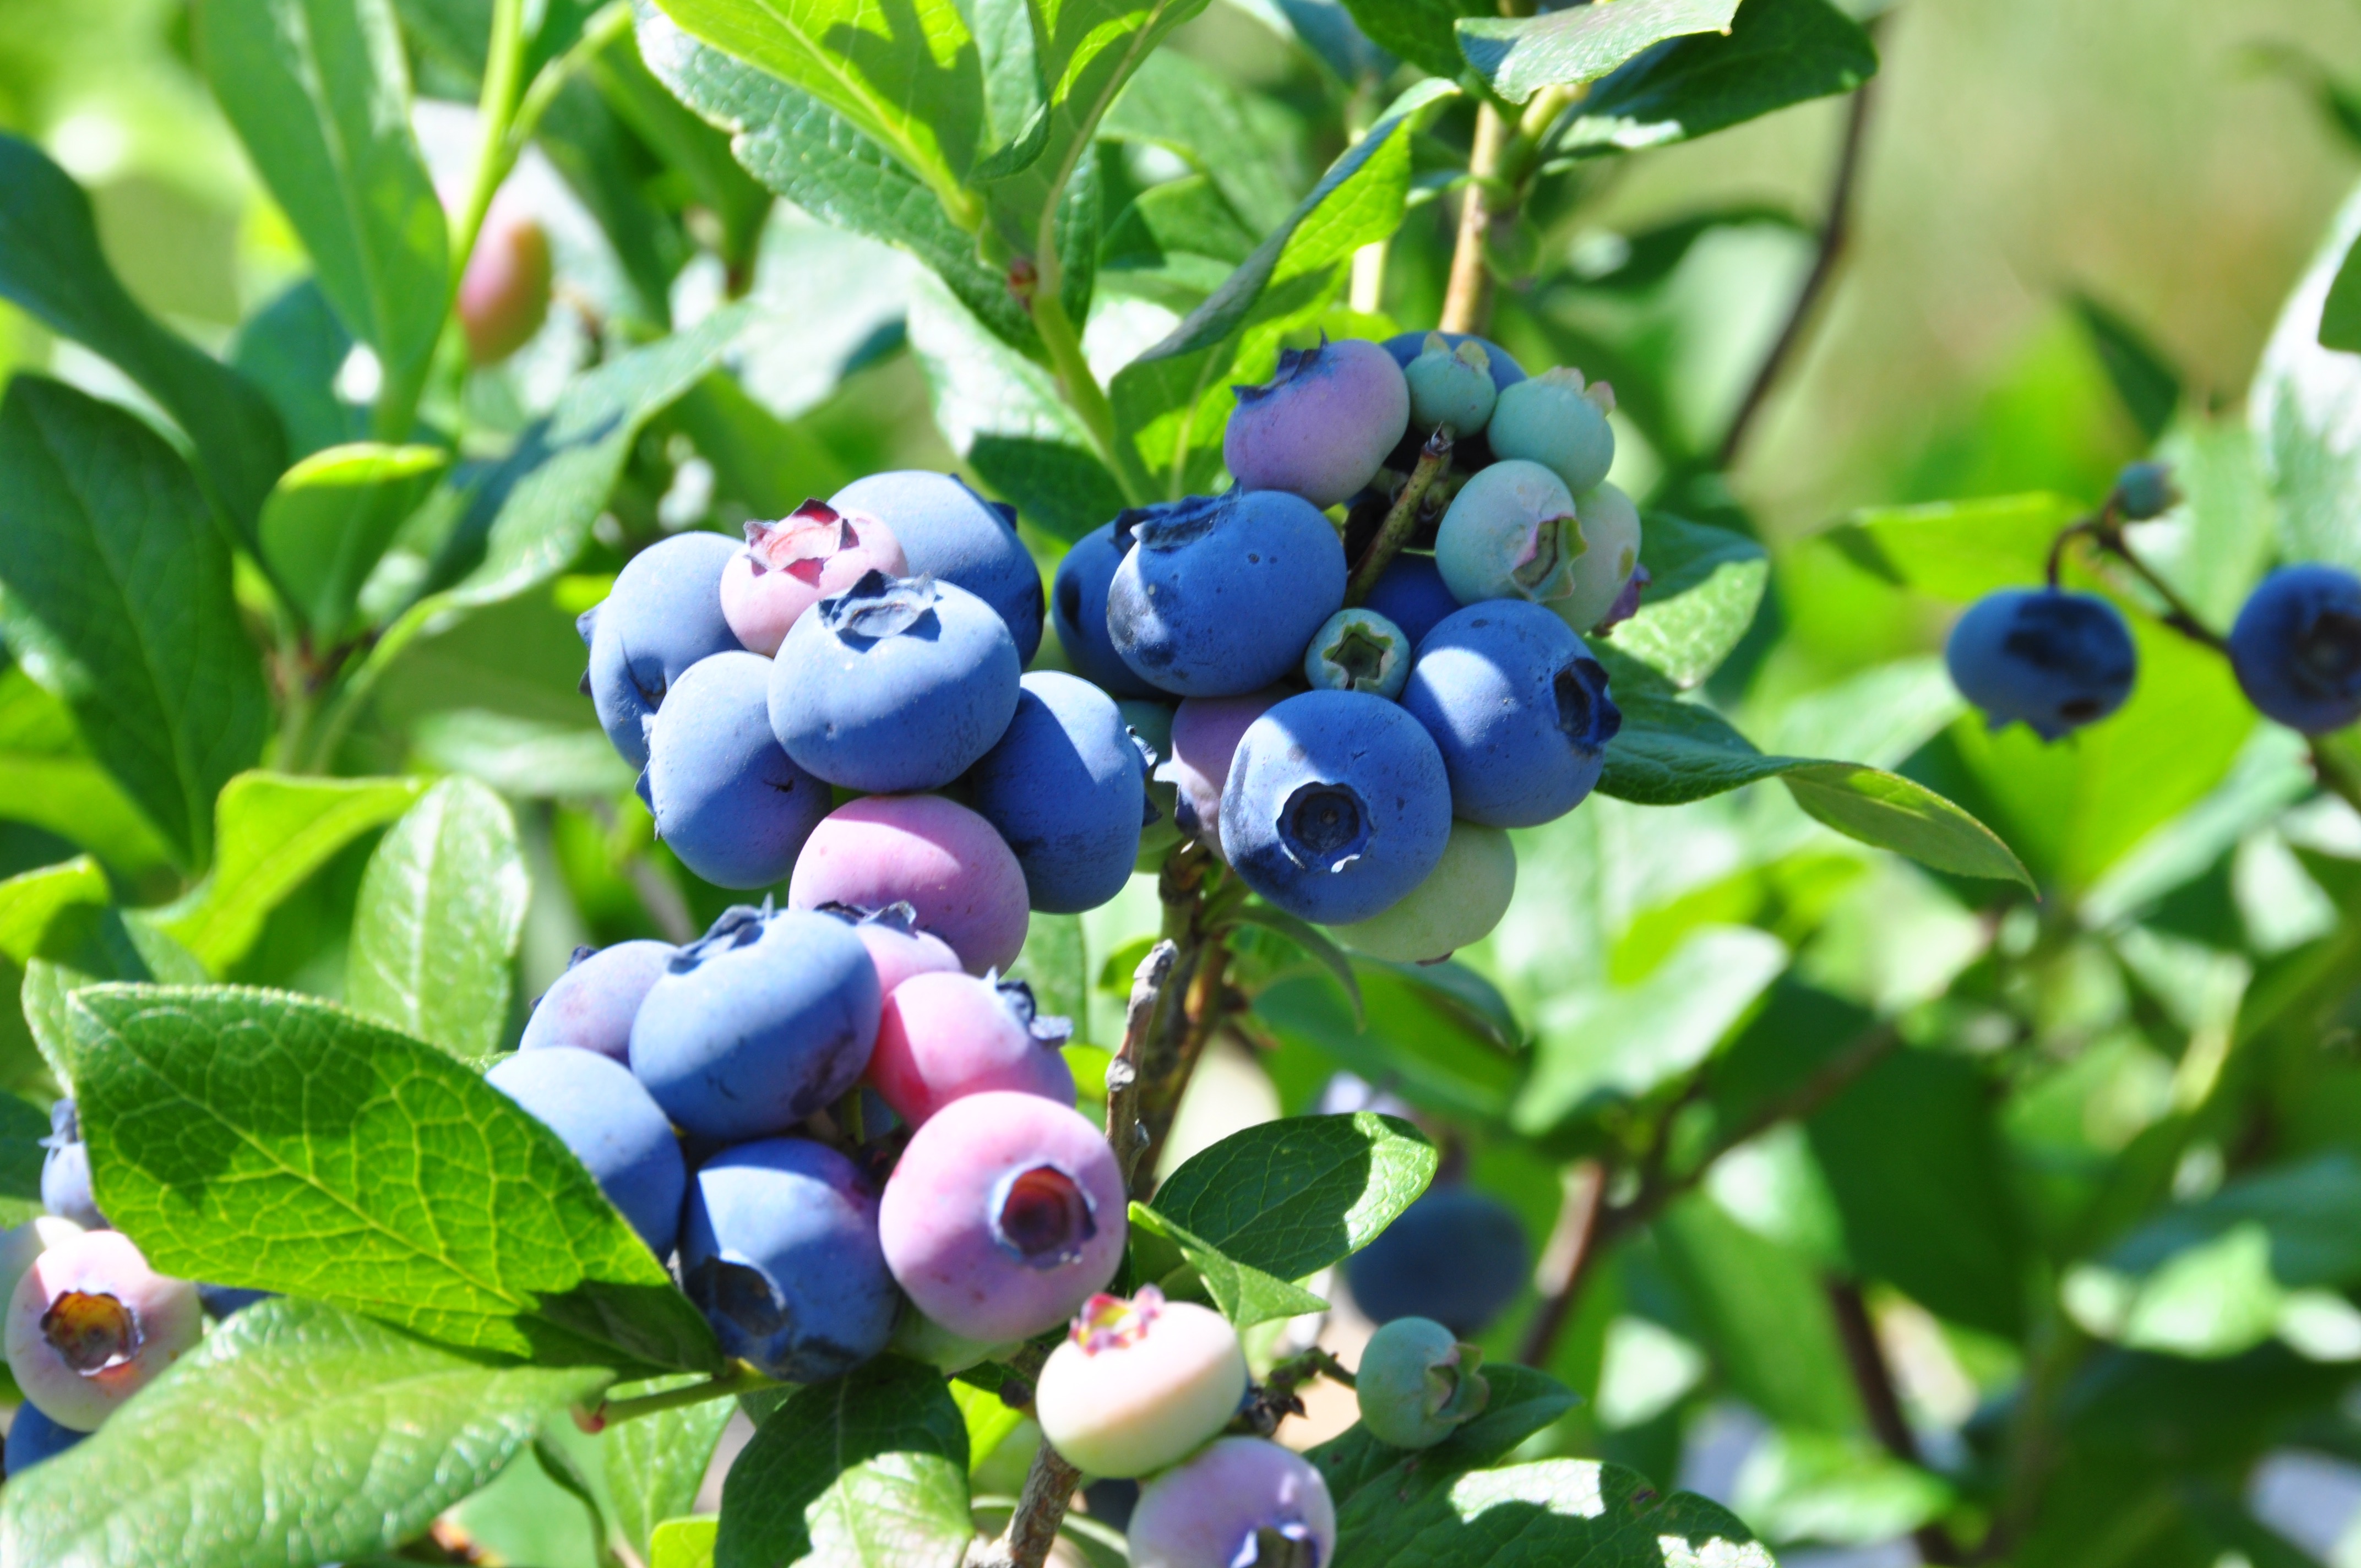
 As part of your Vegetable CSA membership, you have access to our Pick Your Own patches. The farm is family-friendly, so bring your little ones and check out our land. PYO includes herbs, flowers, berries, peas, tomatoes, tomatillos, hot peppers, and more (changes with the season).

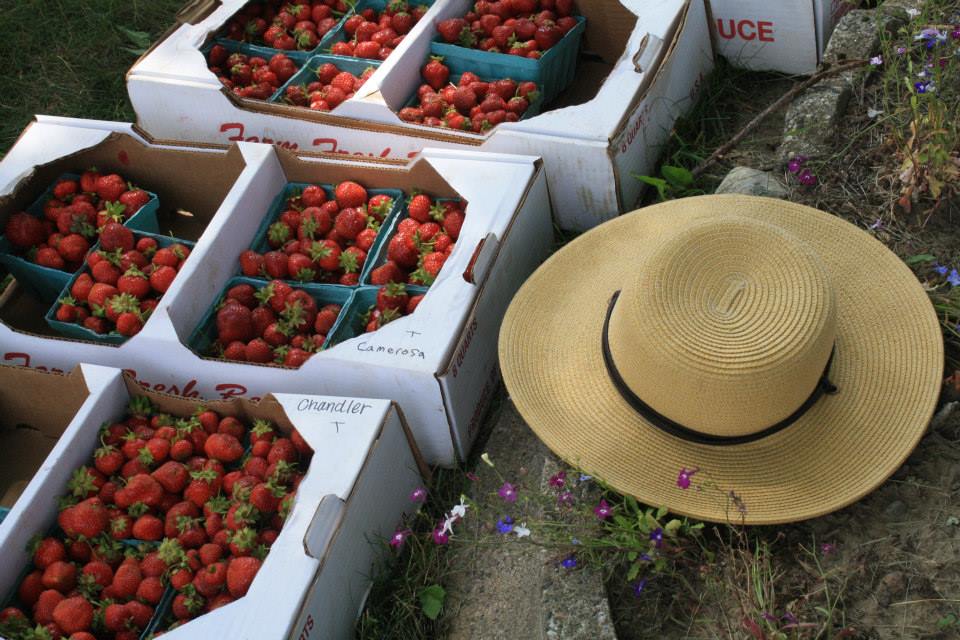
June picking includes delicious strawberries, peas and herbs- and more fun on the day of our Strawberry Soiree!

Late July, August, and September are great months to come for pick your own, as by then we’re brimming with crops like cherry tomatoes, basil, tomatillos, hot peppers, green beans, herbs, flowers, and husk cherries.

Pick Your Own is a perk for members that can make it out – we still aim to give all members the value of their share in harvested and delivered vegetables :). But of course, we want you to come out to visit. The whiteboards located in barns have the most updated PYO limits and info, so please follow those if they differ from what is written online.

  • If you are traveling to the farm for over 1 hour to do the picking (Boston area and Worcester members), then you probably will come for picking only a few times during the season. This means that when you are here you can pick a lot at once, once the limits have gone up.
  • If you are a member from Franklin, Hampshire or Hampden County and you can easily make it to the farm each week, then we ask that you pick weekly but not as much each time. This is why there are different limits posted for each crop depending on where you are coming from.
  • Stand & Market Members ($300 level) can pick a lot at once if desired, but you must pay as you go (by using credit from your card). Prices are posted for each PYO crop on the board. There are sometimes limits on crops for Stand Members.

What to Bring and Where to Go
Come ready for outdoor weather. Also please bring containers to take your pickings home in, and leave the quart and pint containers for reuse if possible. If you have a car, share a ride! Meet some other local food loving people. You can post on our facebook seeking rides. Read below to find out which farm location you should visit based on your CSA pickup location.

GRANBY Pick-Your-Own (Public & CSA 9am-7pm)

Open to CSA and Farmstand & Market Members from Granby, Springfield, Holyoke, Worcester and the Boston area. And Montague and Northampton members visiting Granby.

Pick Your Own details are inside the farm store in the center of the barn at 7 Carver St., including a map of field areas and a list of picking limits, and often containers for harvesting. Any time the farm store is open you can come pick! To find farm store hours you can check our farm store page. The PYO is all self-serve, but please be sure to sign in at the PYO station and check in with staff. There’s extra parking in the Brown-Ellison Park next door if needed.

Hot Peppers

  • Western MA Regular Share: 12 fruits per week
  • Western MA Small Share: 6 fruits per week
  • Boston Area Regular Share: 24 fruits (if making single visit to farm for the season)
  • Boston Area Small Share: 12 fruits (if making single visit to farm for the season)

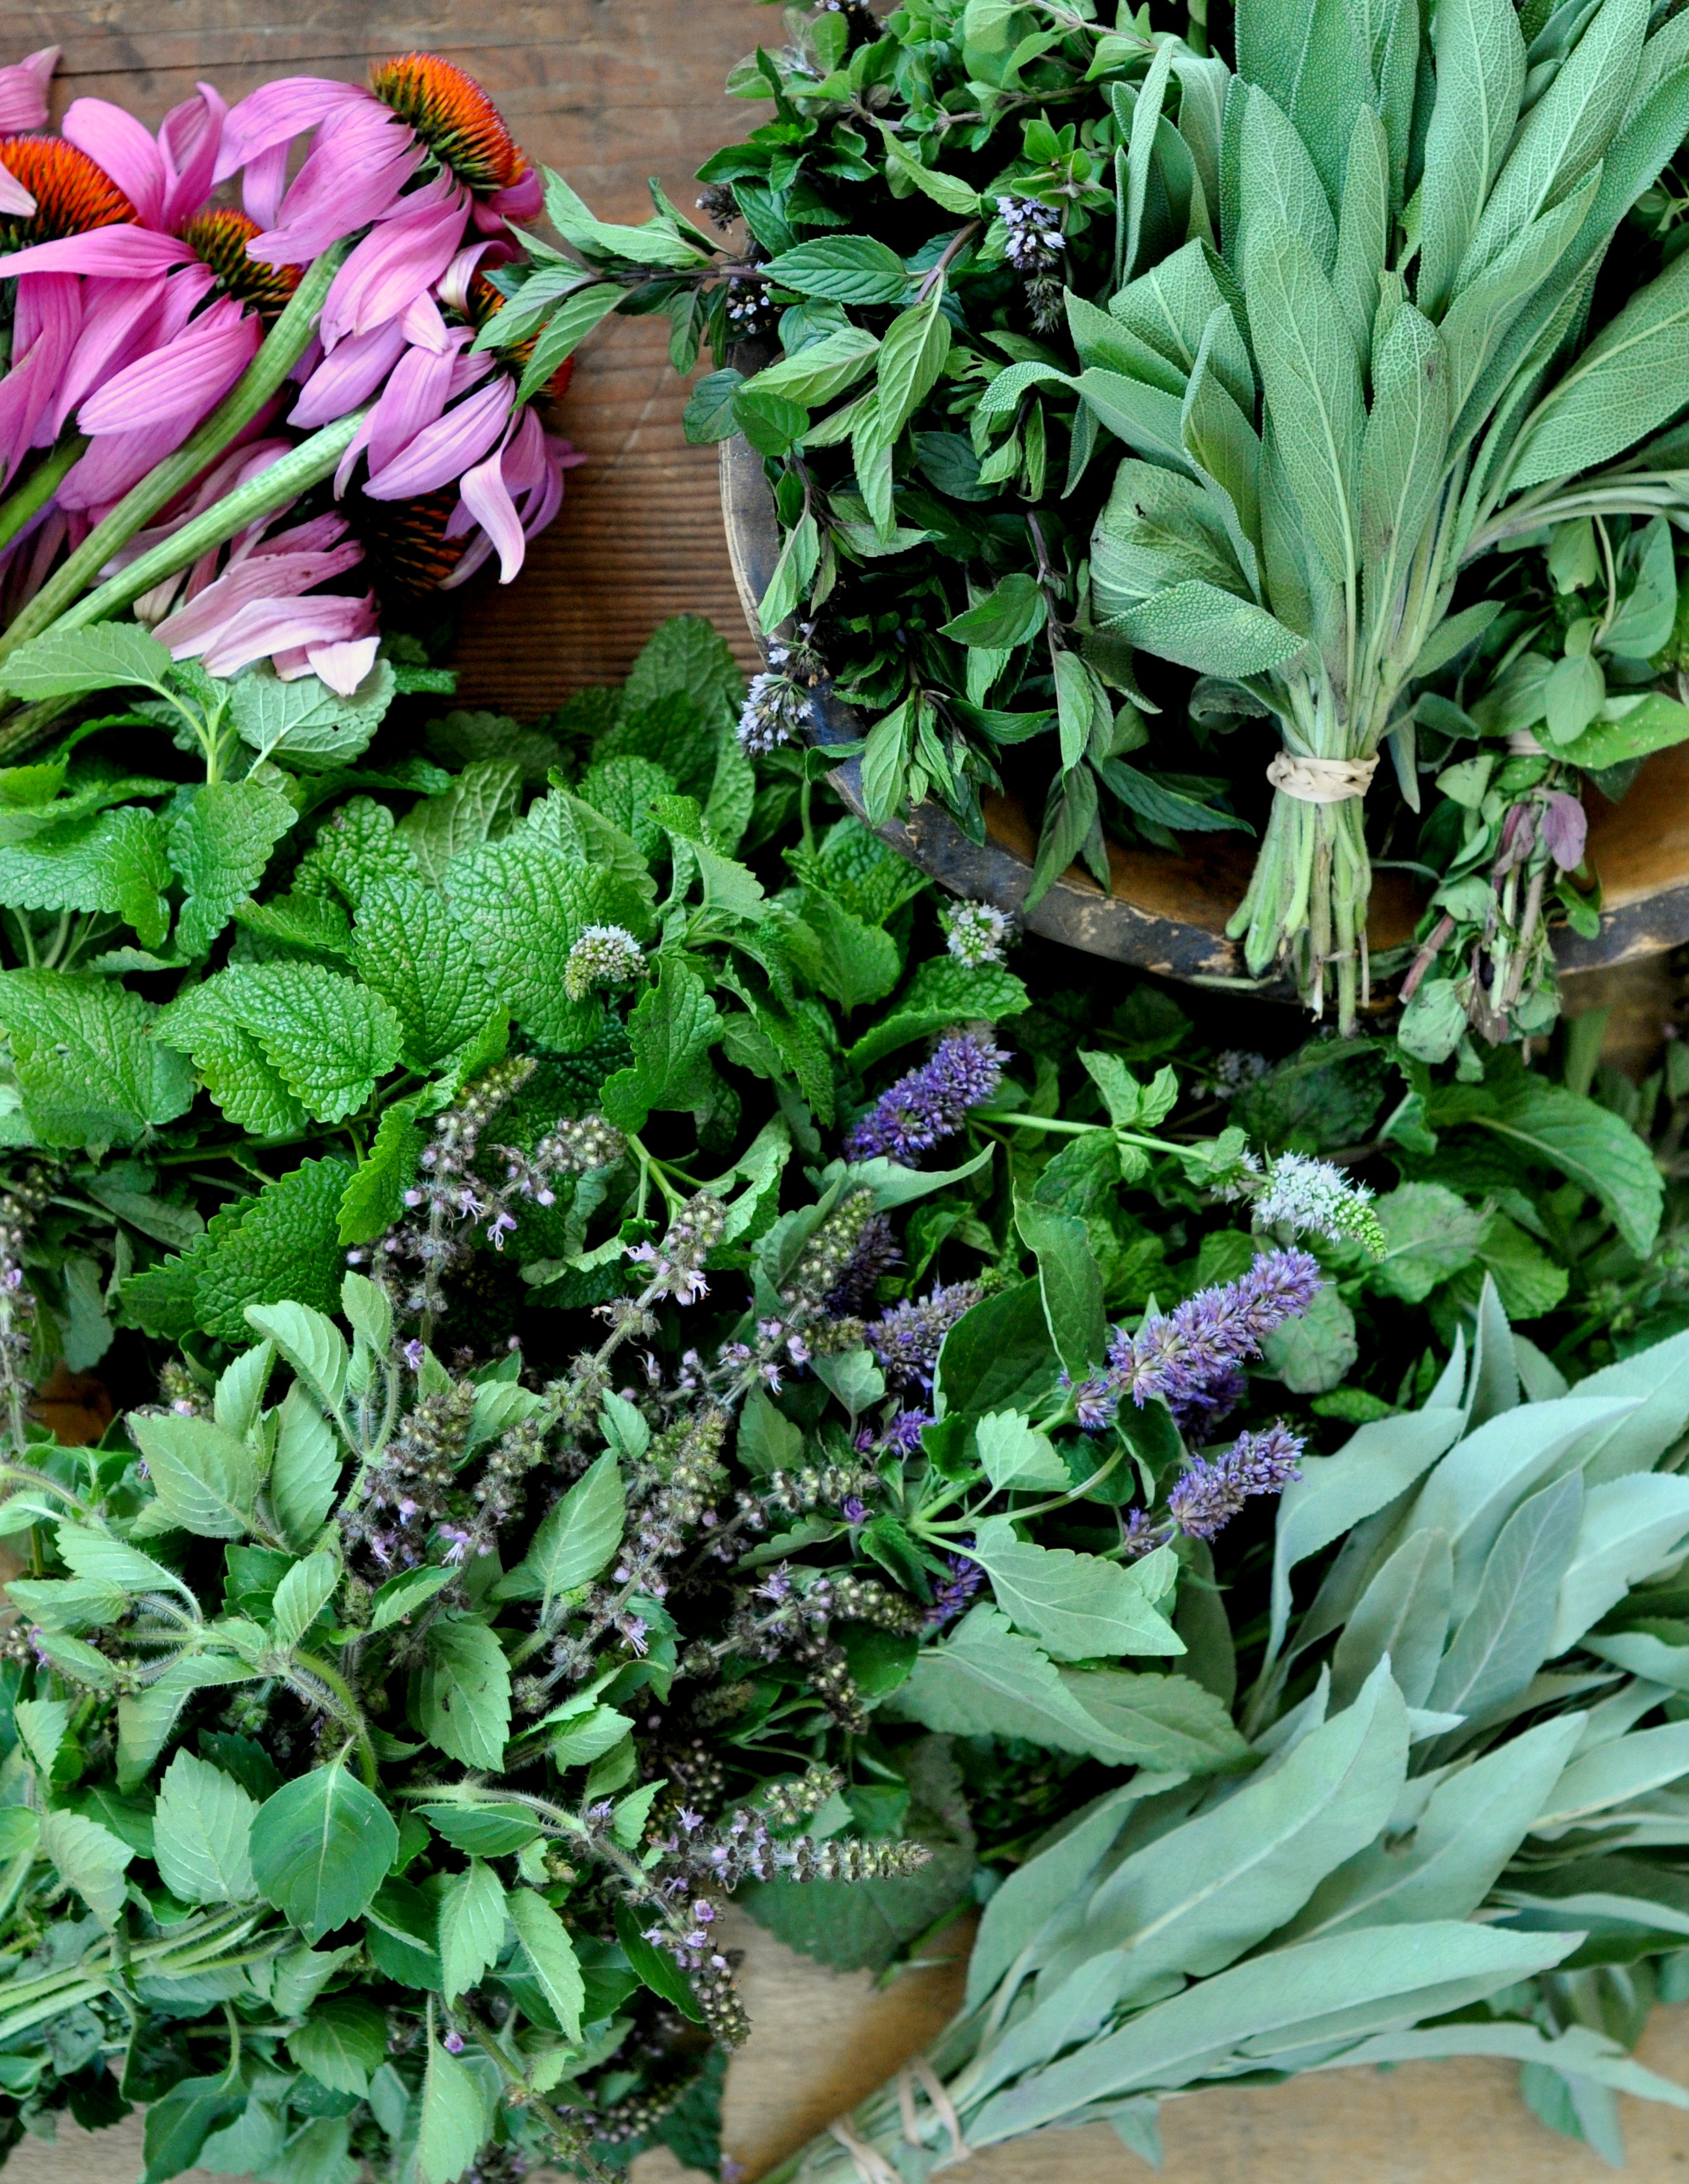
Herbs (Mint, Rosemary, Parsley, Sage)

  • All CSA Members: Pick as needed!
  • General Public: $10 per pound
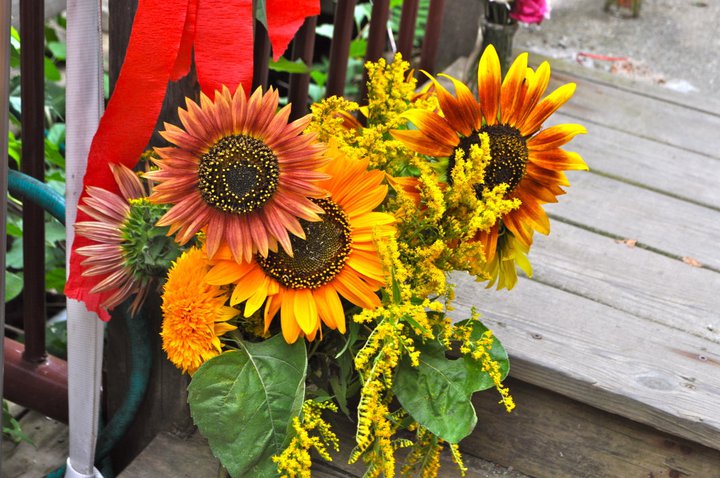
Cut Flowers

  • Western MA Regular Share: 12 stems per week
  • Western MA Small Share: 6 stems per week
  • Boston Area Regular Share: 18 stems (if making single visit to farm for the season)
  • Boston Area Small Share: 10 stems (if making single visit to farm for the season)
  • General Public: Sunflowers $1 per stem and all other flowers $12 per pound

MONTAGUE Pick-Your-Own (CSA Members Only)

Of note, Montague green beans died out in the dry period we had.

Cherry Tomatoes

  • Western MA Regular Share:  1 pint per week
  • Western MA Small Share: Half pint per week
  • Boston Area Regular Share: 3 pints (if making single visit to farm for the season)
  • Boston Area Small Share: 1 and a half pints (if making single visit to farm for the season)

Husk Cherries

  • Western MA Regular Share: Half pint per week
  • Western MA Small Share: Half pint per week
  • Boston Area Regular Share: 1 pint per week (if making single visit to farm for the season)
  • Boston Area Small Share: 1 pint per week (if making single visit to farm for the season)

Herbs (Oregano, chives, thyme, sage, winter savory, garlic chives, chamomile, tarragon, chocolate mint, spearmint, peppermint)

  • All CSA Members: Pick as needed

Cut Flowers

  • Western MA Regular Share: 10 stems per week
  • Western MA Small Share: 5 stems per week
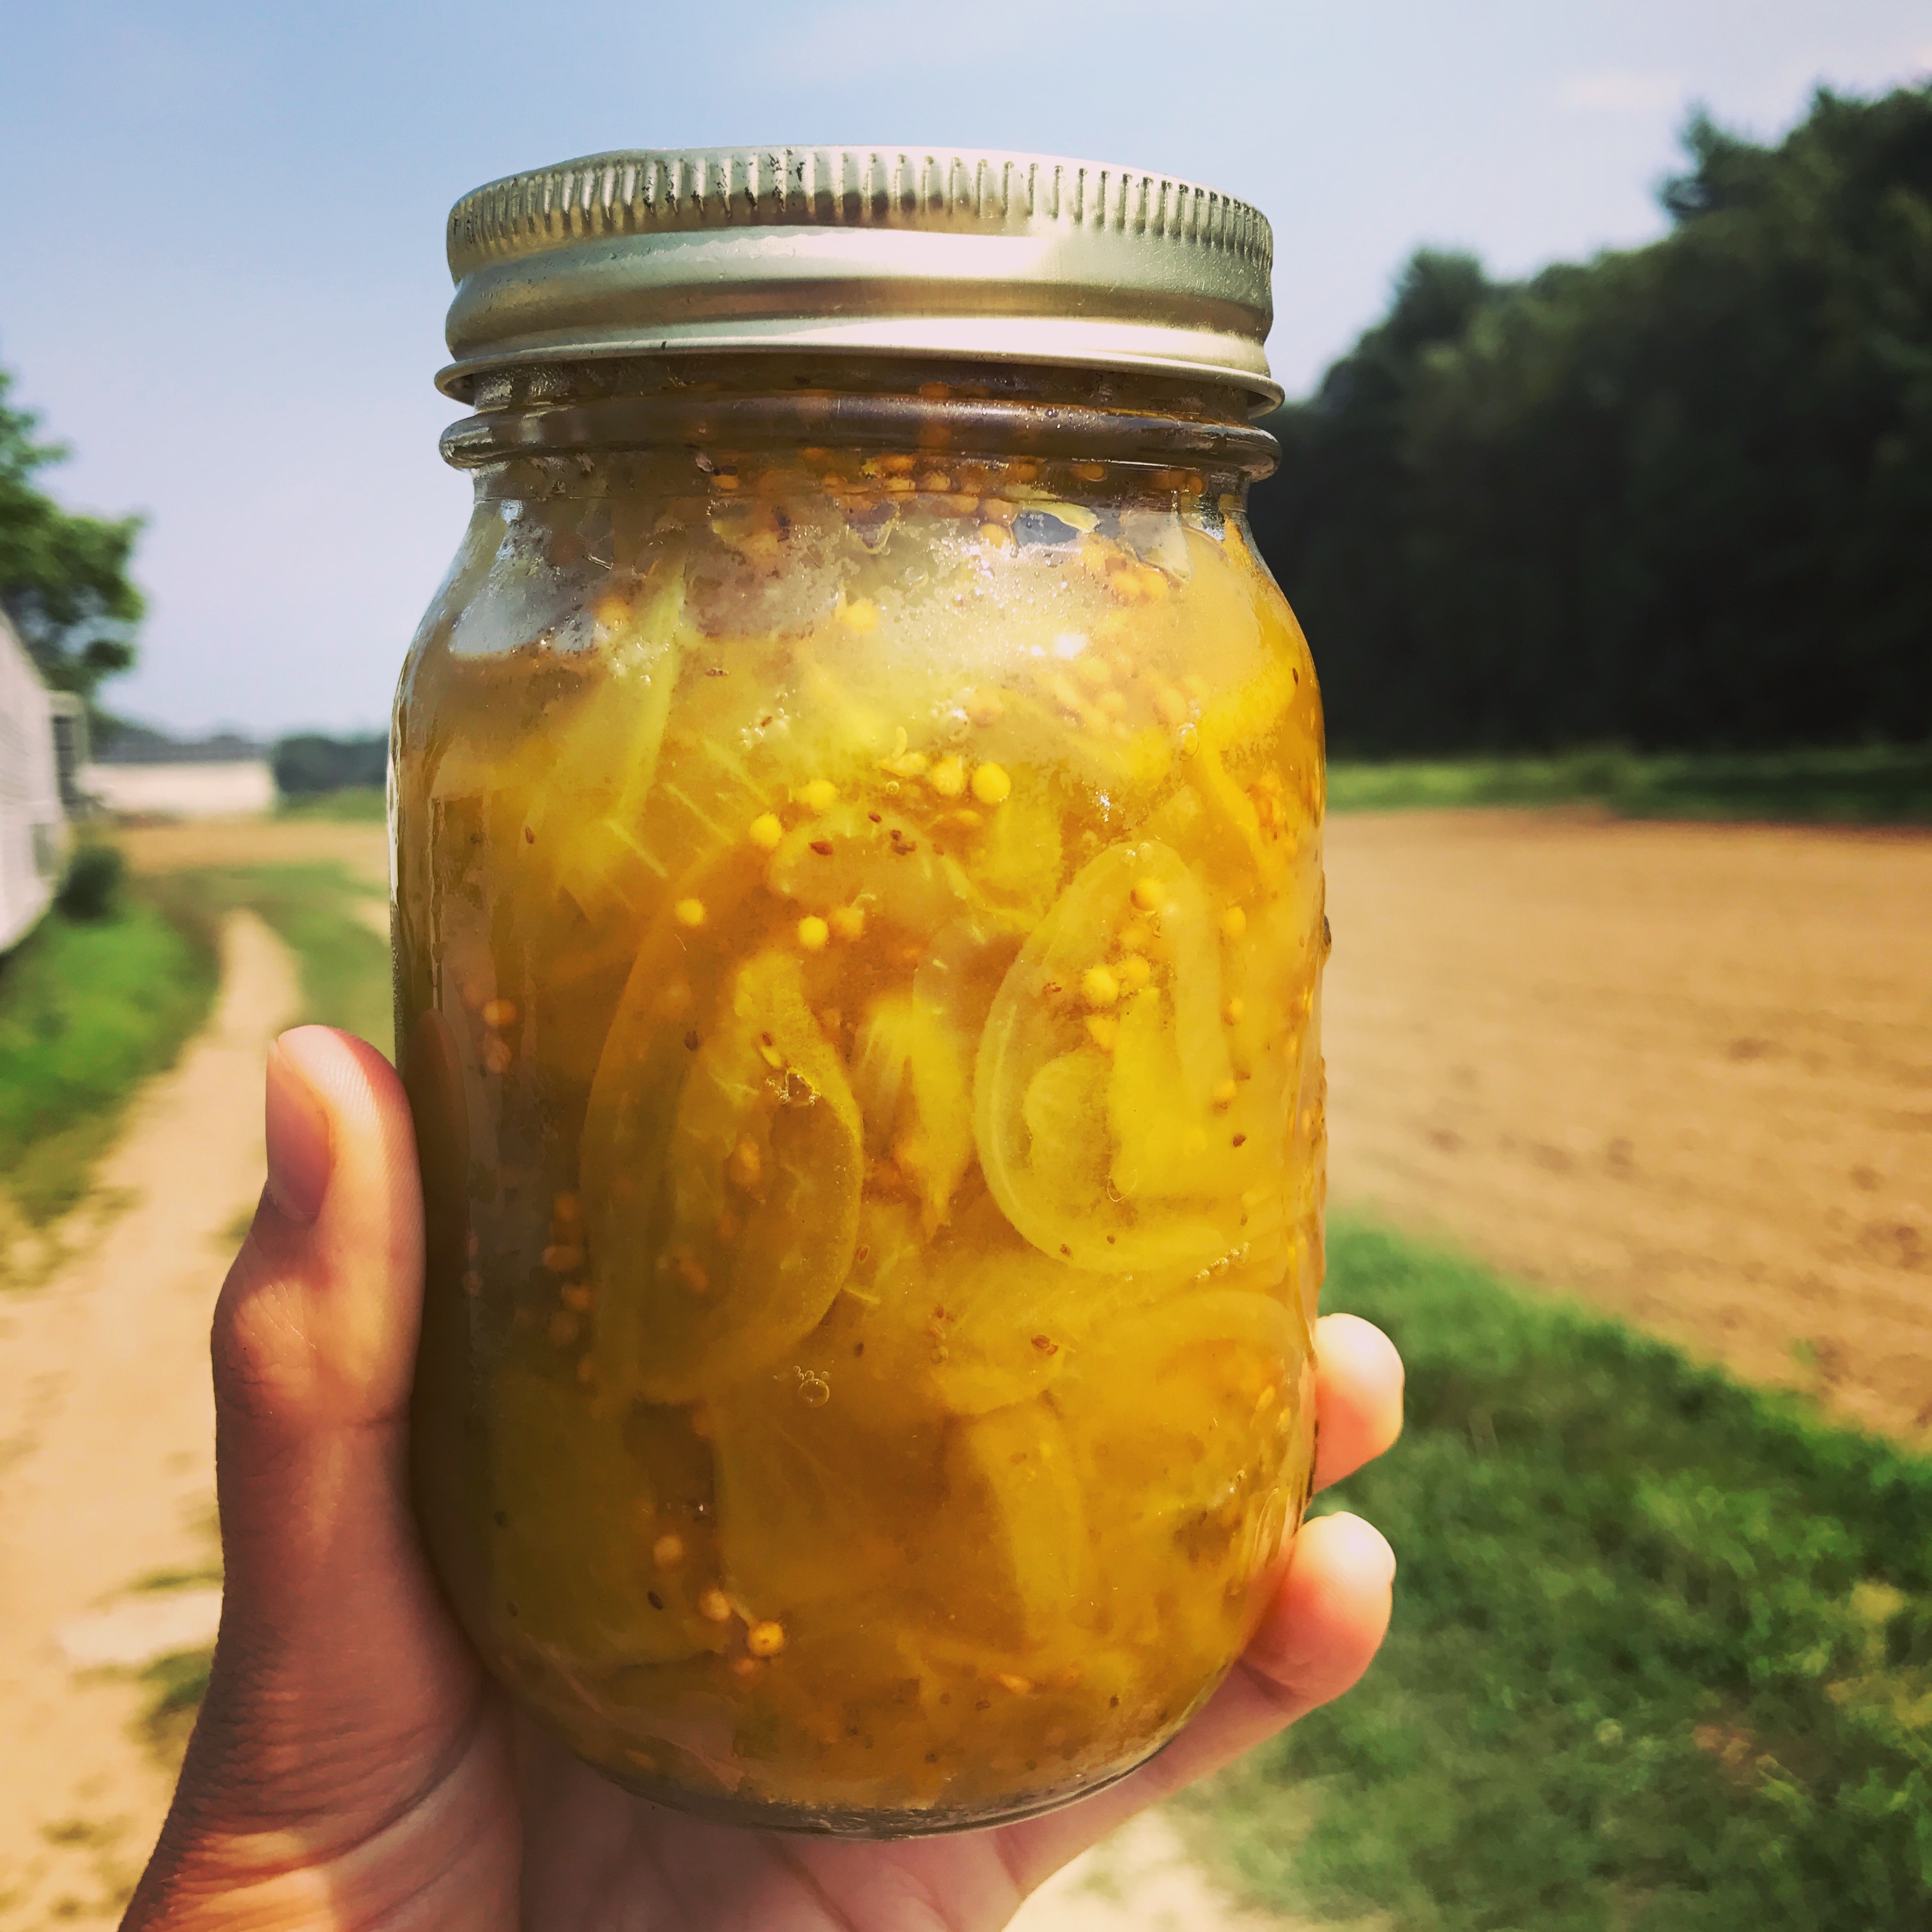
Tomatillos

  • All CSA Members: Pick as needed

Hot Peppers

  • All CSA Members: Pick as needed

Green & Yellow Beans

  • Western MA Regular Share: 2 quarts per week
  • Western MA Small Share: 1 quart per week
  • Boston Area Regular Share: 4 quarts (if making single visit to farm for the season)
  • Boston Area Small Share: 2 quarts (if making single visit to farm for the season)

We now have a patch on our Montague farm at 184 Meadow Road. This section is small, so there’s capacity for Montague, and Northampton area members only!

Please park on the grass along Meadow Road, not blocking any thruways or driveways, or equipment access. 

Pick Your Own information is at the large old tobacco barn next to Meadow Road near the red hand-painted Red Fire Farm hanging sign. Pick Your Own details will be there, including an informational map attached to the side of the barn facing the road, a list of picking limits, and often containers for harvesting and measuring. Bring containers to take things home!

The PYO is all self-serve, but please be sure to sign in at the PYO station. You can come to pick any day 9am – 8pm. There will be a log book, so you can keep track of your picking if you are at the $300 Stand Member level, as those members pay at the posted prices per item. Please tally your purchases as you go, and we will process them periodically at the office. PYO for CSA level members is free up to limits provided.

Fun things to do in Montague:

  • Visit our Red Fire North farm store at 485 Federal Street, Montague, MA, with our produce and tasty local products.~ 4 miles from the farm.
  • Check out the Bookmill, a cafe with waterfall, used bookstore, cd shop, art gallery, beer. ~ 2 miles from the farm.

Enjoy the season and the fields!

The Art of Apple Pie, and a Pie Crust Recipe to Use Anywhere

Nov 9, 2017 | No Comments

In our community growing up, my mum Ella Ingraham made the best pie crust, and the best apple pie. This proclamation is based on my love for my mother and my own taste – but I’m not alone! Every year when I was little, our church held an Apple Festival. My mum would be on the team making tons of pies to sell for fundraising. All the bakers in the church pitched in time and pies. I got to try a lot of apple pie there. And when it came to the sale, my mum’s pies always sold out. The word was on the street.

I’d say I’ve informed my pie palate even more since that time, and I still circle back to what I learned then. Ella’s pie is the best!

There are two factors in the perfection. They are an excellent crust, and letting the apples speak for themselves.

I have been wanting to learn this art of pie-making. Over the last few years, we make a yearly date to produce a set of pies together for Thanksgiving. It is so clear, working closely with her in the kitchen, that she has a feel for ingredients and outcome that is much more patterned and detailed than the written recipe she follows. I could never follow that recipe and get the same result.

Last year, I finally took a bunch of photos of the process, to record the detail of what I’m learning, and what I tend to forget from one November to another. I hope this can be useful to you in creating delicious pies with a wonderful flaky crust!

How to Get Local Apples from the Farm:
We have local apples for sale at our Granby Farm Store, which has open hours through Thanksgiving, and you can also order at discount prices bushels of local apples for pies, sauces, drying and more through our Bulk Order page. We have all sorts of organic produce from winter squash and onions, to sweet potatoes and spinach for bulk order now, and at our stand and markets.

About the Recipes:
These below are my mother’s favorite recipes to use, from The Joy of Cooking by Irma S. Rombauer. We have adapted and added details and notes from how we make them at home.

Flour Paste Pie Crust

This recipe makes enough for one double-crust (top and bottom) 9 inch pie. You can double or triple as needed. This is a great crust recipe for many types of pies, including Sweet Potato Pie.

Ingredients:

2 cups all purpose flour (sifted) – we often use about half whole wheat pastry flour
1tsp salt (re-sifted with flour)
1/4 cup cold water for the paste
A little more water when gathering dough together, or unflavored vodka which moistens now and then evaporates when cooking
2/3 cup unsalted butter (or shortening) – use cold butter
Some additional flour for rolling out the crust
Cream or milk for brushing on the crust just before baking

  1. First, sift flour. Add salt, then sift a second time.
  2.  Take 1/3 of your salt and flour mixture and combine with water to form a paste, and set aside.
  3.  Next, cut the butter into the remaining flour. You can do this in various ways, from using your fingers to crumble the butter and flour together, to chopping at it with two butter knives, to a multi-bladed pastry blender, to a food processor on pulse. The important thing is that the texture at the end still contain small lumps of butter, as pictured below. It has been described as “coarse granola.”
  4. Combine both paste and butter-flour mixture, then promptly and gently form into a ball. Add a little more water here if needed, just enough to form it together, see pictures.
  5. Wrap the dough tightly in plastic wrap, and chill for at least 1/2 hour (or overnight.) You can freeze the dough if making ahead. To defrost, set in fridge for a day, or in room temperature for 2 hours. You can also form the bottom crust and freeze it in a pie plate for making pies later.

While chilling is a good time to make the apple filling…

Apple Pie Filling

5-6 cups apples, sliced thinly * see variety notes below
1/8 tsp salt
1  to 1 1/2 Tbs flour or cornstarch
1/4 tsp cinnamon
1/8 tsp nutmeg (freshly ground if available)
1 Tbs lemon juice
1/2 tsp lemon zest
1 tsp vanilla extract

1 1/2 Tbs butter – for after you’ve put the filling in the pie shell

  • Important Note, the original recipe recommends 1/2 cup to 2/3 cup white or brown sugar, but we make it without, and like it better 🙂 I think this is one of the changes from other pie recipes that really lets you taste the apples.

Apple Variety Notes
My mum likes a mix of types, including a crisp tart green type, Cortland, and a few others that have good sweetness and complexity. The mix of apple varieties gives a depth of flavor that is one of the keys to making the best pie. She says, “I always use some Cortlands because they taste quite good and they have a beautiful color. They turn pink!” We leave the skins on, as they soften up nicely while cooking and add flavor and color.

How to make the filling:

  1. Remove bruises, core the apples, and slice very thinly, leaving skins on.
  2. Stir to mix the apples with all the filling ingredients, except the butter.

Putting the Pie Together

  1. Preheat oven to 450 F.
  2. When ready to make the pies, split chilled dough into 2 equal parts. Roll out one at a time on a floured surface until they make rounds about 1/8 inch thick. Work the dough as little as possible. I’ve watched my mum delicately patch holes formed when rolling, pressing the little piece of dough just enough to connect it to the rest. It is a tender thing to keep a crust flaky.
  3. Line a 9 inch pie pan with one round of the rolled out pie dough from above, and trim off excess dough that hangs over the edge of the pan.
  4. Layer the apple filling into the pie, getting them densely packed, and piled high.
  5. Dot the top of the apple pile with the 1 1/2 Tbs butter from the filling recipe
  6. Lay over the top the other round of pie dough. Take the two layers of dough at edges by the pie rim and fold from the top under, so the top dough is hugging around and under the bottom dough, and it all fits nicely on the pie plate. Then crimp the edges down with a fork or finger tips to seal and make a pattern all around the rim. This is kind of hard to explain, so see pictures below.
  7. Poke holes in the upper crust in some kind of design, to allow steam to escape, and to make the pie pretty.
  8. Brush the surface of the pie crust with a brush dipped in cream or milk to give a nice shine to the crust.
  9. Put into the oven to bake at 450 for 10 minutes
  10. Turn down the oven to 350, and bake another 35-45 minutes until pie is done.

How to tell when the pie is done:

You want the filling to boil, so you should hear bubbling or see places where juices have bubbled up. You can poke with a small knife to see if the apples are tender. Consider making a couple larger holes in your crust design to allow knife poking :). Also the crust should be nicely golden brown.

You can use tin foil over the crust to reduce more browning, if it is getting too brown but the inside isn’t bubbling yet. Foil over the whole top, or just in a circle around the outer crust rim will cut back on browning, allowing more baking time.

Serving the Pie

You can serve them hot, or room temperature. If allowed to cool, the pie’s juices will set up better to stay in place when cut. I am quite fond of having excesses of whipped cream around at Thanksgiving to dollop on apple and pumpkin and other pies at serving time. A bit of ice cream is quite nice too.

Now, How to Make Apple Pie, in Photos!

Scroll down for some more detailed tips on parts of the process.

Here’s what the flour paste looks like:


Cut the butter into the flour until it looks like the mixture below – with some reasonable little chunks of butter in there. These butter nubs are key for achieving flakiness in the crust.

Mixing the flour paste with the butter-flour mixture needs to be a gentle and quick process to reduce the formation of gluten (which makes crusts more chewy than flaky). You can add a little more water if needed, a teeny bit at a time, to get the whole thing to gather into a ball:

When the dough is together it should not be wet, it should just be together enough, as shown below. Setting the dough to cool allows the flour to absorb moisture and chilling it before another handling will reduce the formation of gluten. Cover it to protect the moisture:

Roll out the dough on a lightly floured surface. Again, handle it as little as possible. It does tend to stick, so you could use a parchment paper underneath your flour to help lift it. My mum uses the rolling pin to help carry the dough to the pie plate:

Trim the edges of the dough and patch holes with the trimmings. Leave some overhang to help make a nice thick edge crust when paired with the upper crust:


Mix apples and spices for the filling in a big bowl so you can get all the apples well coated:

Fill up the bottom pie crust, trying to get the apples as densely packed as possible. If you have enough upper crust dough, you can make the pile nice and high, as the apples will settle and condense while cooking, and you’ll get more apple in there:

Put the butter up on the top of the apple pile:

Now you can lay the top layer of crust dough, and you want the top layer to be big enough to fold over and under the bottom crust lip. You put both crusts together, and then fold the double layer under to create a sealed container of dough:

Here is how you get that fold:

Below you can see how the top crust fold happens, and once you have the fold, you can crimp the edges down with your fingers to bind it. This type of fold helps keep the pie juices in the pie!

Make some good holes in the crust to let steam escape, and you might as well make a design! You can do these with a fork, or cut designs with a knife. You can also lay on extra dough cut into shapes for more styling.

Ready to set the pies in the oven!

Here’s a pie, all golden and done, where we used a fork around the edges to crimp and make a pattern.

Here’s another kind of top you can make, by cutting shapes in dough and laying them in a pattern on top of the apples:

Everyone’s excited when it is time to cut into the pies! Here below we made a streusel topping.

Thank you all for reading! Thanks to my dear mum for sharing her art! I hope everyone has a wonderful season, filled with pie!

Cheers,

Sarah, Ella and the Red Fire Farm crew.

In Blog

Preserving the Summer!

Sep 1, 2017 | No Comments

Perhaps it is my zen-like presence practice, but in the peak of crop season I have a hard time really conceiving that winter will come. It’s so far away that it seems foggy, and maybe imaginary.

There is much evidence, however, that winter will indeed come. And so, when it seems we might be overwhelmed with tomatoes, that’s exactly the time to give a nod to your future self, and lay away some of the deliciousness of summer.

We have lots of gorgeous produce during the late summer at our farm stores in Granby and Montague, as well as in quantity at discounts through the farm’s Bulk Orders where we offer half bushels of tomatoes, bags of onions, boxes of peppers and such.

A shout out to all the cooks and recipe writers over the generations, because we are in a time of inordinate wealth of ideas for how to preserve our seasonal bounty, from the hundreds of cultures all across the Earth.

Here is a brief collection, a jumping off point, for your own forays into preservation.

Recipes for Preserving the Summer

Canning

I’ve been fond of canning because we don’t have much freezer space and you can keep your canned goods on the shelf. The jars also make beautiful gifts. We usually make a bigger batch of something special each year that we can share later during the holidays.

CANNING RECIPES FOR PEAK SEASON:

Freezing

One of the quickest ways to preserve food. Each year we freeze sweet peppers for use over the winter – just chop, bag and freeze. You can also bag and freeze tomatoes whole and raw, after coring out the stem. Then chop frozen for use in winter cooking. You can freeze tomato sauce and puree very successfully. Frozen corn brings the summer into winter cooking and I try to set up a good amount of that each year.

With our smaller freezer, I emphasize freezing things that don’t take up a lot of room but add lots of flavor to dishes over the winter, like herbs, oven roasted tomatoes, and my favorite flavor mix I’ve learned so far – Sofrito.

Things to remember when freezing, courtesy of National Center for Home Food Preservation.

  • Freeze as soon as you can with the freshest produce possible.
  • Freeze at 0 degrees or lower, if you can turn your freezer down, to make things freeze faster.
  • And don’t overload your freezer with too much to freeze at one time.

RECIPES AND TIPS FOR FREEZING:

Fermentation

Lacto-fermenting cucumbers with garlic scapes and a couple wild harvested grape leaves to help keep them crunchy. You can see my methods here for keeping the cukes under the brine :)… Another canning jar full of water on top and a plastic bag twist-tied over all to limit air flow.

Here’s a way to preserve while creating recipes full of wonderful probiotics for your body! Lacto-fermentation typically uses salt and a cover of brine to create an environment where good bacteria thrive and turn foods into tasty pickles, krauts and more! Once you get a finished kraut or the like, you move it into the refrigerator or a cool but not freezing spot in the house to maintain the ferment at a certain stage.

Some folks make big barrels or buckets of sauerkraut and other fermented vegetables in their basements, as a way to keep them cooler.

LACTO-FERMENTATION RECIPES:

Drying 

At home, we do lots of herbs, as they are as easy as hanging a bunch up from a string. I always do some halved cherry tomatoes, because they have uses all over the place. And my kids love dried apples and other fruit, so we try to do as much of that as we can.

HOW TO DRY VARIOUS THINGS:


We hope you can try some of these methods!

Down the line in the depths of winter we can thank our selves for having foresight to save some of the very best local things from a warmer time to taste and enjoy!

Green Tomato Relish

Aug 31, 2017 | No Comments

A traditional family recipe that certainly holds up today! –Courtesy of the farm’s own Willi Ryan.

Serving Size:
4 quarts

Ingredients:
3 cups vinegar
4 cups sugar
4 quarts sliced green tomatoes
2 quarts sliced onions
1 cup diced green pepper

Spices:
1 tsp Tumeric
2 tbsp Mustard Seed
1 tsp Celery Seed

Directions:

The night before, sprinkle 4 tablespoons of kosher salt over tomatoes.

  1. Drain well
  2. Bring to boil
  3. Add onion, and boil for 1 minute.
  4. Add tomatoes and peppers, continue until Just Cooked.
  5. Store with traditional canning method. (For more info on canning, click here.)

The Farmer’s 7 Step Guide for Growing the Best Fruit You’ve Ever Tasted: Planting Fruit Trees & Blueberry Plants in Your Own Backyard

Apr 27, 2017 | No Comments

Photo Source: District Blue Valley

While in this day and age we are treated to having fruit of any kind available year round, fruit grown locally in season is incomparable in deliciousness! You can grow it in your backyard to enjoy for years to come.  Farmer Ryan Voiland is very passionate about local fruit, and particular about the varieties that taste the best for what we can grow in New England.

In spring at our two farm stores, you can now find his selection of favorite apple and blueberry plants, with blueberry varieties we have tested in our fields, as well as favorite apples from our taste tests.

We want to pass what we’ve learned on to you, giving you the chance to grow the healthiest and most delicious crops of fruit in your own garden. Read on for farmer Ryan’s planting guide:

1) Location, location, location!

Planting your fruit trees in the right place is critical! Water and sun saturation level, soil content, and slope of the ground are all factors that will affect how healthy your tree or bush will grow.

Fruit trees and bushes need soil that has good drainage, so avoid areas where water puddles after rainstorms or from winter snowmelt. Also avoid locations that are shaded by trees or buildings, as these plants need full sun.

Also avoid soils that have a high clay content, or that are too rocky. Trees can grow around some rocks without a problem, but large boulders or ledges must be avoided. Sandy loam soils are ideal.

Trees and bushes can grow on sloping areas, but make sure it is not too steep to mow and work around the trees. Be aware of the expected mature size of the tree or bush variety that you are planting, and space accordingly. Remember that for apple trees, the health of the rootstock will make a big difference on how large the mature tree will grow!

2) Get the pH right

Apple, peach, and pear trees all need a soil that has a pH that is in the range of 6-7. Many New England soils have a naturally lower pH, so adding limestone is often needed to raise the pH.

Photo Source: Fast Growing Trees

You can take a soil test to figure out how much lime to add, which UMass offers. Their “Routine Soil Analysis” for Home Grounds and Gardens, currently $15, is a great basic test for home gardens and will give you recommended rates for how much fertilizer and lime to apply by testing your soil’s pH and nutrient ratios.

Blueberries are an exception and require a low pH of 4-5.5 in order to grow well. If your pH is too high, then elemental sulfur can be used to lower the pH.

Elemental sulfur takes up to one year to fully react with the soil and cause the pH to drop, so in the short term, if planting a blueberry plant consider using a high percent of peat moss mixed into the planting hole. Peat moss has a naturally low pH and will help blueberry plants thrive. A soil test can also aid you in figuring out how much elemental sulfur to use prior to planting.

Photo Source: Liberty for Captives

3) Keep weeds out!

Making sure weeds are eliminated both before and after planting is critical. In fact, being able to prepare the planting area a year in advance is ideal!

Use tillage or mulch (cardboard with straw or leaves on top works well), in order to make sure sod grass and other weeds are killed in the planting area prior to planting. If planting into a lawn or grass area, make sure to dig out and remove the grass chunks prior to planting in at least a three-foot circle or strip from where the tree will be planted.

Probably the best organic approach to managing weeds around new trees and bushes is to mulch them after planting. Use shredded leaves, straw or hay to make a layer that weeds can’t penetrate.

Try to keep at least a three-foot area around the plants weed free. In the absence of mulch (or if any weeds break through) you must hoe or pull those out promptly so that they don’t compete with the young tree or bush! During winter it is a good idea to pull mulch back away from the tree trunk area (in order to discourage mice and voles from chewing on the bark.) Wire mouse guards are a good idea to protect the young trunks.

4) Plant at the right time of year

April, May, and early June are the best times of year to plant trees in MA, though potted plants can be safely planted until mid-summer if well watered.

Photo Source: Gardenality

5) Settle it into the ground with good food

Dig the planting hole at least 25 percent larger than the pot or root ball. Mix quality compost, rotted manure (or for blueberries use

peat moss) in a ratio of 1/3 compost and 2/3 topsoil, and use this mix at the bottom of the hole, and to backfill around the tree roots.

If the tree roots are densely spiraled in their pot, scruff them up a bit on the surface prior to planting, as this helps the roots find the new soil as they start to grow.

Backfill around the root ball with the topsoil/compost mix, tamping firmly in order to avoid air pockets around the roots.

Photo Source: UNM Extension

For apples and pears, make sure that the graft union is two or three inches above the soil level in order to assure that the scion does not try to grow roots!

For blueberry plants, be careful not to plant roots too deep. They should not be planted any deeper than they are growing in their pot! Arrange a ring around the tree that will help keep water soaking into the root area and not running off.

6) Water according to rain levels

Newly transplanted trees and bushes need lots of water right after they are transplanted. Water liberally with 5 gallons of water so that the entire root zone is well moistened. Going forward, if it does not rain one inch or more per week, continue to water new trees on the drier weeks with 5 gallons of water per tree per dry week throughout the summer.

Photo Source: Love to Know

7) Fertilize like a pro 

In soils that have good natural fertility, it may not be necessary to use additional fertilizers beyond the compost at planting, up until the trees begin yielding some fruit after two or three years.

On sandier soils, using some additional fertilizer may be helpful starting a few weeks after planting. I recommend organic fertilizer sources, which release their nutrients to the plants slowly over time.

Dehydrated chicken manure fertilizers with an analysis such as 5-4-3 are good for apples, peaches and pears using 1-2 lbs. per tree sprinkled in a ring under the drip line of the tree.

For blueberries, avoid manure-based fertilizers, and instead use organic fertilizers derived from blood meal, soy or cottonseed meals, rock phosphate, sulfate of potash among others (these organic fertilizer materials are also fine to use on fruit trees).

Fertilizers should be applied only in spring or early summer. Never apply nitrogen fertilizers after early July as this may lead to weak growth that is not hardy enough to tolerate winter cold.

Ideally, make fertilizing decisions based on soil tests or tissue analysis of growing leaves.

Observe how much new growth occurs on trees each year. In general there should be 8-12 inches of new shoot growth per year, so if there is less than that on your tree, it may need more fertilizer.

With these steps of care, your tree or bush should be off to a good start.

By Ryan Voiland

Making delicious recipes from your trees and your Red Fire Farm fruit share is easy and fun! See below for some tasty things you can make.

Baked Apples

Kale n’ Apples

Blueberry Crumb Coffee Cake

Warm Fruit Sauce

Roasted Corn and Peach Salsa

Zucchini and Summer Squash

Zucchini and Summer Squash

Mar 29, 2016 | No Comments

The Basics

We grow successions of these throughout the summer to keep you in good supply. The earliest batches are raised under floating row cover to warm the plants and get the earliest crops.

There might be some fun/wild varieties as the season progresses, including stripes and different shapes.

Cooking Tips

Grilled summer squash or zucchini make an excellent addition to pizza or pasta sauce.

Layering zucchini with thinly sliced potatoes and fresh pesto is a simple baked side dish.

Storage Tips

Can be left on a cool countertop wrapped loosely in cloth, or placed in fridge to extend shelf life up to one week. Even if limp, summer squash can be roasted, fried, or sauteed.

Frozen zucchini will last for up to 10 months. Shred and store in serving-size portions.

Winter Squash

Winter Squash

Mar 29, 2016 | No Comments

The Basics

We grow a wide array of winter squash at the farm. You’ll find Delicata, Butternut, Honeynut, Acorn, Sweet Dumpling, Kabocha, Buttercup, Spaghetti, Sunshine, and Carnival squashes at our stands and markets over the fall season, as well as pie pumpkins and carving pumpkins. Each has different flavors, textures and storing abilities.

Cooking Tips

All are easy to bake and top with butter or olive oil and salt for a simple recipe. Just cut them in half, remove the seeds, and put them on a baking tray in an oven at 375 until the flesh is easy to poke into with a fork. The seeds of all the squashes can be baked and eaten separately if you’d like.

Baking your Winter Squash Seeds: All winter squash varieties have edible seeds that you can bake like pumpkin seeds. So if you’re baking your squash, bake the seeds too for an appetizer. Just scoop them out, pick out any pulp remaining from the squash, mix seeds with some oil and flavorings, like soy sauce and cayenne, and bake them spread on a cookie sheet, stirring occasionally, until crisp and golden brown. You can cook them in the oven at whatever temperature you’re baking your squash, just keep an eye on them as they’ll cook faster at high heats.

Pie pumpkins are not your regular jack’o’lanterns. While you can decorate with them, don’t forget to eat them too! It’s best not to cut them into jack’o’lanterns if you want to eat them, as the cut open parts can get disease. We select these pumpkin varieties for great flavor.

Pie pumpkins are delicious roasted in the oven, and mashed with butter salt and pepper. A tasty addition to soups, and stir fries too. Use anywhere you would winter squash – though pumpkin isn’t usually as sweet as some of the winter squash varieties.

Turnip and Rutabaga

Turnip and Rutabaga

Mar 29, 2016 | No Comments

The Basics

We grow a selection of turnip varieties, including Scarlet, Purple Top, and Gold. Scarlet turnips have a bright pink skin and pink skin the middle of white fresh.

The rutabaga is a root vegetable that looks very much like a turnip, with a creamy skin and its own flavor. We grow the classic type of rutabaga with cream colored flesh and purple blush on the skin

Gilfeather turnips are actually a hybrid turnip and rutabaga. A selection on the Slow Food Ark of Taste, Gilfeather turnips were developed by Mr. John Gilfeather in Vermont. They have whiter flesh and does not have the purple blush on the skin.

Cooking Tips

Try them raw, roasted, boiled, steamed, stir-fried, mashed, or stewed. High in vitamins A and C, and some minerals, especially calcium.

Storage Tips

Turnips and rutabagas store very well and can last up to a month or more in a plastic bag in the refrigerator.